Quick Answer: Yes, a child’s drawing can be turned into a plush toy. The drawing does not need to be professional. However, it must first be interpreted as a three-dimensional product that can be cut, sewn, stuffed, and produced safely.
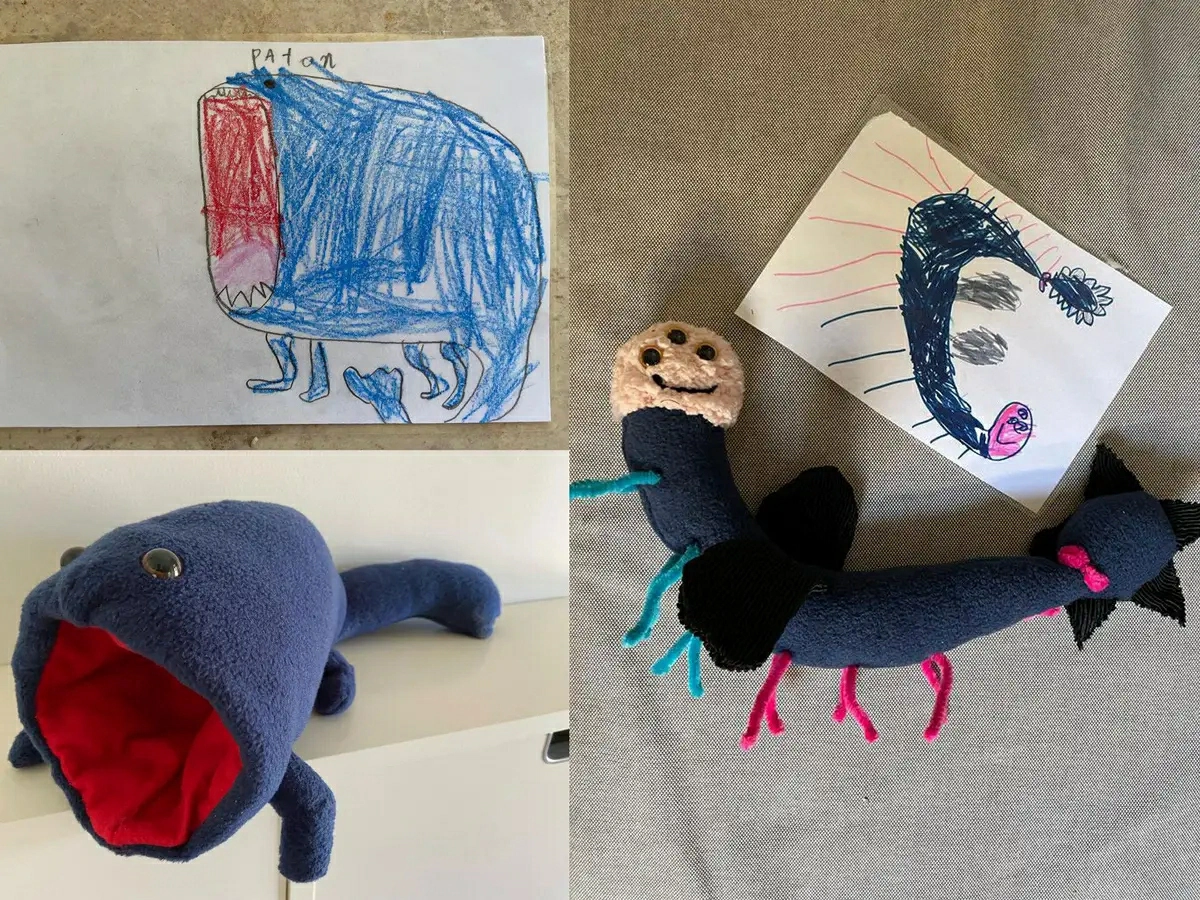
The goal is not always to “correct” the child’s artwork. Uneven eyes, unusual body shapes, oversized ears, or an unexpected number of legs may be the most recognizable parts of the character. A good development process keeps those important features while adjusting details that cannot work well in fabric.
For a commercial project, another question is just as important: do you want one unique toy from one drawing, or do you want multiple units of the same design? These two project types require very different production methods.
Yes, but the Drawing Must Be Translated Into a Sewable Product
A drawing is flat. A plush toy has a front, back, sides, thickness, and internal volume.
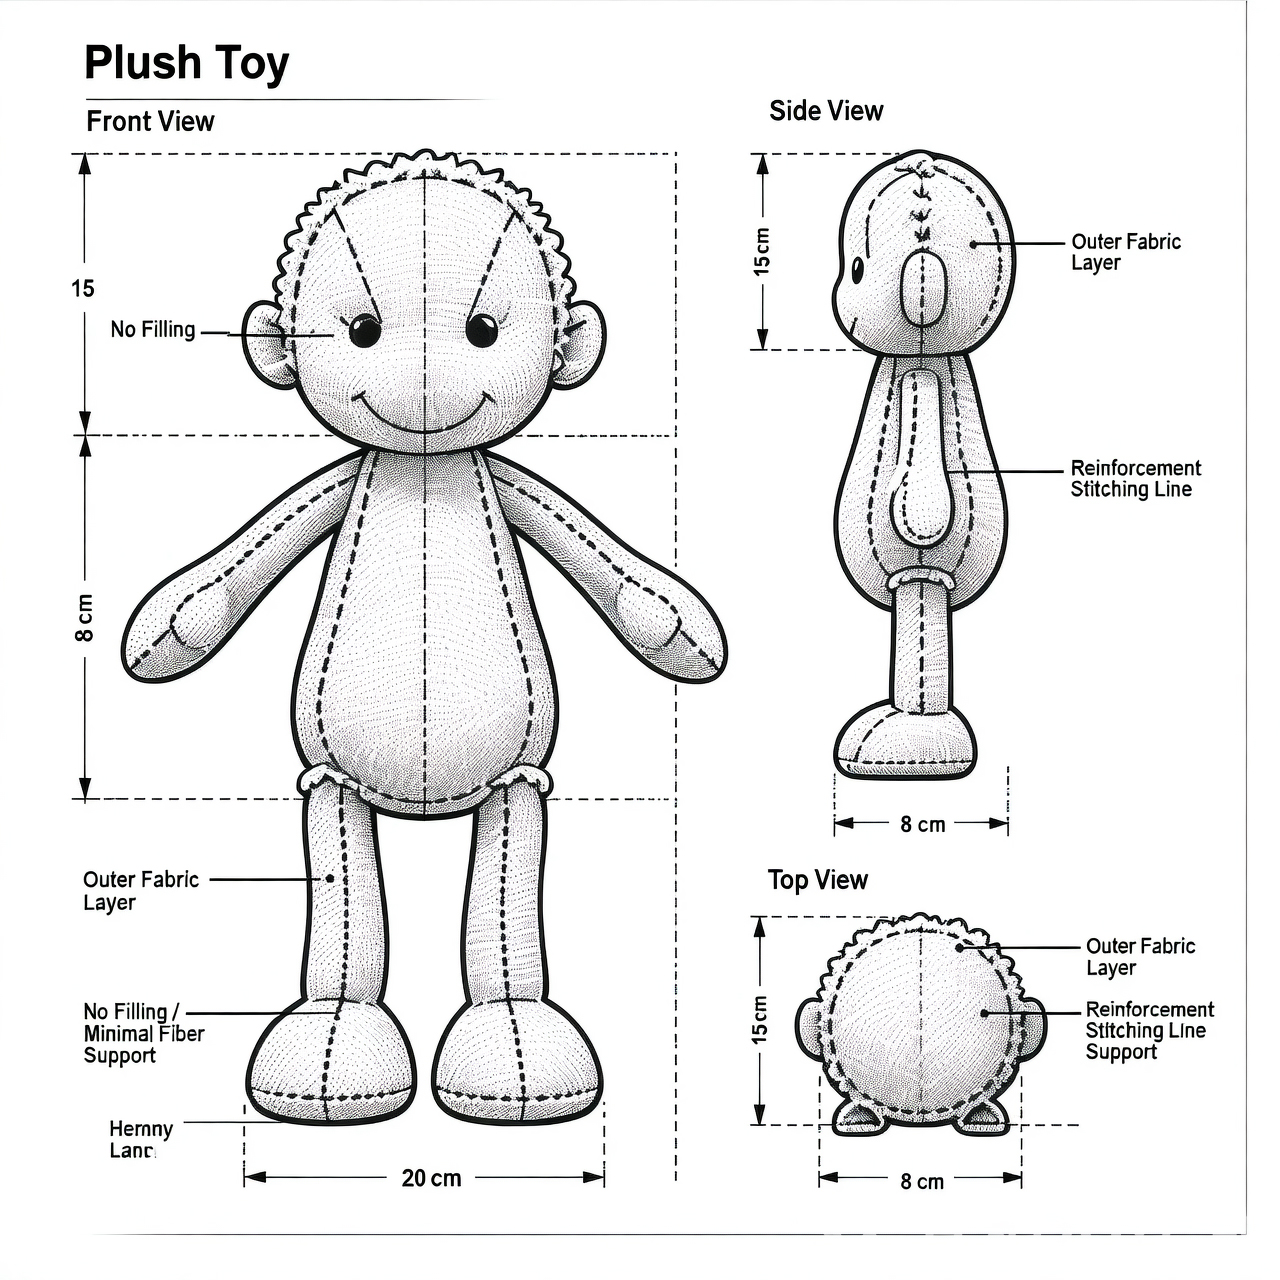
This means a supplier cannot simply copy the image onto fabric. The design must be translated into:
- A clear body shape
- Separate fabric panels
- Sewable arms, legs, ears, wings, or tails
- Embroidered or printed facial details
- A suitable stuffing level
- Stable proportions
- Safe and secure attachments
A child may draw an animal with one large circular body, three legs, and ears that appear to float above its head. That is not automatically a problem. These details can often become part of the final character.
However, the supplier must decide how the toy will sit or stand, where the seams should be placed, how thick the body should be, and what the back should look like. Details that overlap in the drawing may also need to become separate fabric components.
A successful plush toy from drawing should still feel like the original artwork. It should not become a generic teddy bear with only a few colors changed.
What Parts of a Child’s Drawing Can Usually Be Preserved?
Many buyers worry that the personality of the original drawing will disappear during product development. In most projects, the strongest visual features can be preserved.
Recognizable Shapes and Proportions
The main outline and proportions are usually the first priority. These may include:
- An unusually large head
- Very short legs
- A long, narrow body
- Different-sized ears
- An uneven smile
- One arm longer than the other
- A tail with an unusual curve
These proportions often make a children’s drawing plush recognizable. Correcting everything into perfect symmetry may remove the character that made the original artwork special.
We usually recommend identifying three to five features that must remain unchanged. Those features can then guide the pattern, embroidery, and prototype review.
Colors, Facial Features, and Unusual Details
Most color areas can be reproduced with available fabrics, embroidery, or printing. Large solid color sections are normally easier to reproduce. Tiny color patches may need to be enlarged, simplified, or converted into embroidery.
Facial details are often made with embroidery because it provides better control than separate plastic components. Embroidery is especially useful for:
- Uneven eyes
- Hand-drawn smiles
- Freckles
- Eyebrows
- Teeth
- Small decorative marks
However, very thin pencil lines may need to become thicker embroidery lines. Otherwise, they may disappear inside the fabric pile.
Handwritten Words or Small Marks
A child’s name, a short word, or a simple hand-drawn symbol can sometimes be added through embroidery or printing.
The original handwriting may be preserved when the source image is clear enough. However, long sentences and very small writing are difficult to reproduce on a soft, curved surface.
For better results, important words can be placed on a flatter area, such as:
- The belly
- A foot pad
- A fabric patch
- A small accessory
- A printed or embroidered label
Why the Finished Plush Will Not Look Exactly Like the Flat Drawing
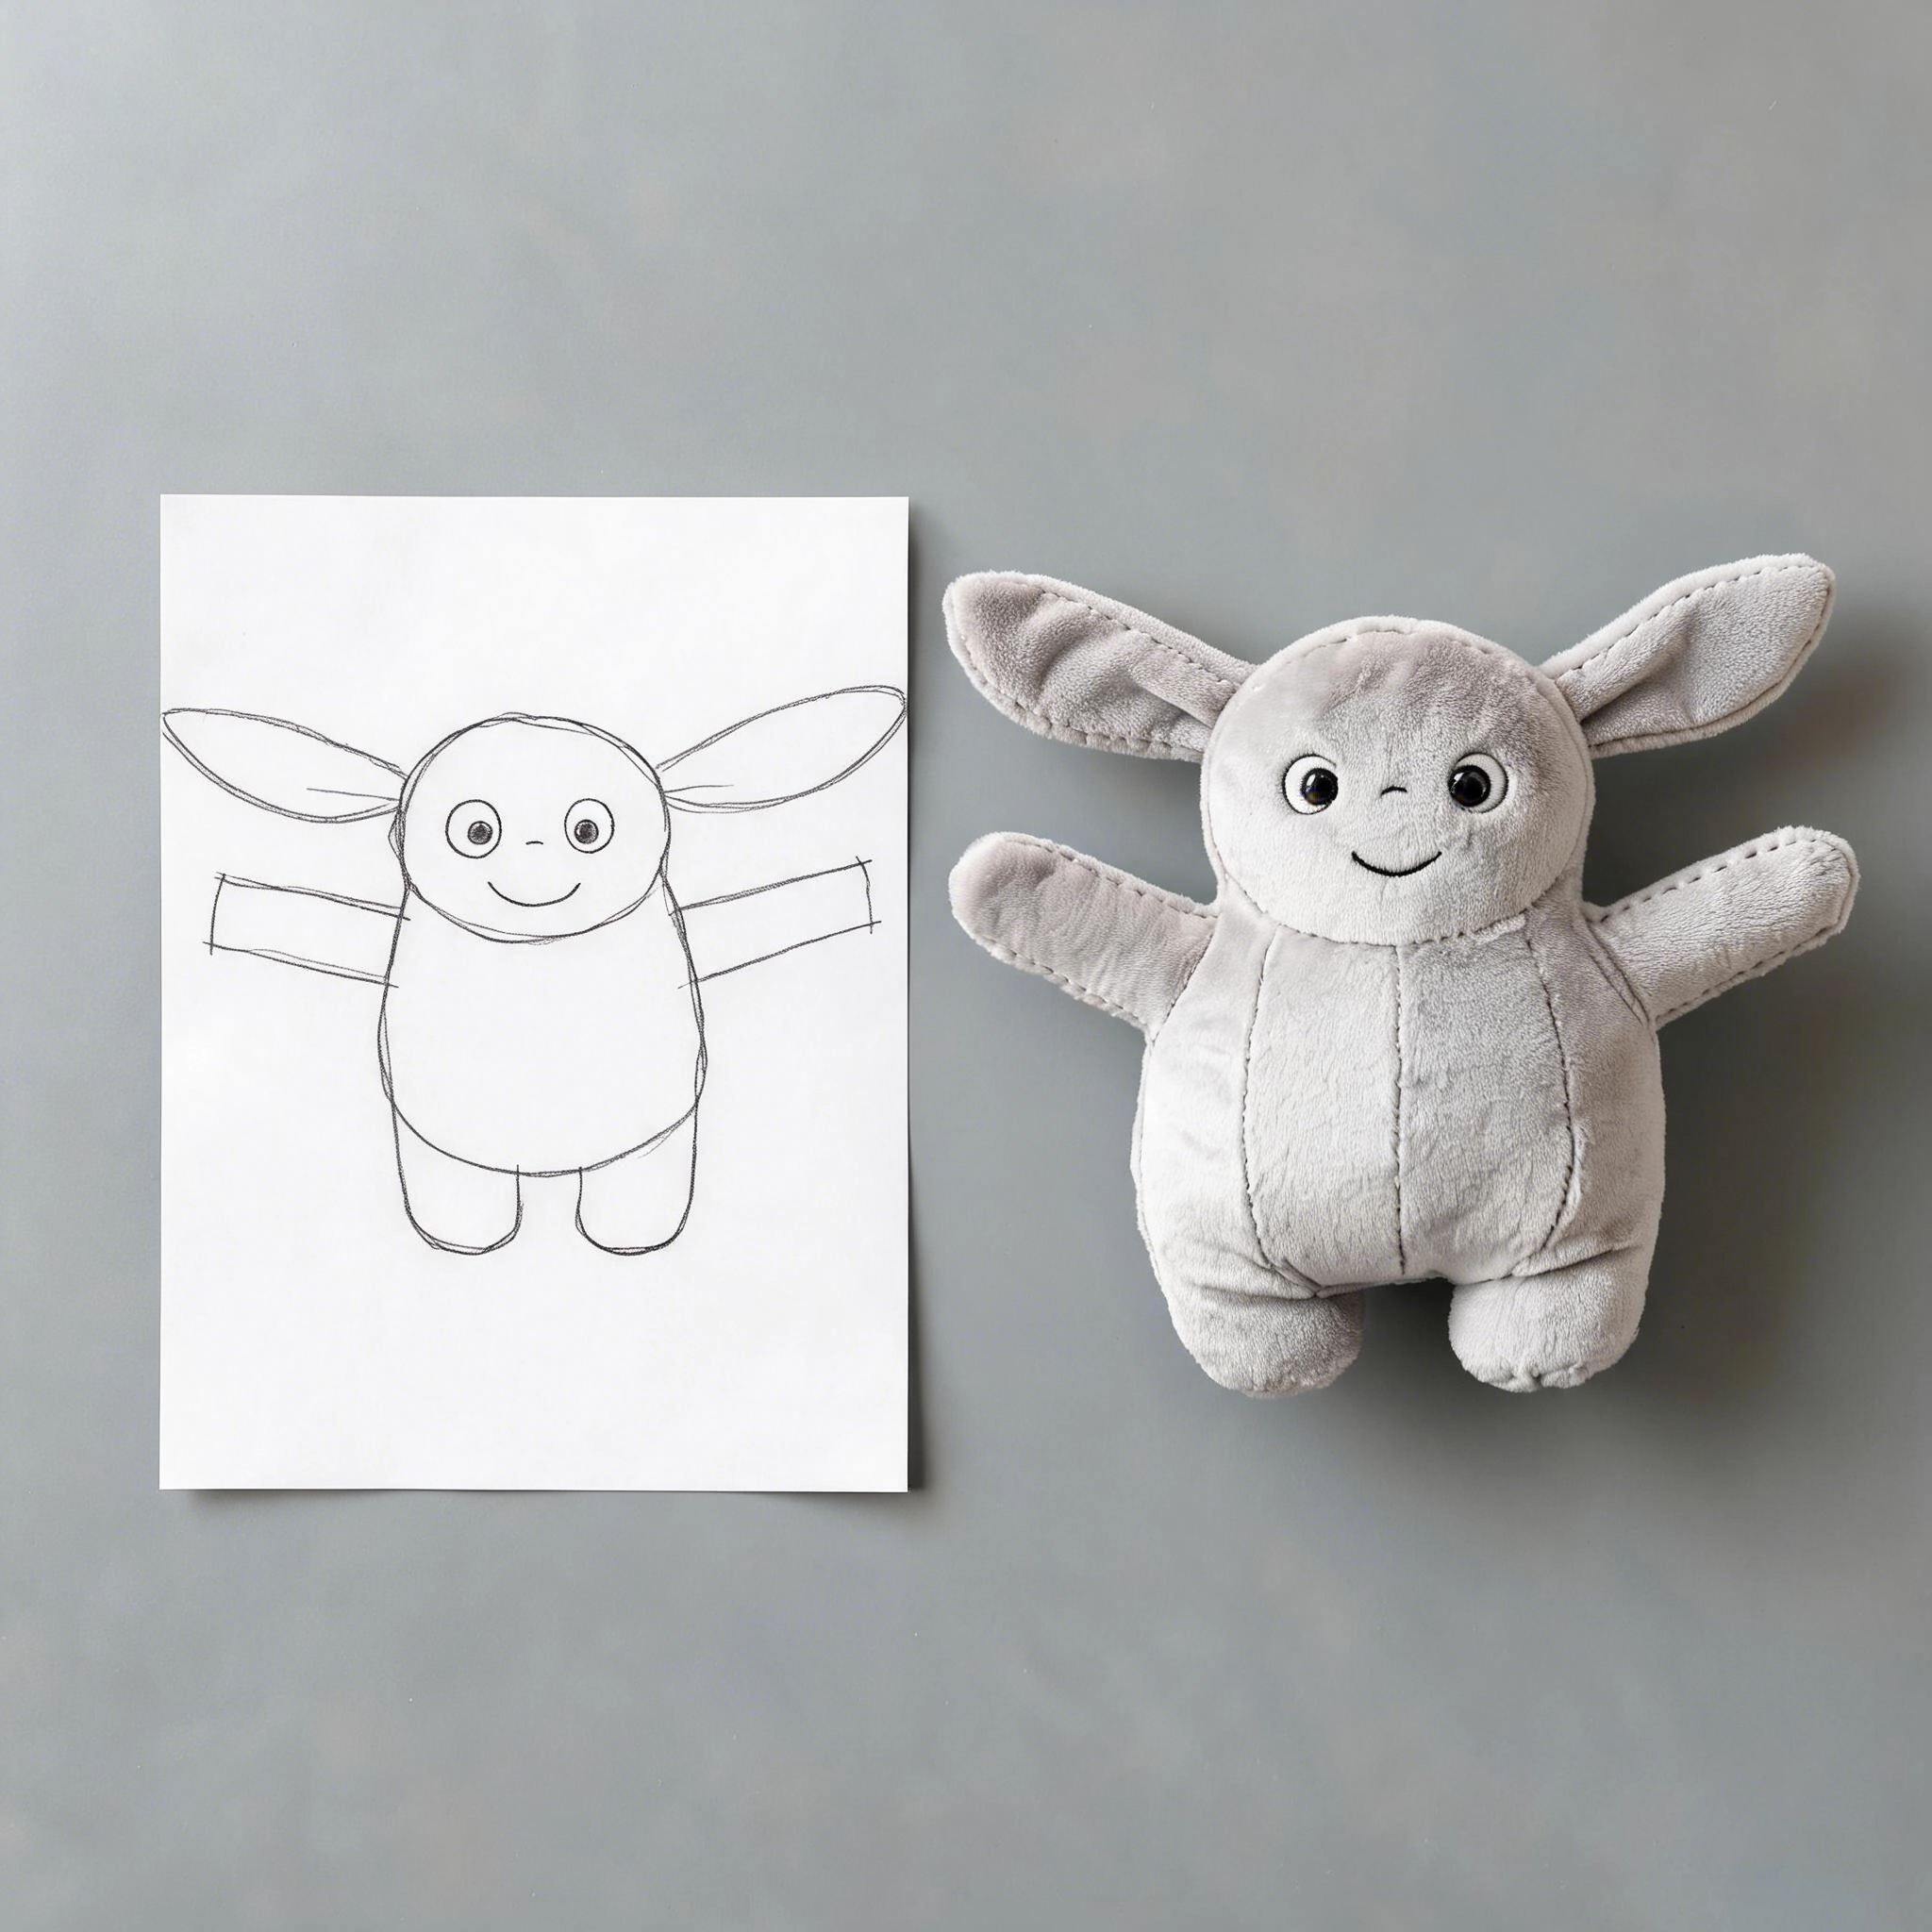
A custom plush toy can stay faithful to the artwork without being a perfect three-dimensional copy.
Buyers often misunderstand this point. A drawing can suggest a shape, but it does not provide complete construction information.
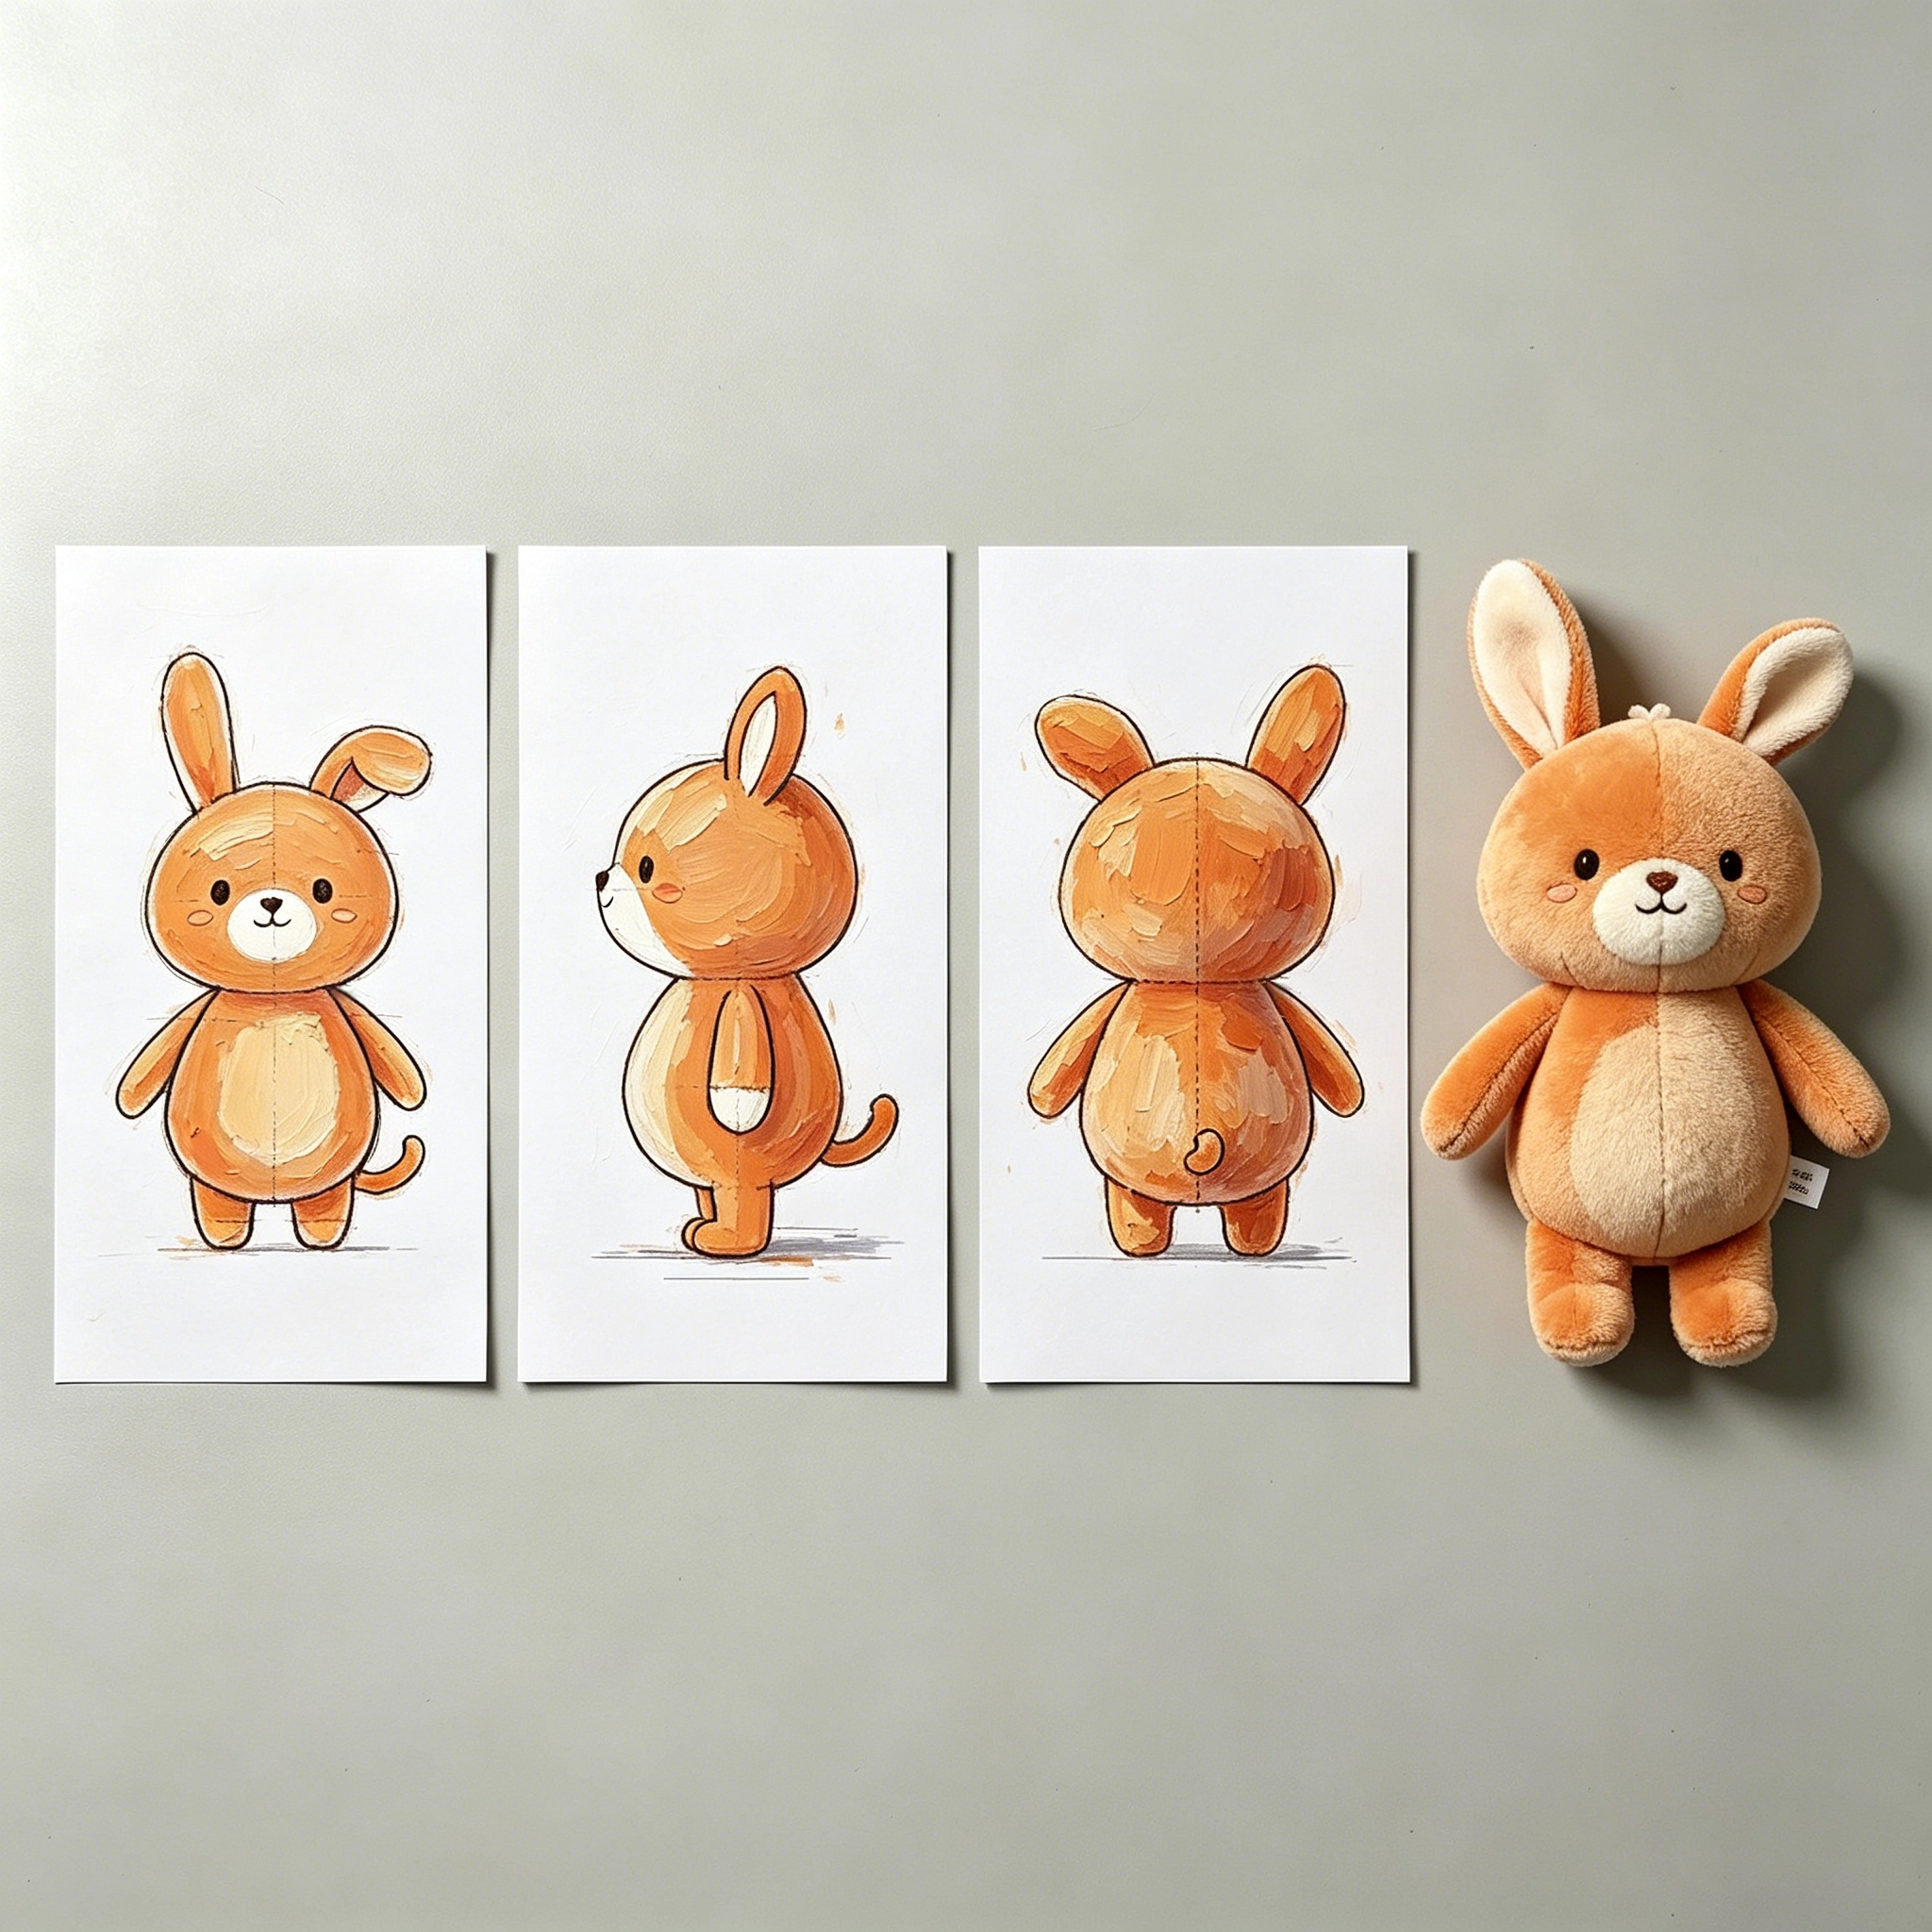
A Front-View Drawing Does Not Show Every Side
Many children draw only the front of a character. The development team may still need to determine:
- The depth of the head
- The shape of the back
- The side profile
- Whether the toy sits or stands
- How thick the arms and legs should be
- Where the tail is attached
When these details are not shown, they must be interpreted. A side-view sketch is helpful, but it is not always required.
The supplier should clearly explain which parts come directly from the original artwork and which parts are practical three-dimensional interpretations.
Fabric Behaves Differently From Paper
A sharp corner drawn on paper may become rounded after sewing and stuffing. A very narrow neck may also become unstable.
Long-pile plush can hide small embroidery and seam details. Short-pile fabric shows details more clearly, but it may create a less fluffy appearance.
| Design Priority | Better Direction | Possible Limitation |
|---|---|---|
| Clear facial details | Short-pile plush or minky | Less furry appearance |
| Soft, fluffy character | Medium or long-pile plush | Small details may be hidden |
| Sharp graphic shapes | Short-pile fabric with controlled stuffing | May feel slightly firmer |
| Soft rounded shape | Flexible fabric with more stuffing | Corners become less defined |
| Fine artwork details | Embroidery or printing | Higher cost and more revision work |
Some Narrow Details Cannot Hold Their Shape
Thin fingers, spikes, antennae, or very narrow legs may bend, twist, or become too difficult to sew consistently.
These details may need to be:
- Widened
- Shortened
- Joined to the body
- Changed into embroidery
- Made from a flatter fabric layer
- Supported internally
The best solution depends on whether the finished toy is intended for display, gifting, retail sale, or regular play.
How a Child’s Drawing Becomes a Plush Prototype
The exact workflow varies by design, but most commercial projects follow four main stages.
Drawing Review and Clarification
The supplier first reviews the artwork for recognizable features, construction challenges, and possible safety risks.
The buyer may be asked to confirm:
- The final plush size
- The intended age group
- The target country
- The estimated order quantity
- The preferred fabric type
- Important colors
- Details that cannot be changed
- Whether the toy should sit, stand, or lie flat
- Whether the product is for play, display, or gifting
A clear scan is helpful, but a good phone photo may still be enough for the initial evaluation.
Three-Dimensional Interpretation
The team then decides how the flat character should work as a physical object.
For example, a character with a wide circular body may become:
- A flat pillow-style plush
- A round stuffed body
- A sitting character
- A standing toy with a stable base
These versions may all match the same front drawing, but they will look and feel different.
Buyers should not only ask, “Can you copy this drawing?” They should also ask, “Which physical form will best preserve the character’s personality?”
Pattern, Embroidery, and Material Planning
The next step is to plan the fabric panels and surface details. The pattern controls the final shape. Even a simple-looking character may require several panels to create the correct curves.
Embroidery files must also be prepared separately. A drawing line cannot always be sent directly to an embroidery machine. Line thickness, stitch direction, size, and placement must be reviewed.
In our sampling experience, the face often requires more revisions than the body. A change of only a few millimeters can alter the entire expression.
Prototype Review and Correction
The first prototype is developed through a structured design and sampling process to check the overall shape, size, expression, fabric colors, and seam positions.
The first sample should be reviewed for:
- Overall shape
- Size and proportions
- Facial expression
- Fabric colors
- Stuffing level
- Embroidery placement
- Seam positions
- Stability
- Similarity to the original drawing
The first prototype should not be treated as automatic approval.
One common issue is that the sample is technically well made but looks too polished. It may lose the irregular style of the child’s artwork. In that case, the pattern or embroidery may need to become less symmetrical.
Which Drawing Features Create the Most Sampling Difficulty?
Some designs require more interpretation and more revision time than others.
| Drawing Feature | Main Production Challenge | Practical Solution |
|---|---|---|
| Very thin arms or legs | Difficult to sew and stuff evenly | Increase the width slightly |
| Large head with a tiny body | The head may fall forward | Adjust the weight and body depth |
| Many small color blocks | Too many fabric pieces and seams | Use embroidery or printing |
| Long handwritten text | Text may distort on curved fabric | Place it on a flatter patch |
| Floating or disconnected shapes | No physical attachment point | Join them discreetly to the body |
| One-sided artwork | The back and side views are unknown | Develop a simple matching back |
| Heavy black outlines | Seams cannot reproduce every drawn line | Use selected embroidery outlines |
| Sharp points | Points become rounded after stuffing | Use flatter construction or internal support |
Projects are often delayed when every small pencil mark is treated as a separate fabric component.
This approach may increase:
- Pattern complexity
- Material changes
- Embroidery time
- Sewing difficulty
- Sample revisions
- Unit cost
- Variation during bulk production
A better approach is to decide which marks define the character and which details can be simplified without changing its identity.
One Personalized Plush Is Different From a Bulk Plush Project
This is one of the most important commercial distinctions.
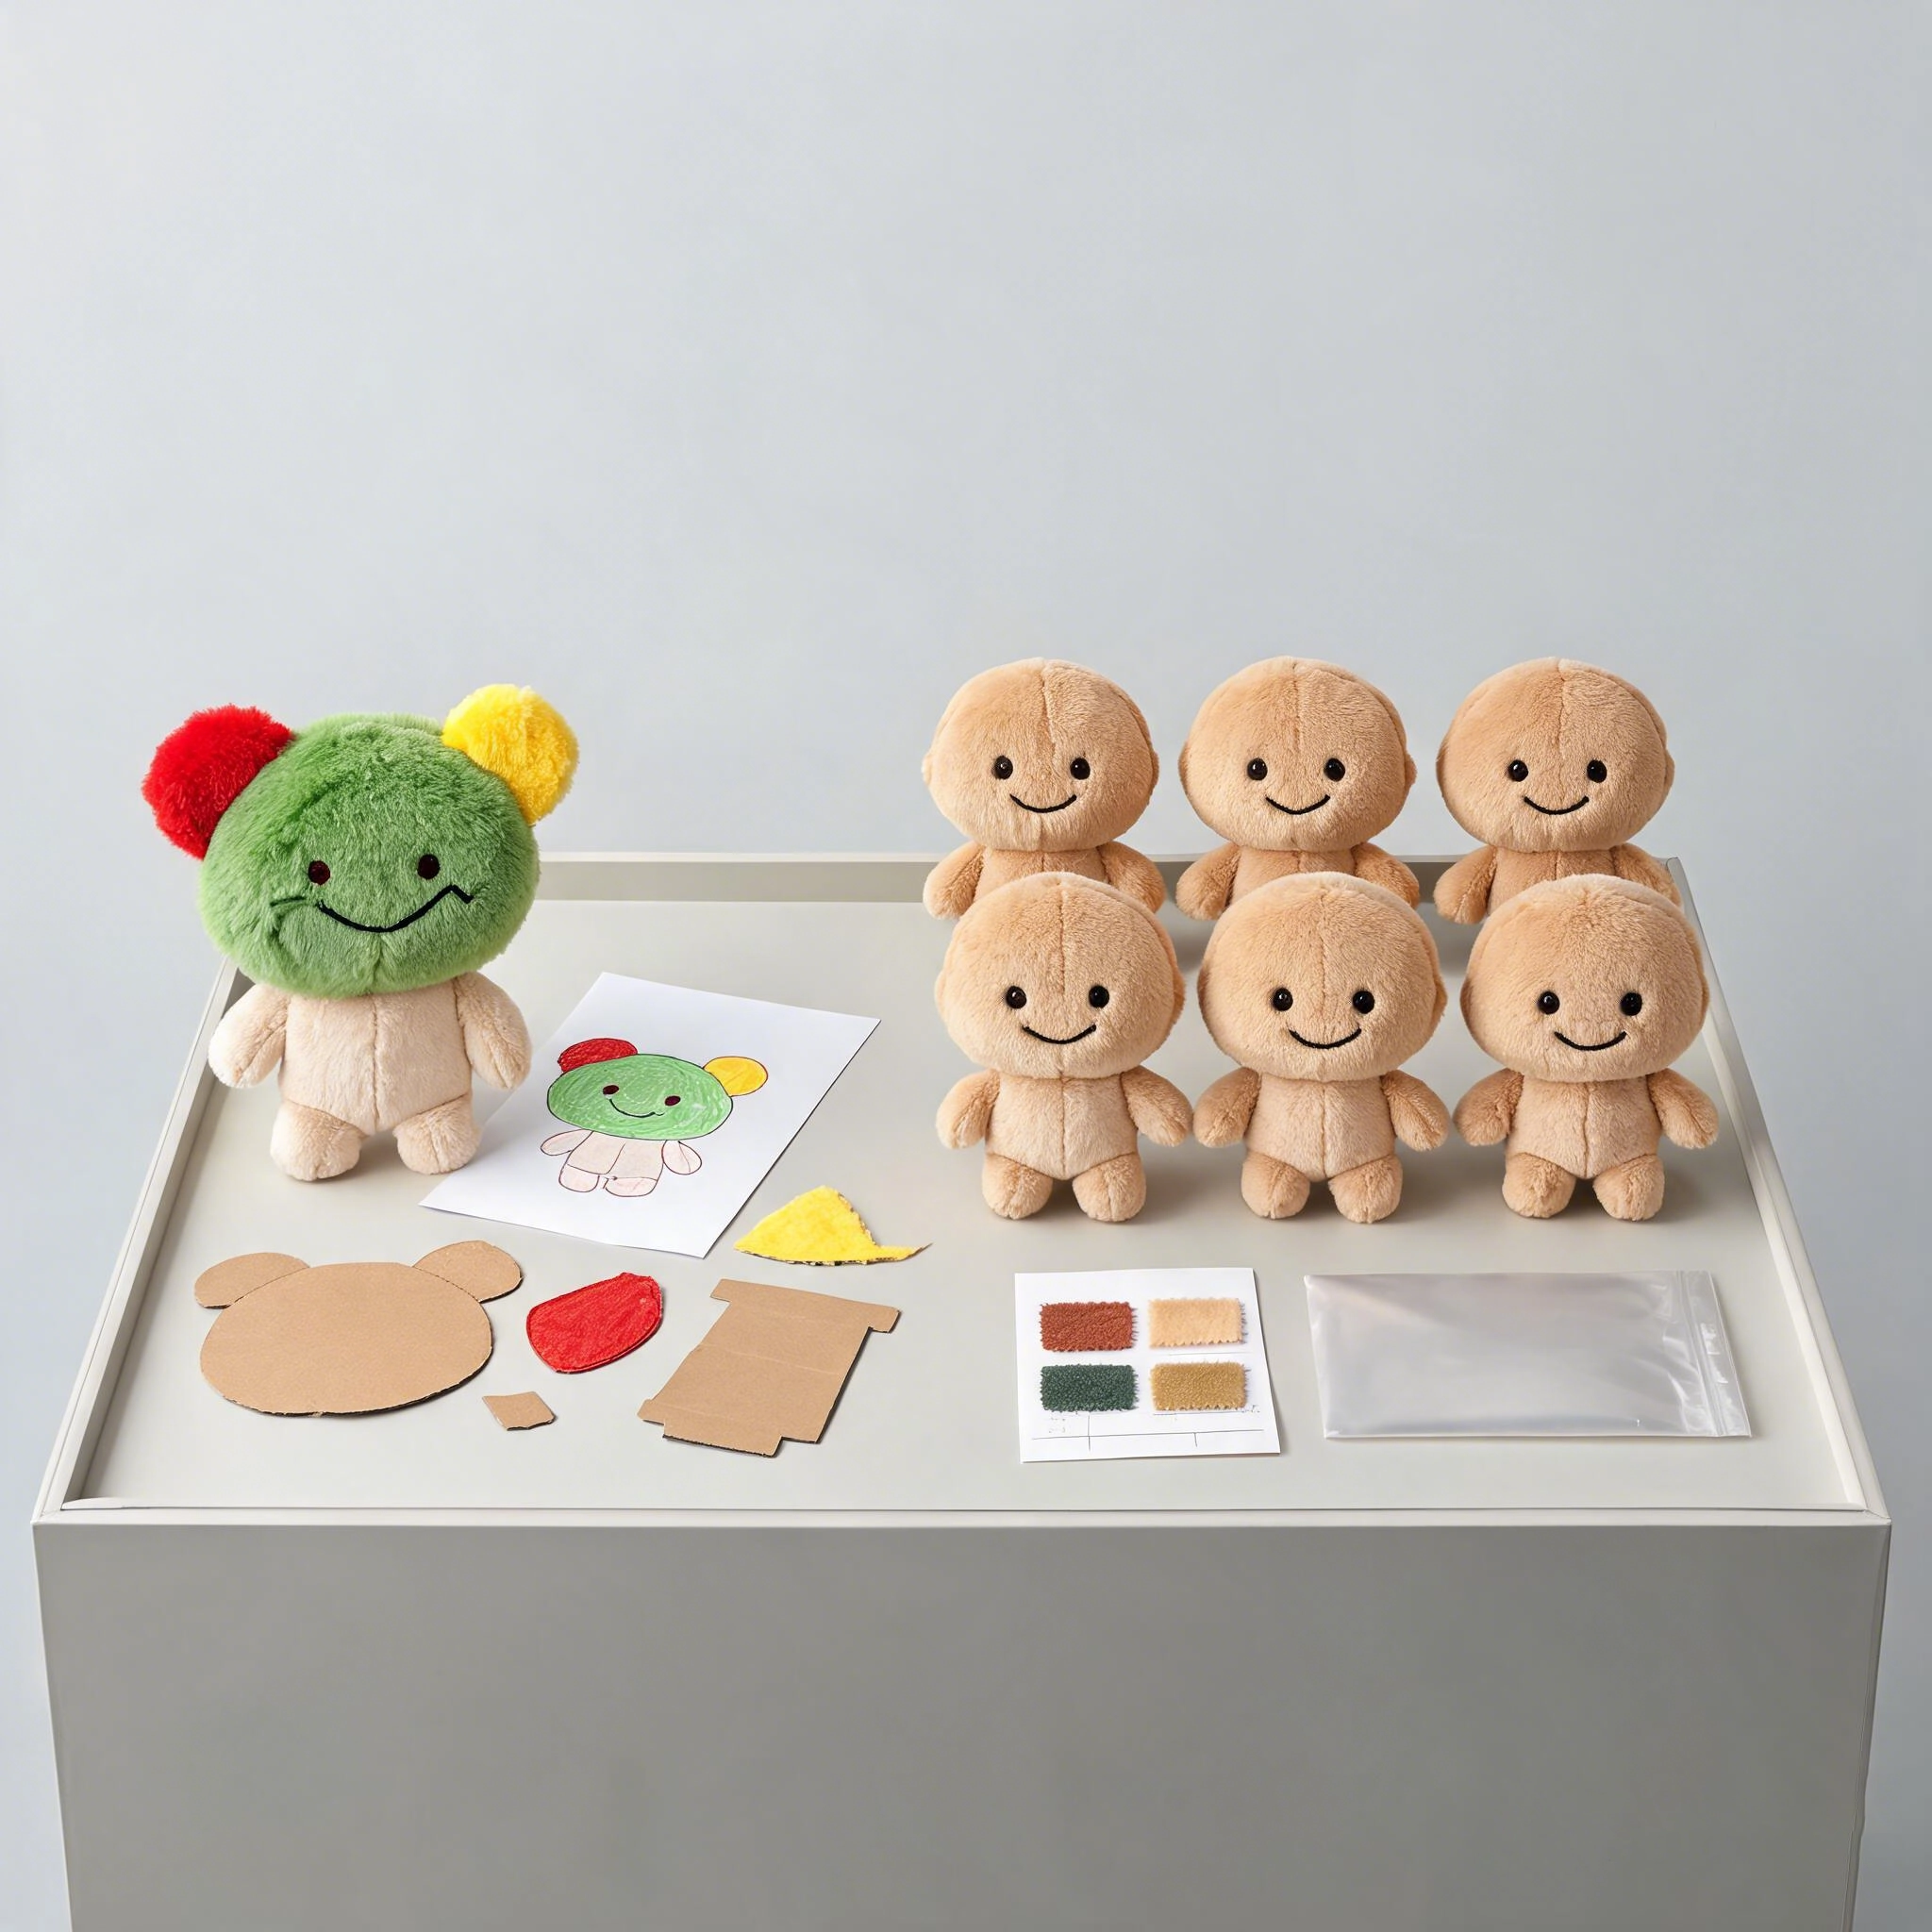
A personalized workshop may make one unique plush from every drawing. Commercial custom plush toy manufacturing normally develops one approved design and reproduces it in a planned quantity.
| Project Model | Typical Requirement | Suitable Production Method |
|---|---|---|
| One drawing, one plush | Every order is different | Handmade studio or individual craft service |
| One drawing, 200–500 plush toys | The same design is repeated | Small commercial production |
| One drawing, 500–1,000+ units | Retail, school, or brand program | Standard OEM production |
| Many drawings, one unit each | Constant design changes | Dedicated personalized production workflow |
| Several selected drawings, bulk units of each | Limited-edition collection | Separate sampling and MOQ for each design |
A factory-style OEM supplier must create patterns, embroidery files, material specifications, and production instructions for every new design.
Therefore, producing one piece from each of hundreds of different drawings is rarely priced like normal bulk production. Each drawing is effectively a separate sampling project.
For businesses planning a drawing-to-plush service, a more scalable model may be:
- Collect multiple drawing submissions.
- Select several winning designs.
- Develop one prototype for each selected design.
- Produce a planned quantity of each toy.
- Sell them as a school, charity, retail, or seasonal collection.
This approach keeps the emotional value of children’s artwork while using a practical commercial production model.
How Much Does a Plush Toy From a Drawing Cost?
There is no reliable unit price based only on the drawing.
The main cost factors include:
- Plush size
- Order quantity
- Number of fabric colors
- Number of separate parts
- Embroidery area
- Printed details
- Fabric type
- Internal supports
- Accessories
- Packaging
- Safety testing
- Number of sample revisions
A simple rounded character with embroidered features will usually cost less than a character with many narrow limbs, layered clothing, and complex surface details.
The first prototype also costs more per piece than bulk production because it includes:
- Design interpretation
- Pattern development
- Material sourcing
- Embroidery setup
- Hand assembly
- Sample correction
- Communication and review
Lower quantity does not always mean a lower development cost. The same pattern, embroidery preparation, and material sourcing may be required whether the buyer orders 200 or 1,000 pieces.
Safety Requirements for Children’s Plush Toys in the USA
When a personalized plush toy is marketed as a children’s toy in the United States, safety planning must be part of product development.
The U.S. Consumer Product Safety Commission explains that qualifying children’s toys require third-party testing and certification through a CPSC-accepted laboratory.
The CPSC also provides official guidance on the required elements of a Children’s Product Certificate .
The final children’s plush toy safety standards should be reviewed according to the finished design, age grade, target market, and product claims.
Common review areas include:
- ASTM F963 requirements
- Small-part hazards
- Seam and attachment strength
- Lead limits
- Phthalate restrictions
- Flammability
- Age grading
- Tracking labels
- Product and packaging warnings
- Children’s Product Certificate documentation
For products intended for children under three, the CPSC’s small-parts and choking-hazard guidance is especially relevant.
This may affect several design decisions:
- Embroidered eyes may be more suitable than detachable plastic eyes.
- Buttons, beads, and loose decorations may need to be removed.
- Long cords or narrow loops may require redesign.
- Small fabric accessories may need stronger attachment.
- Filling must remain contained after applicable seam testing.
- The product and packaging may need traceability information.
Applicable children’s products must also follow the CPSC’s tracking label requirements for identifying production and batch information.
Safety cannot be confirmed from the drawing alone. The final test scope depends on the approved sample, materials, accessories, intended age group, and sales market.
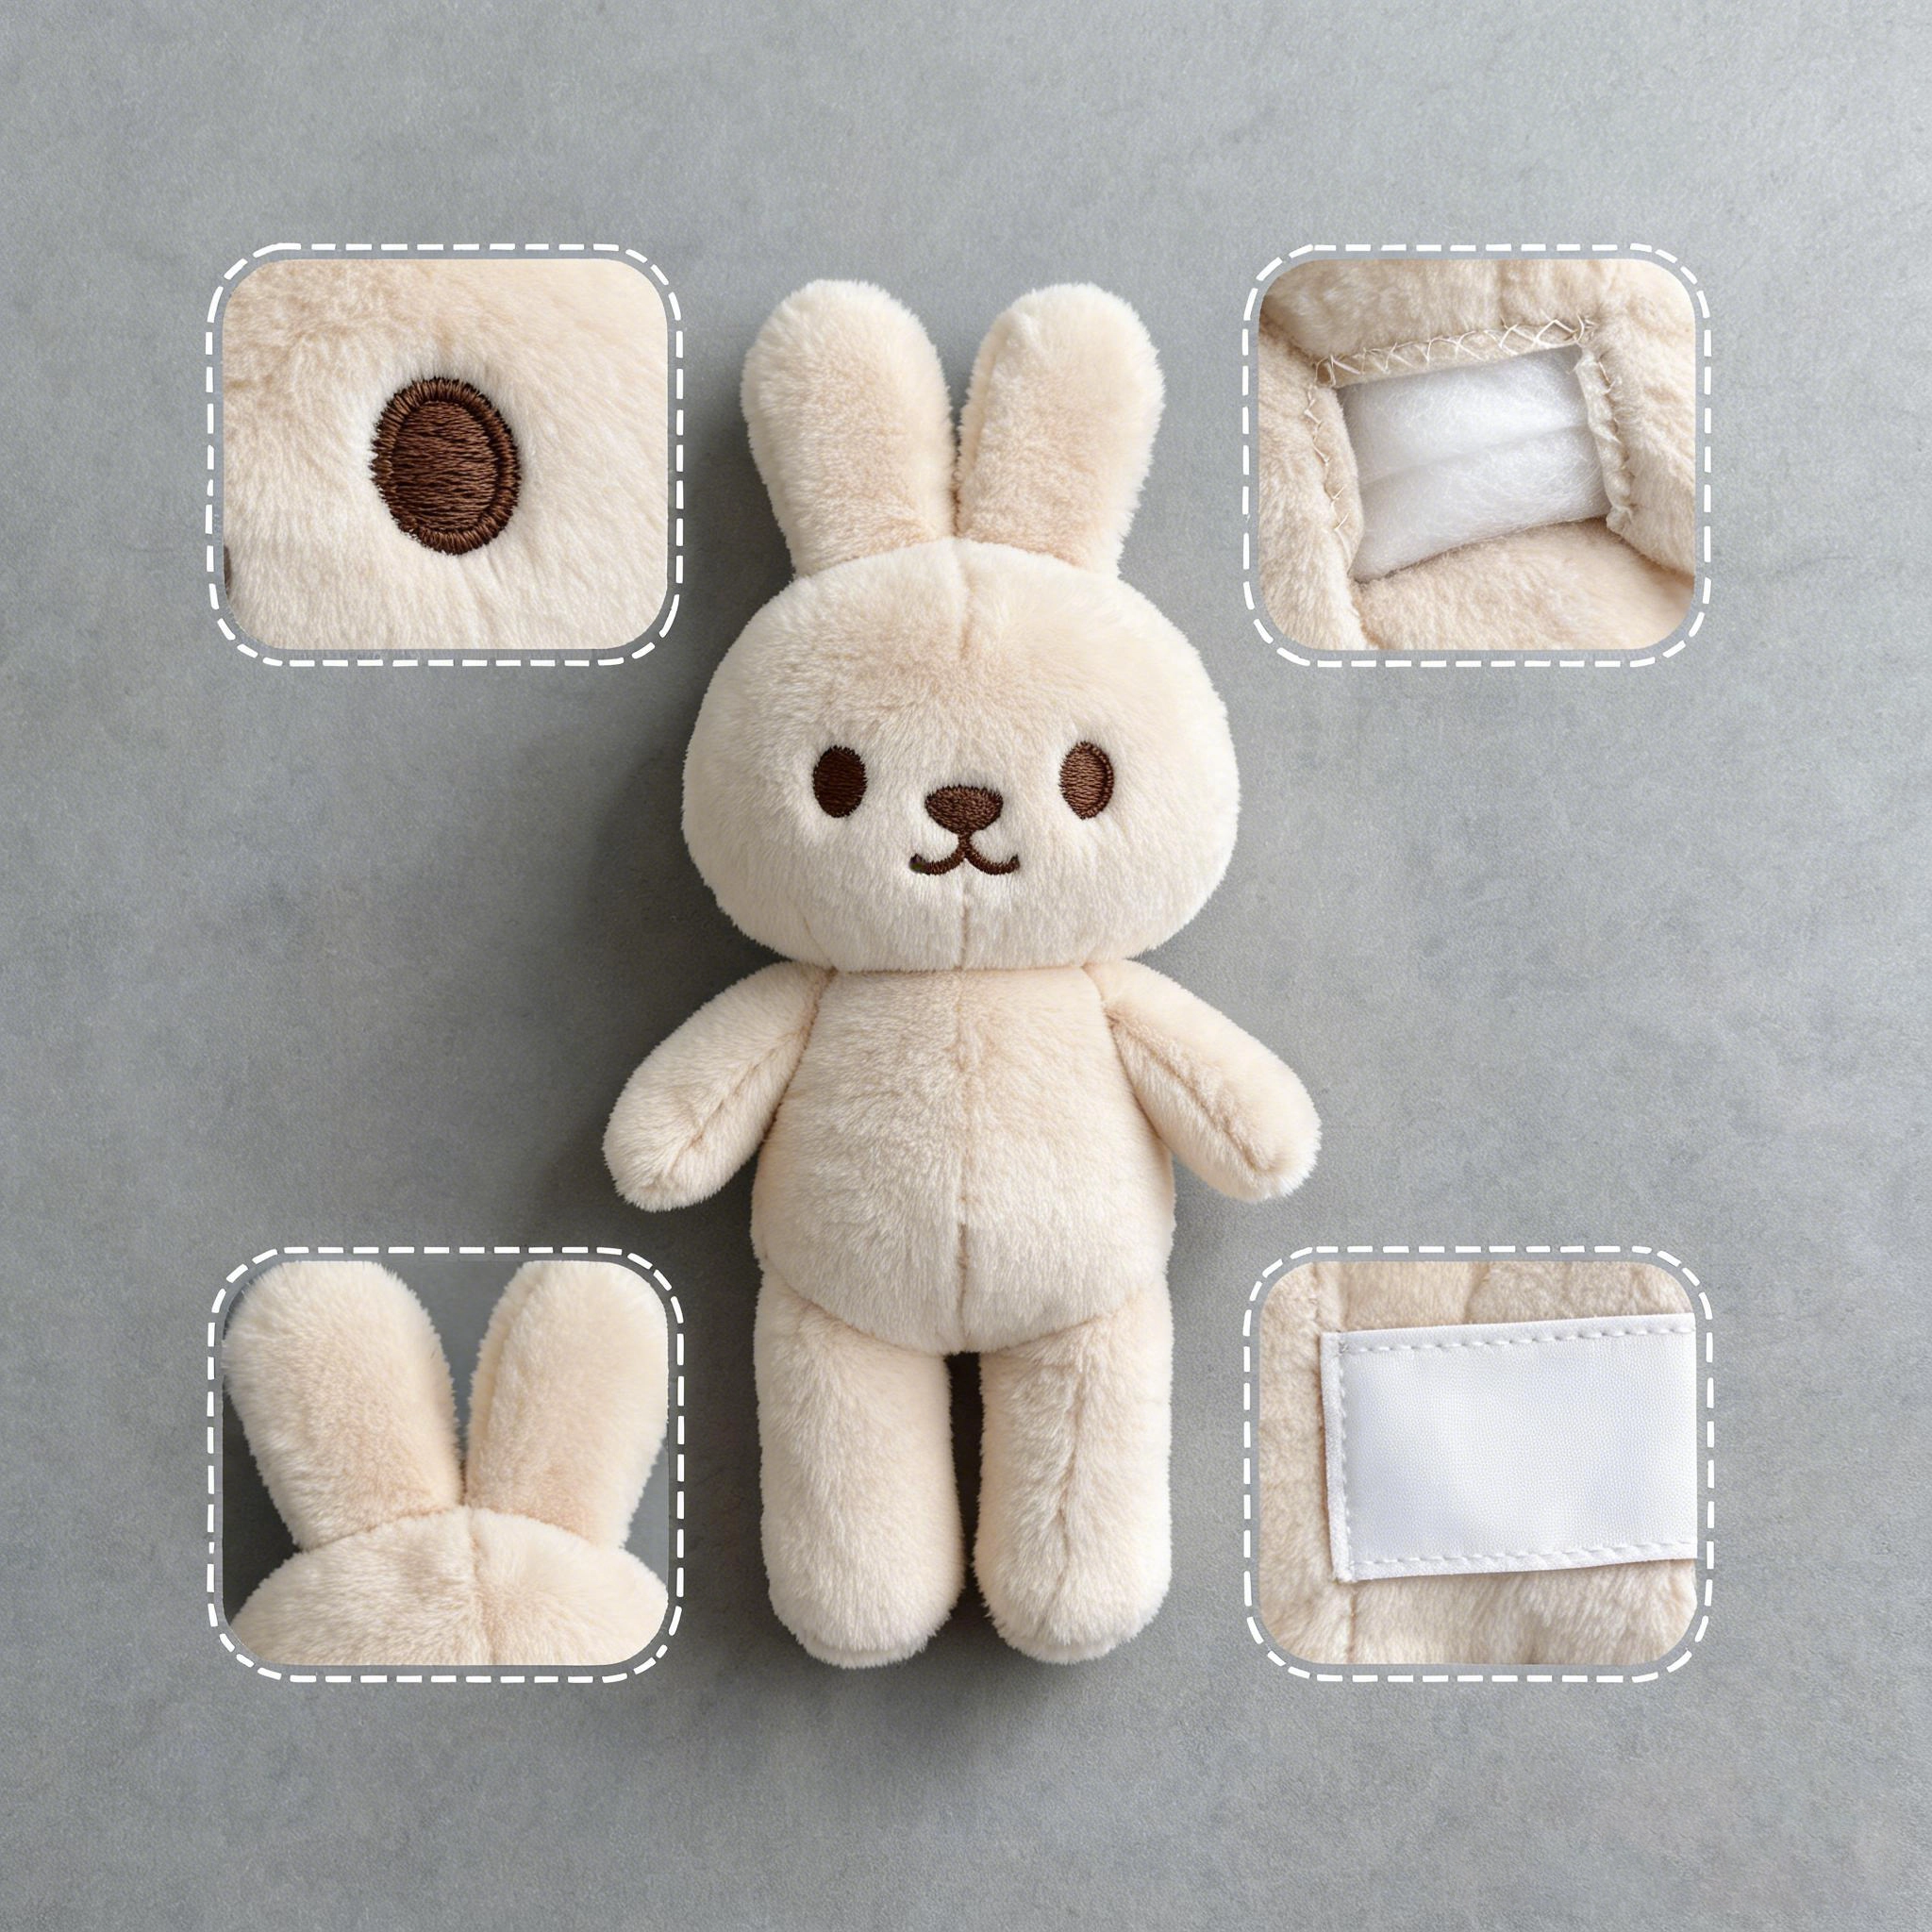
What Should You Send to a Plush Toy Supplier?
A buyer does not need a complete technical package for the first discussion. However, the following information helps the supplier provide a more useful evaluation:
- A clear scan or photo of the drawing
- The desired finished size
- The estimated order quantity
- The target market
- The intended user age
- The preferred pose
- The details that must stay unchanged
- The preferred fabric feel
- The packaging requirements
- The target launch date
- The expected budget range, when available
Recommendation: Mark the three most important features directly on the image.
For example:
- Keep the left eye larger than the right eye.
- Keep the three uneven teeth.
- Do not change the long purple ears.
This gives the sampling team a clear priority when some production adjustments are unavoidable.
Our guide to making a custom plush toy from artwork explains the broader process of converting a flat design into a sewable and repeatable product.
Is Every Child’s Drawing Suitable for Plush Production?
Most drawings can inspire a plush product, but not every detail should be reproduced literally.
A drawing may require major adjustment when it includes:
- Extremely thin disconnected parts
- Many unsupported shapes
- Large rigid structures
- Details smaller than practical embroidery limits
- Unsafe removable accessories
- Copyrighted characters owned by another company
- Too many colors for the target budget
- A shape that cannot balance or hold its form
This does not always mean the project should be rejected.
A difficult design may work better as:
- A flat pillow plush
- A simplified stuffed character
- A mini embroidered plush
- A printed fabric doll
- A soft mascot
- A plush keychain for older users
- A decorative keepsake rather than a young child’s toy
At Wehao Toys, we usually recommend reviewing the intended use before changing the artwork. A keepsake can preserve more irregular details. A children’s retail toy requires stronger control over safety, durability, and production consistency.
Key Takeaways
- A child’s drawing can be turned into a real plush toy.
- The artwork does not need to be professionally prepared.
- Important irregular features should be preserved rather than automatically corrected.
- Some details must be widened, simplified, embroidered, or repositioned.
- A prototype is needed to confirm the three-dimensional shape and expression.
- One unique plush per drawing requires a different model from bulk OEM production.
- Cost depends on structure, size, detail level, quantity, and revisions.
- US children’s toys may require ASTM F963 and CPSIA-related compliance.
- The clearest projects identify which features must remain unchanged before sampling.
Frequently Asked Questions
Can any child’s drawing be made into a plush toy?
Most drawings can be used as the basis for a plush toy. However, narrow parts, disconnected shapes, and very small details may need to be adjusted. The supplier should preserve the character’s main visual features while making the design sewable and stable.
Does the drawing need to be professionally redrawn first?
Not always. A clear scan or photo is often enough for the initial evaluation. A supplier may still need to prepare pattern drawings, embroidery files, or clearer production artwork before sampling.
How do you turn a child’s drawing into a plush toy?
The drawing is reviewed, interpreted as a three-dimensional shape, and divided into sewable fabric panels. Materials, embroidery, and stuffing are then selected. A prototype is produced and adjusted before bulk production.
Will the plush toy look exactly like the original drawing?
It should remain recognizable, but it may not be identical. Sharp corners become softer after stuffing, thin lines may need thicker embroidery, and unseen side or back details must be interpreted.
Can you make only one personalized plush toy?
A handmade studio may support one unique piece. Commercial OEM manufacturing is usually designed for multiple identical units. Producing one piece from every different drawing requires new development work for each design.
What is the MOQ for a custom stuffed animal from a drawing?
MOQ depends on the supplier, size, materials, and complexity. Commercial custom plush projects often begin with several hundred units per design. Very small quantities normally have a higher unit price.
How long does the prototype take?
A standard first prototype often requires around 10–20 days after the design and materials are confirmed. Complex embroidery, unusual structures, material sourcing, or multiple revisions may extend the schedule.
Are embroidered eyes better for a children’s plush toy?
Embroidered eyes remove the need for separate hard eye components and can reproduce unusual hand-drawn expressions. The final safety decision should still be based on the complete design, intended age group, and required testing.
Does a children’s plush toy need a CPC in the USA?
When the product is primarily intended for children aged 12 or younger and is subject to applicable children’s product safety rules, it generally requires third-party testing and a Children’s Product Certificate issued by the manufacturer or importer.
Can handwritten text from the drawing be added to the plush?
Yes. Short words or names may be embroidered or printed. Small or long handwriting may need to be enlarged, simplified, or moved to a flatter part of the toy.
What is the biggest mistake buyers make with drawing-to-plush projects?
A common mistake is expecting every pencil line to become a separate fabric detail. This can increase cost and make the toy look crowded. It is better to prioritize the details that make the character recognizable.
Turn a Selected Drawing Into a Production-Ready Plush Sample
Planning a children’s artwork collection, school project, keepsake brand, or personalized plush product line? You can send us your child’s drawing plush project , including the preferred size, estimated quantity, target market, and intended user age. Our team can review which features can be preserved, which details may need adjustment, and whether the design is suitable for commercial sampling. We can also help evaluate the materials, embroidery, structure, packaging, and testing needs before production.