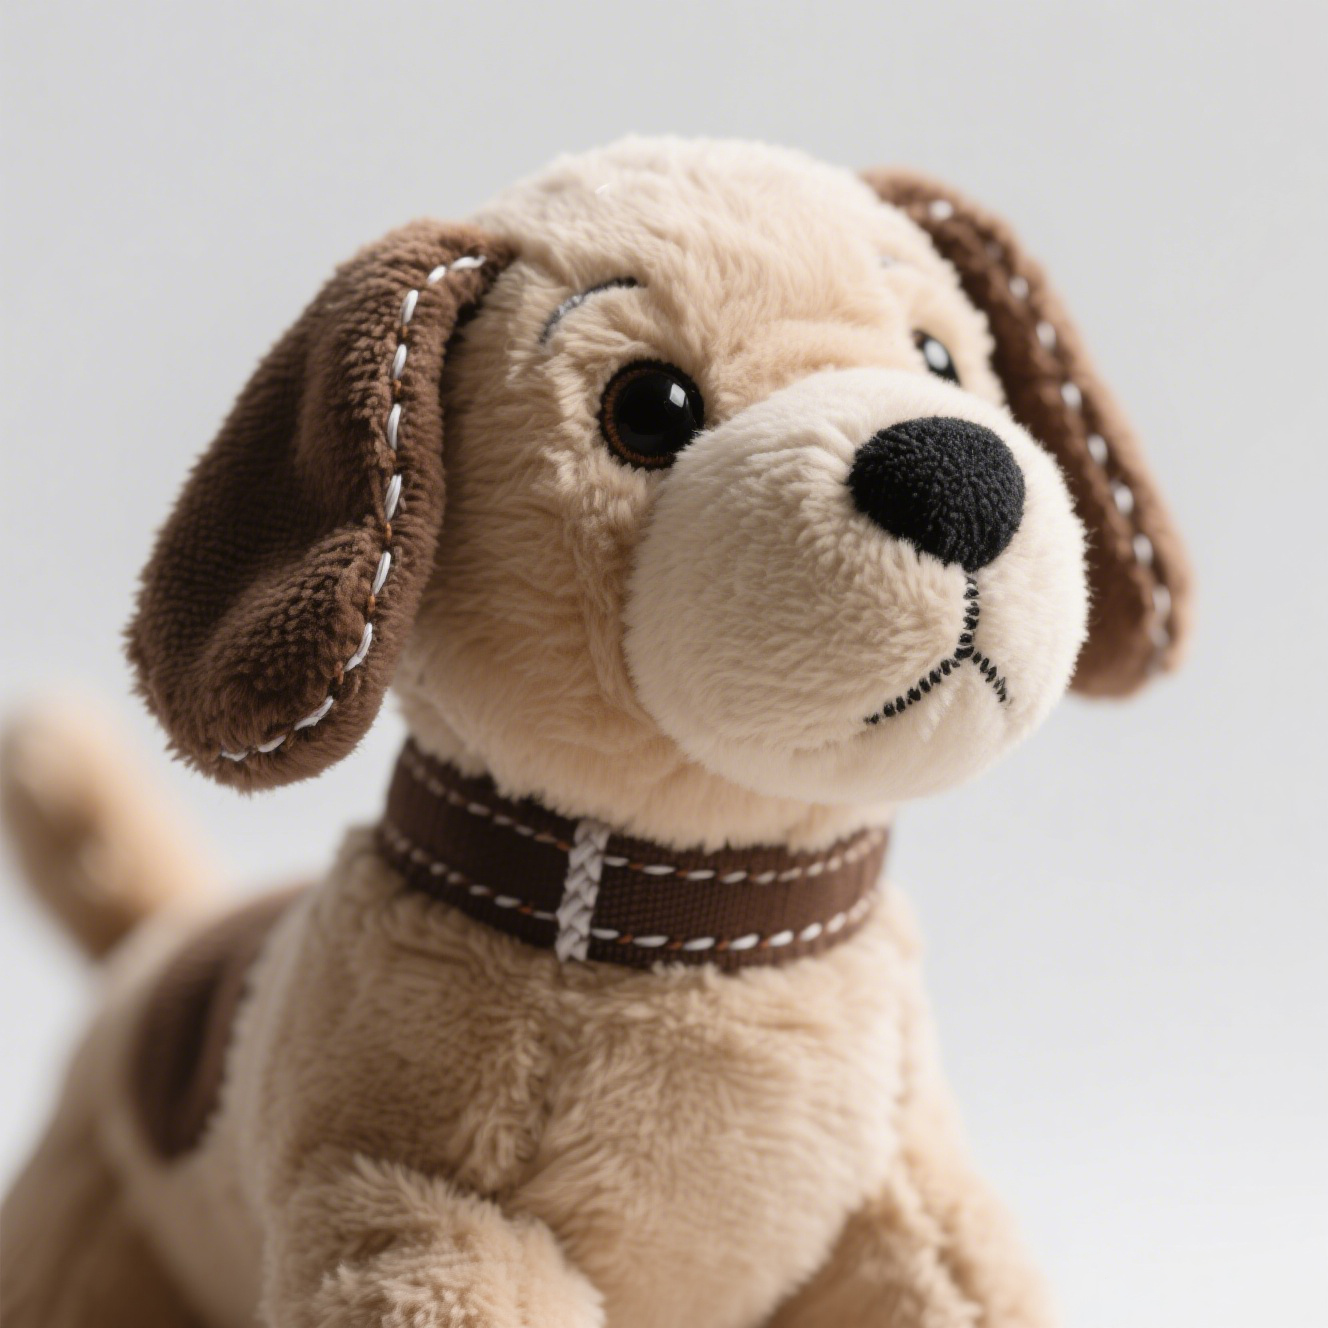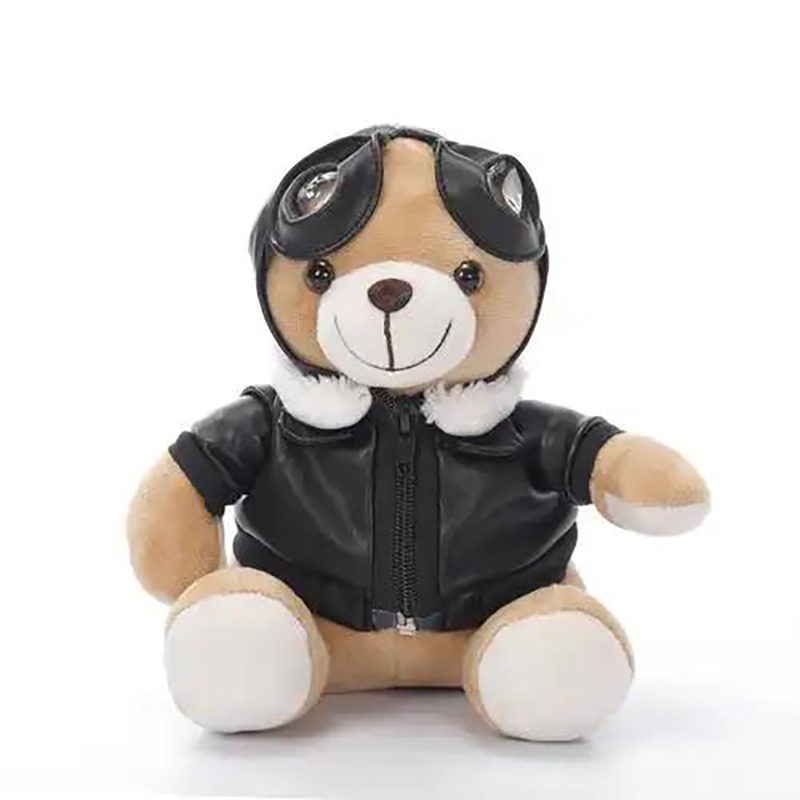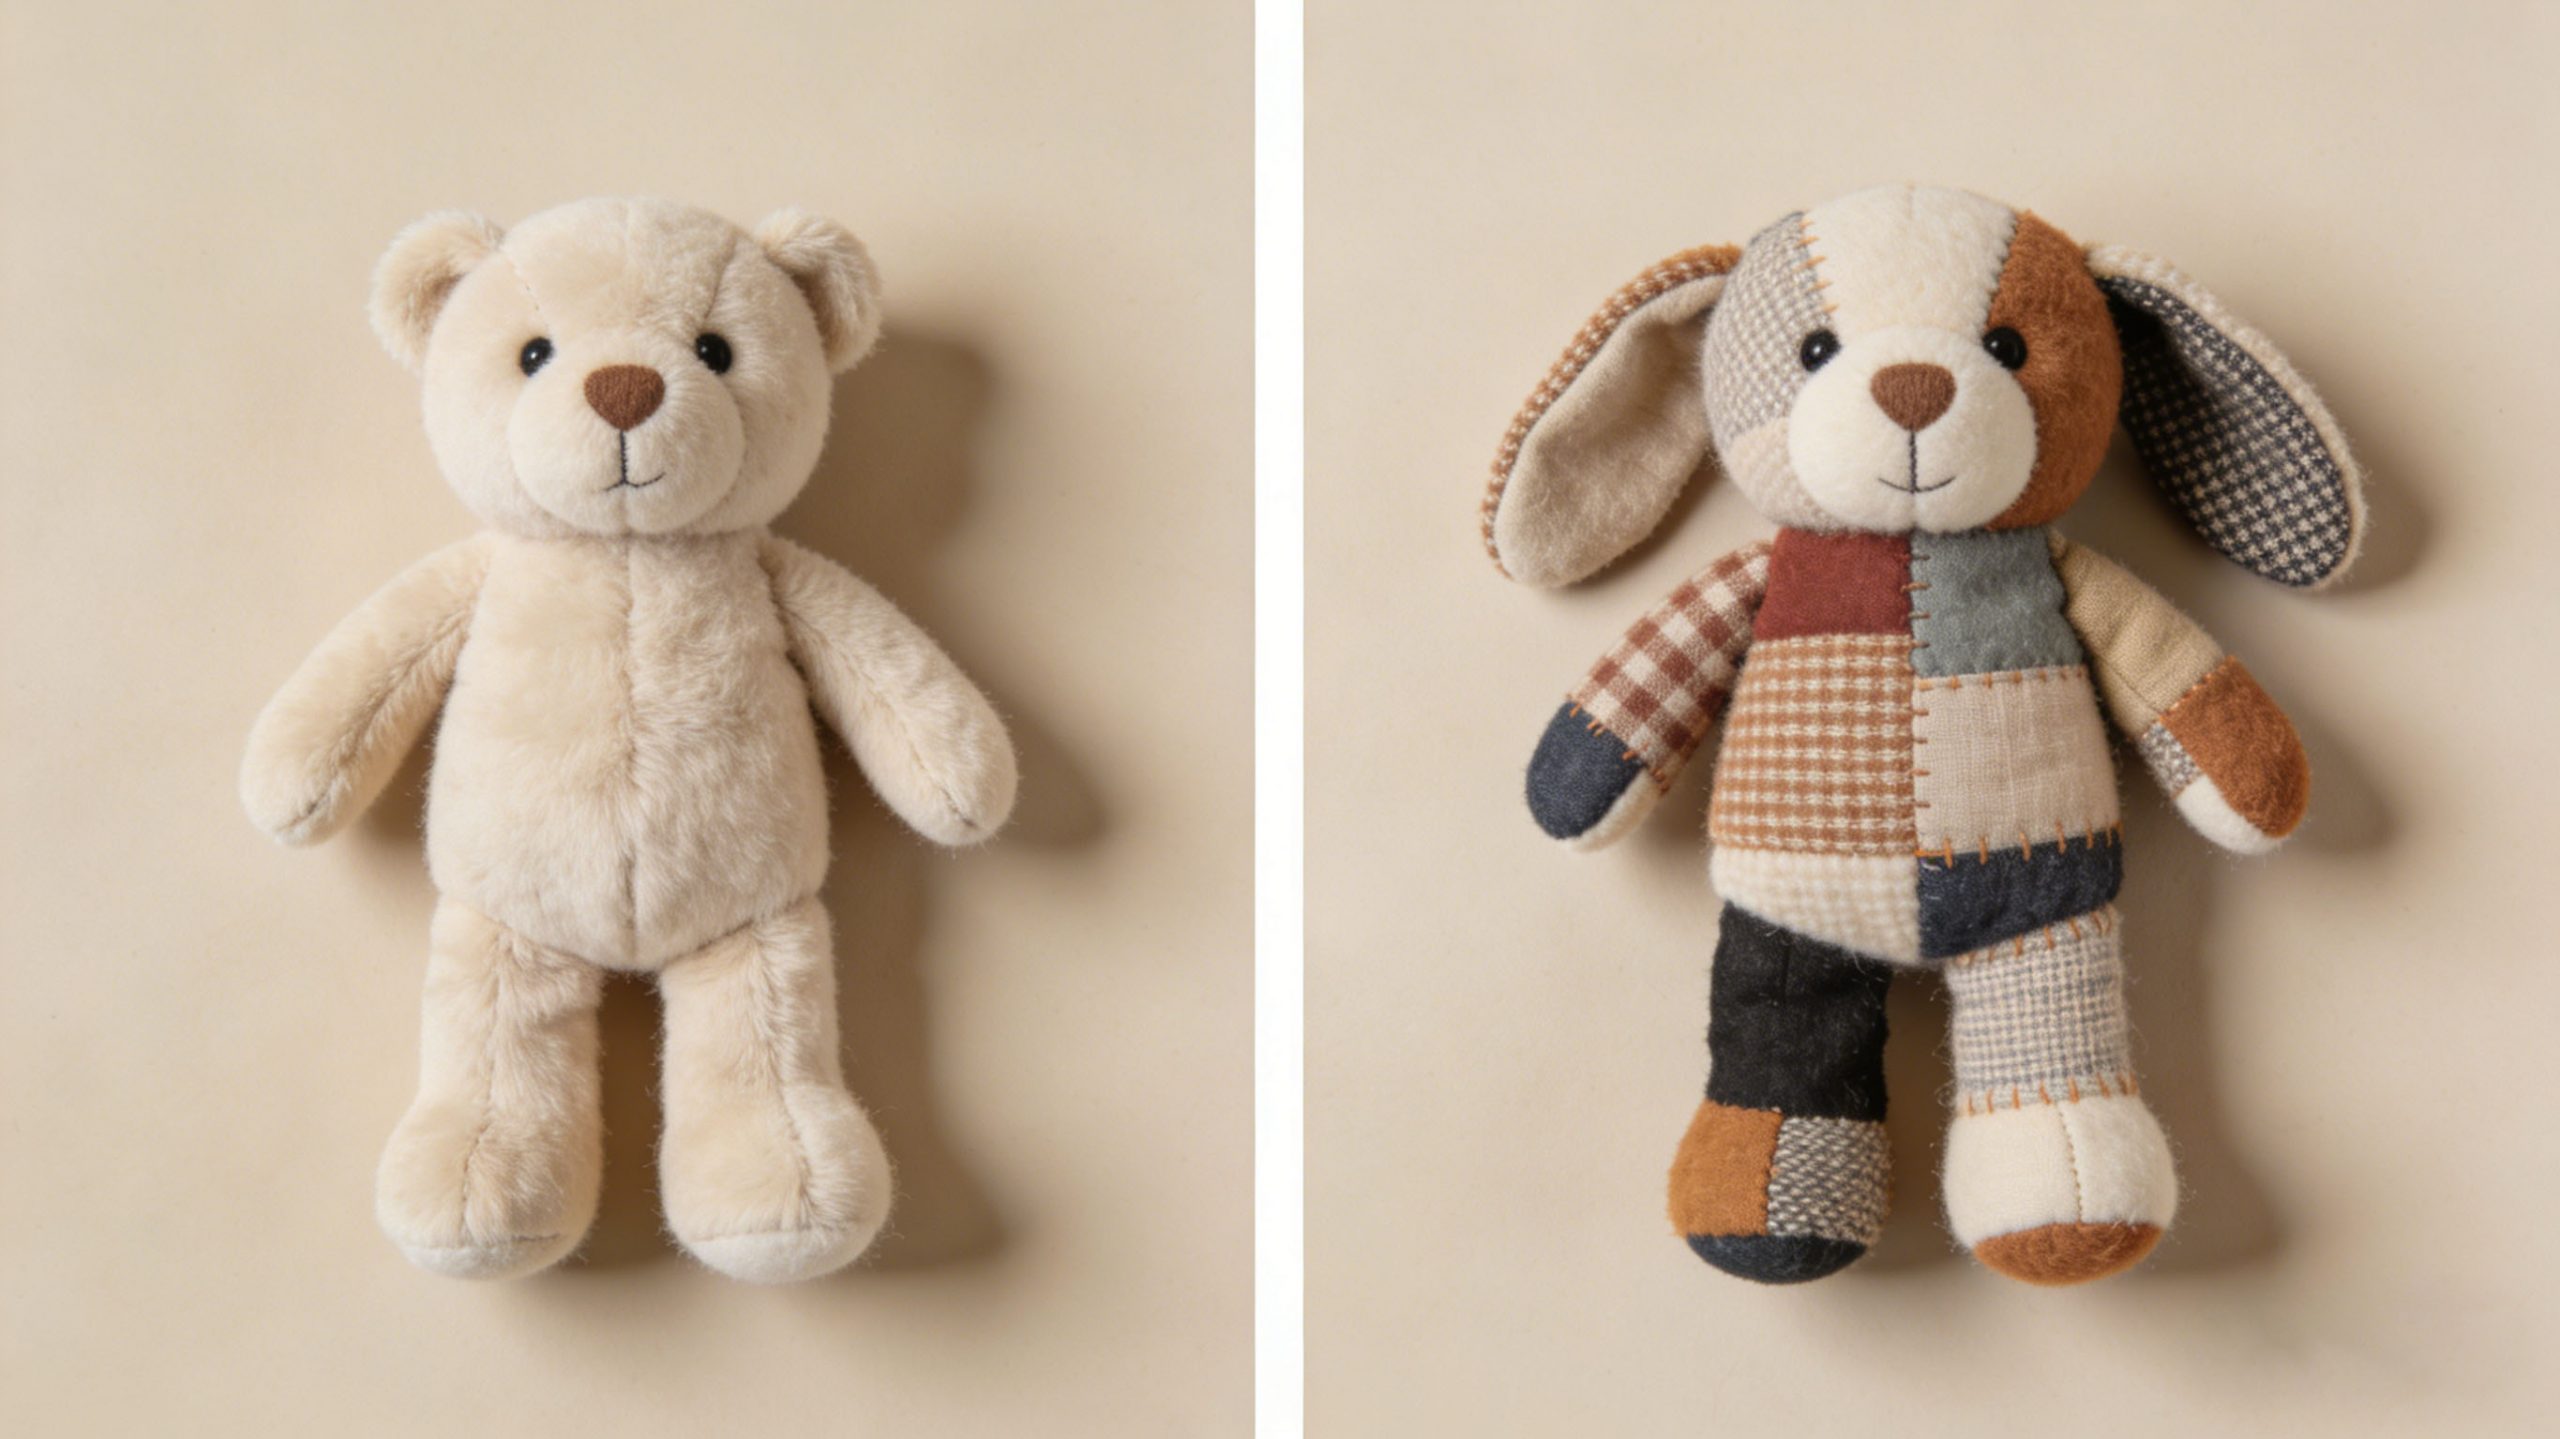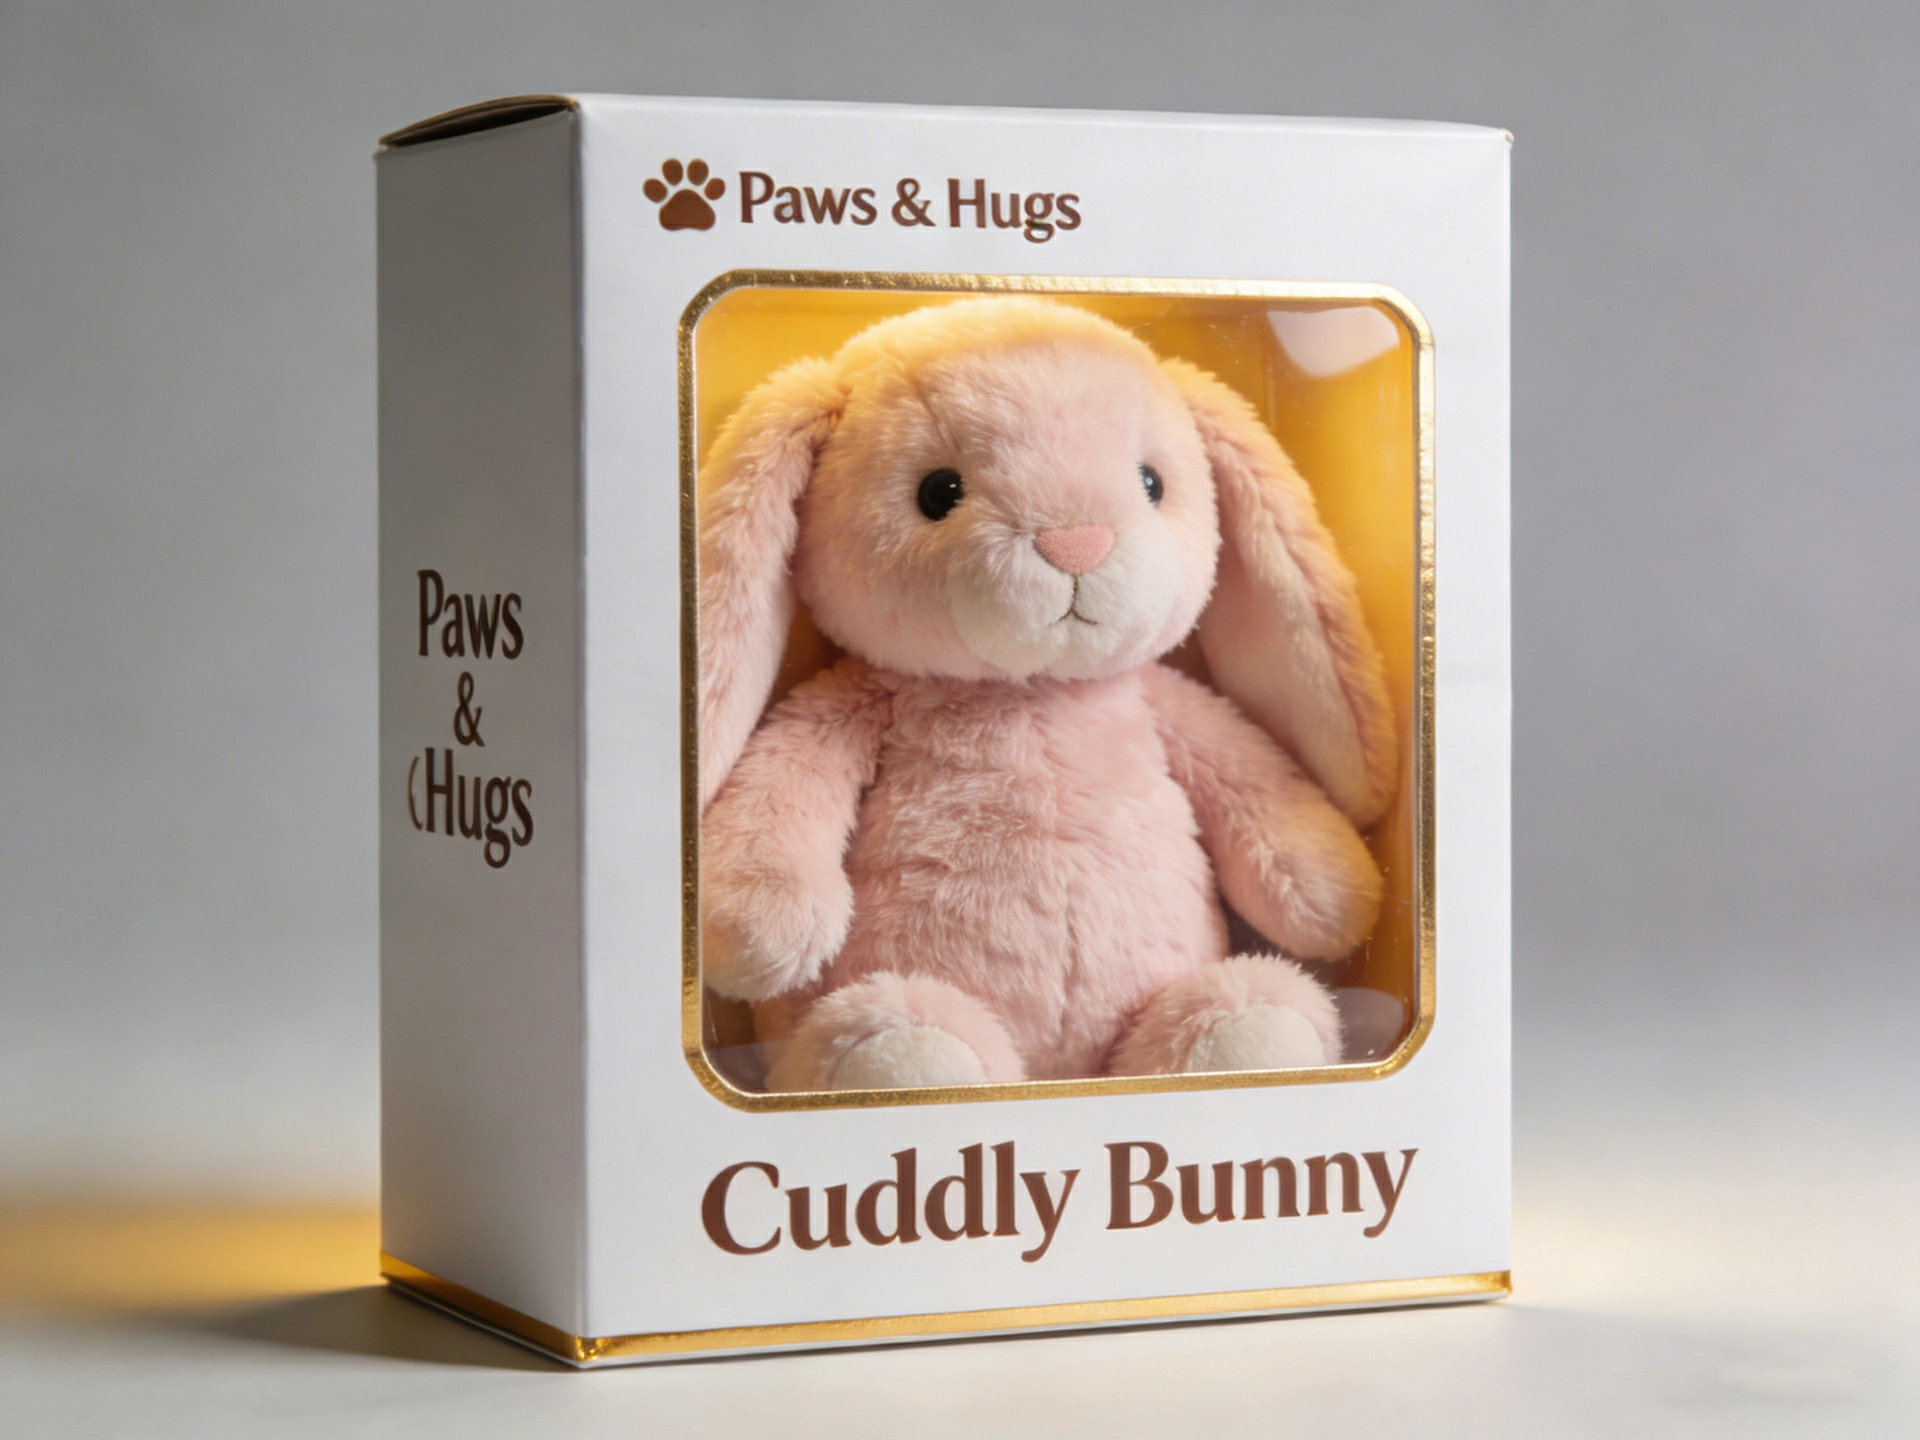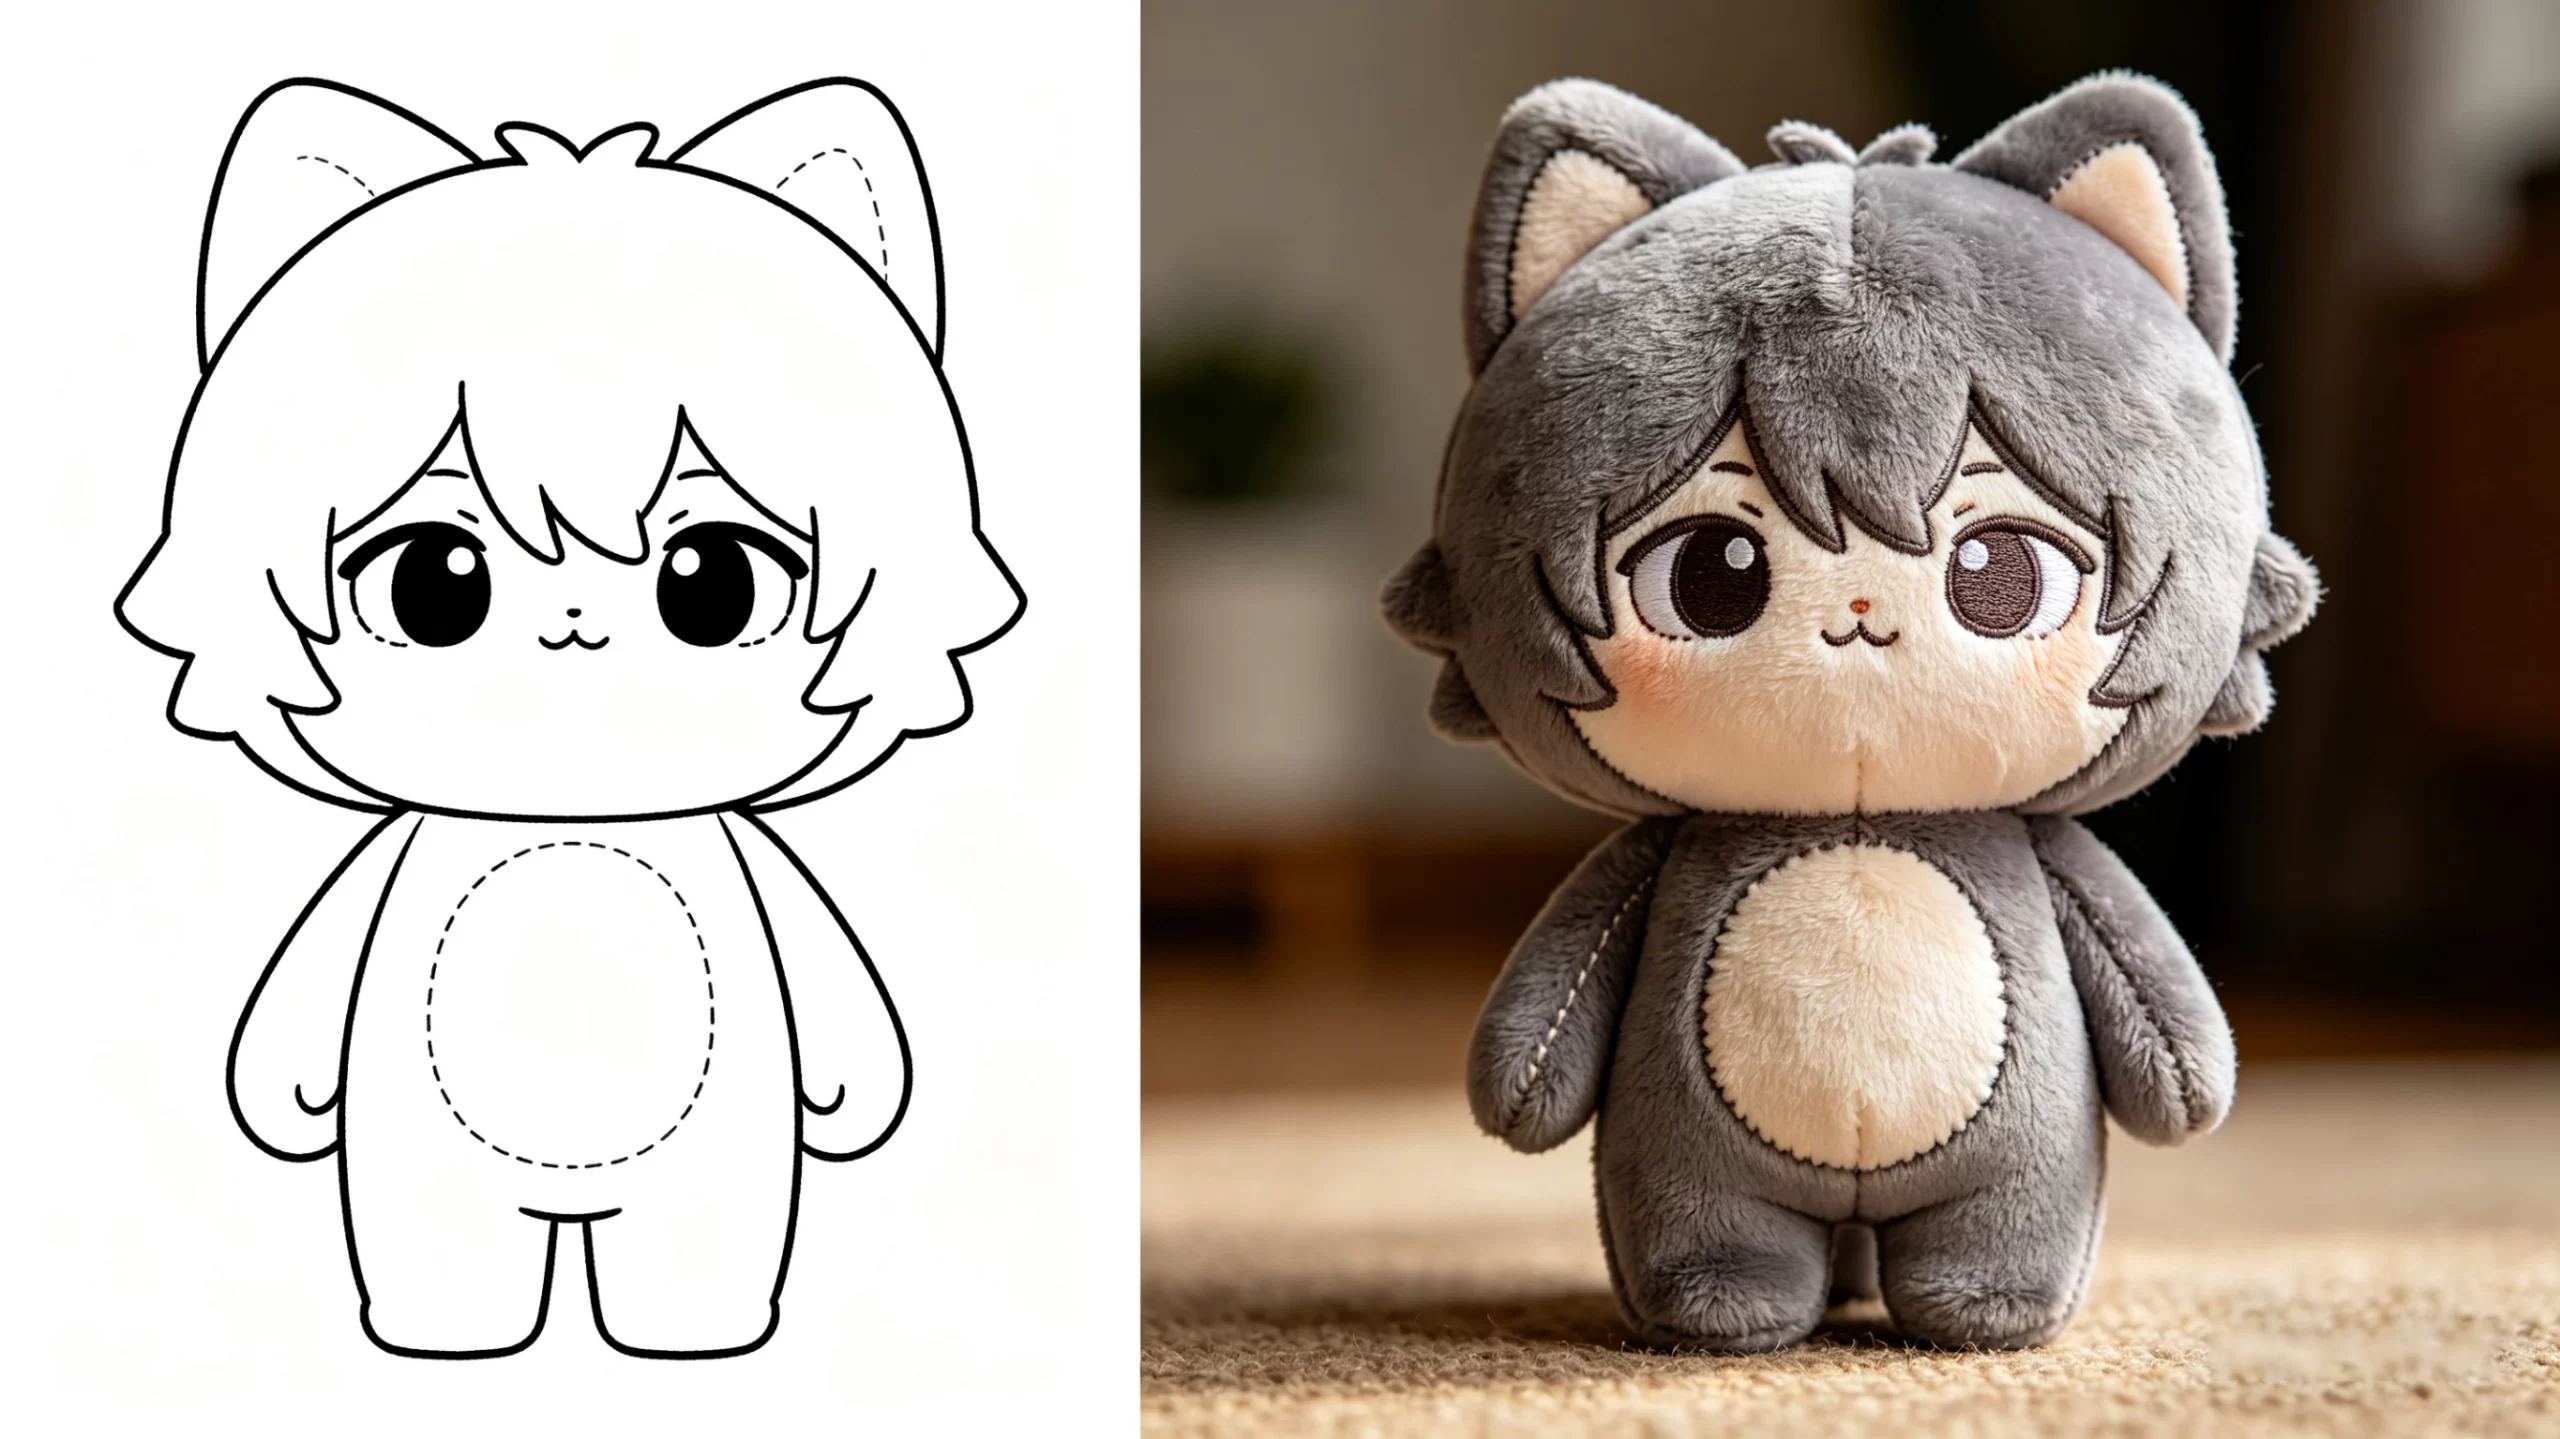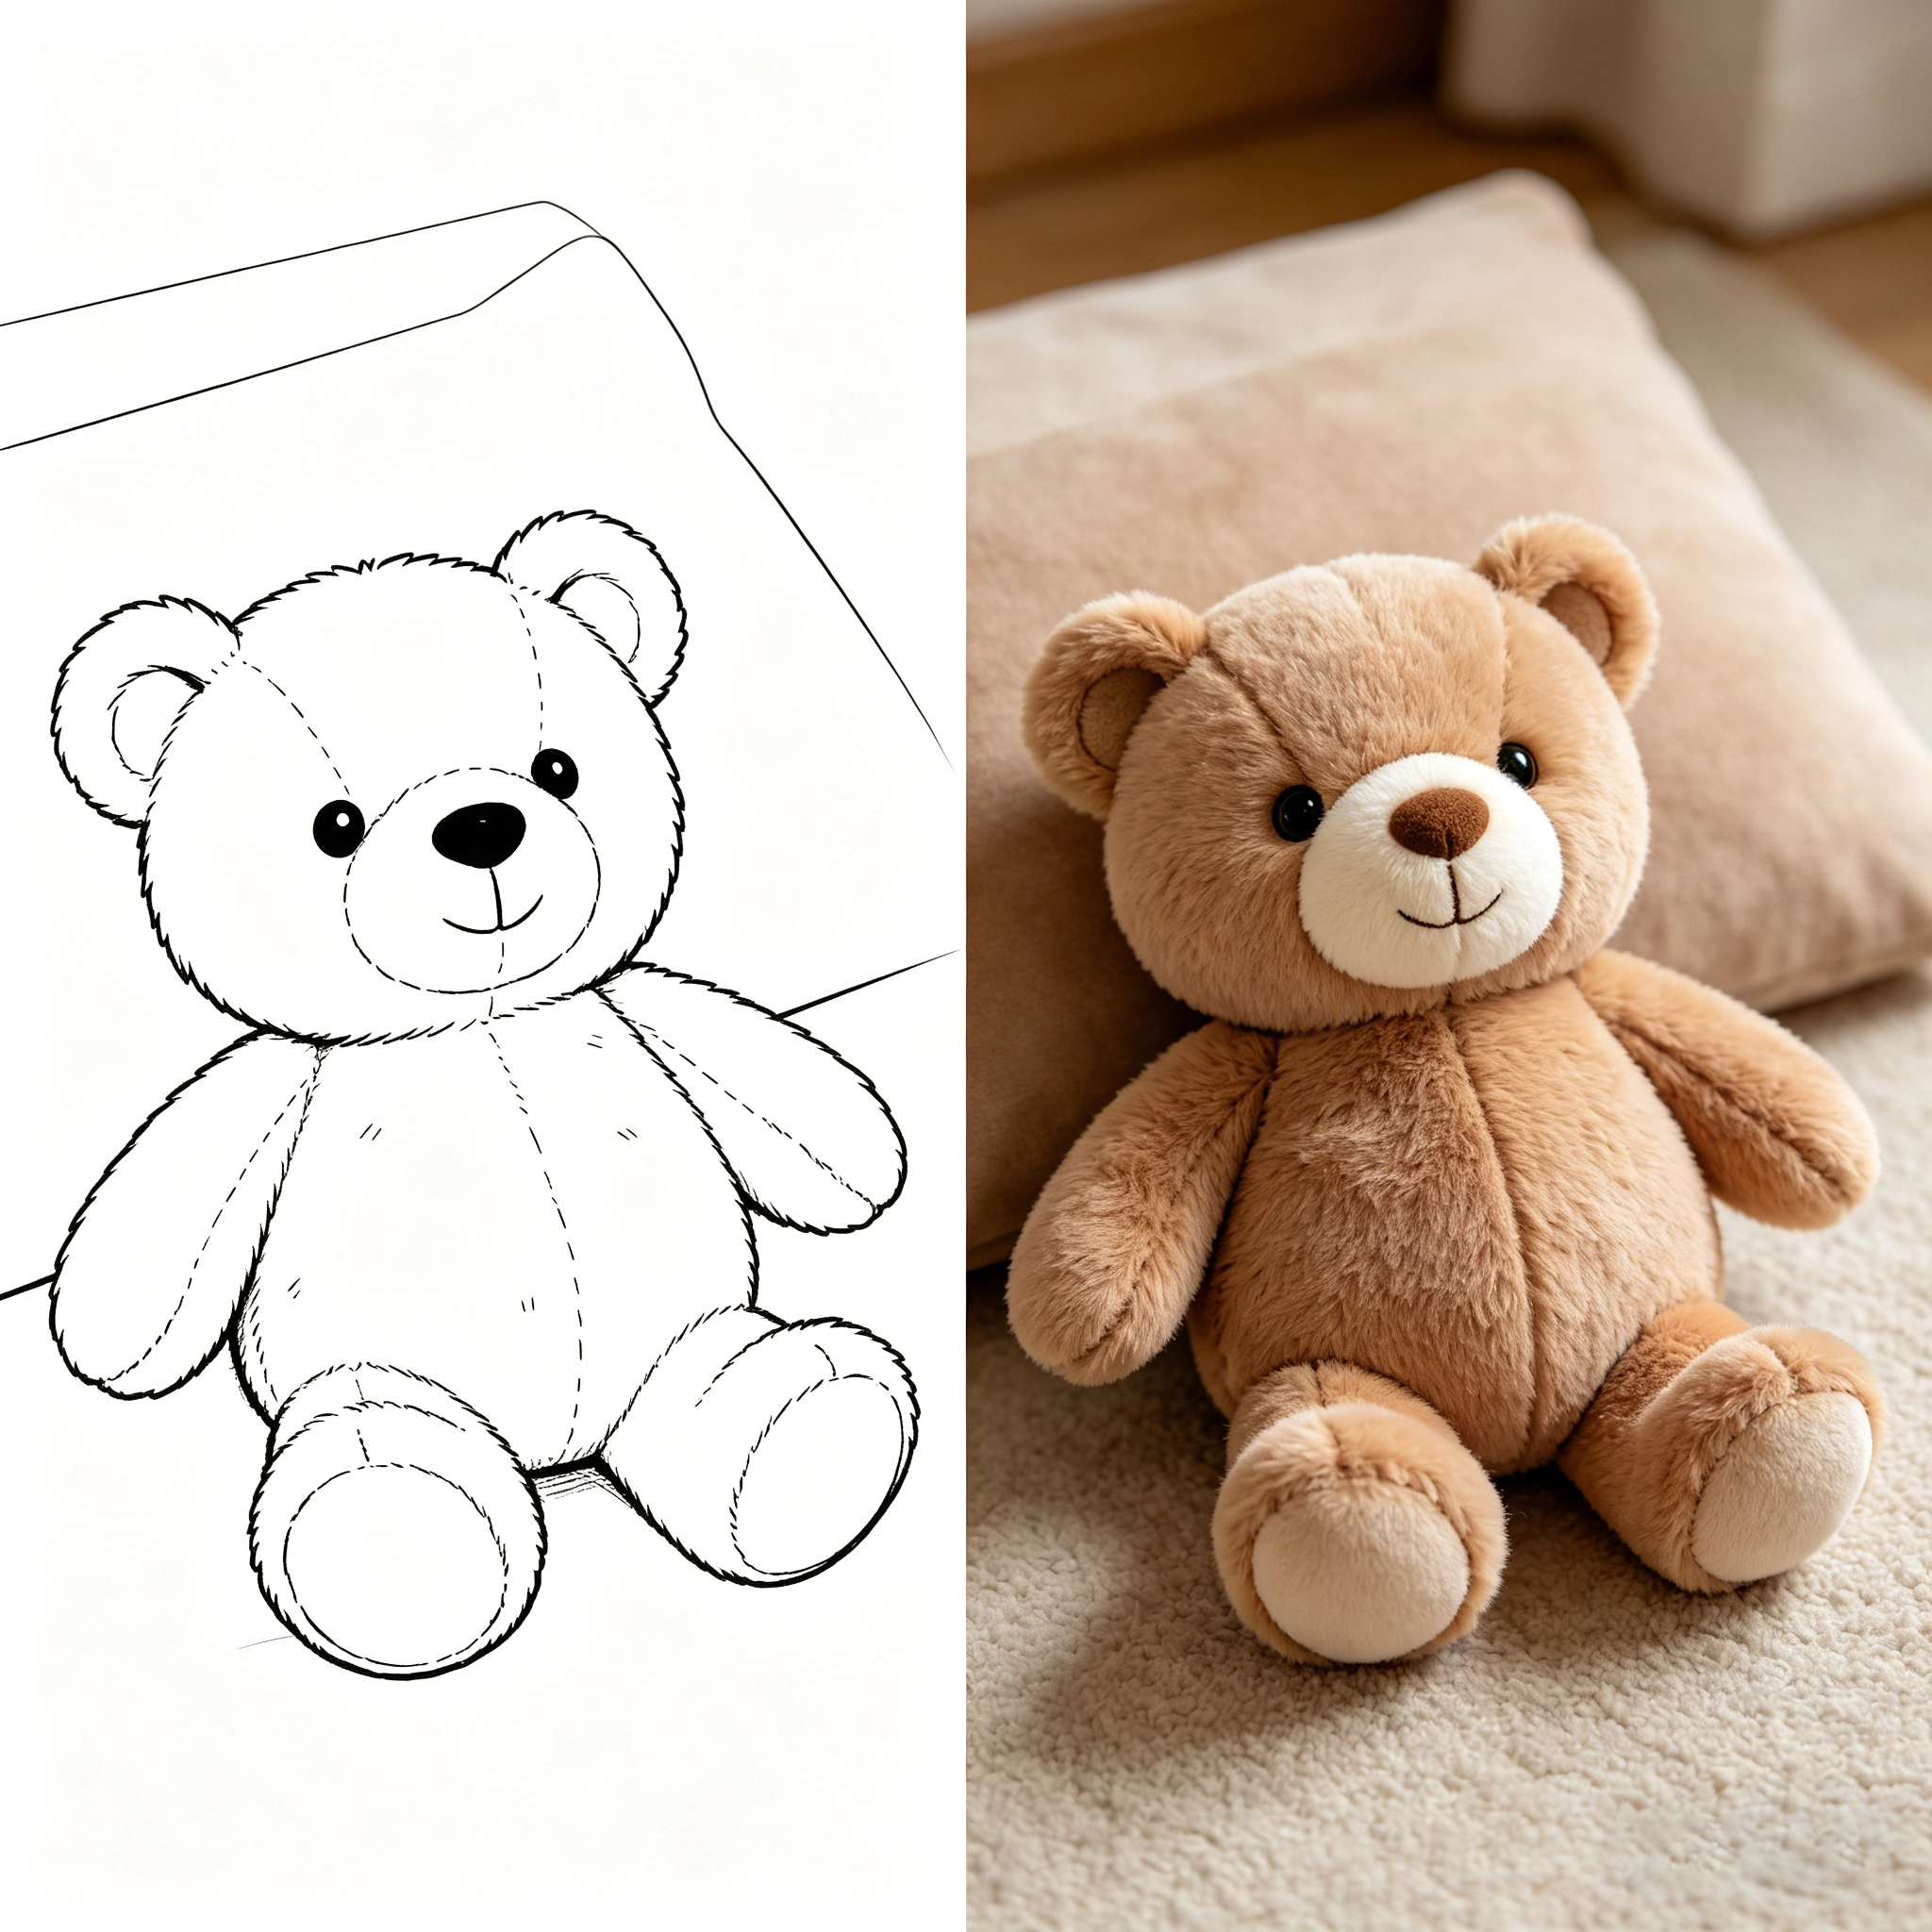
Turning artwork into a plush toy is not just a printing process. A plush toy must be redesigned into a three-dimensional product that can actually be sewn, stuffed, embroidered, and mass produced.
In most plush toy projects, the biggest challenge is not drawing the character. The real challenge is translating flat artwork into a soft structure that still looks recognizable after stitching and stuffing.
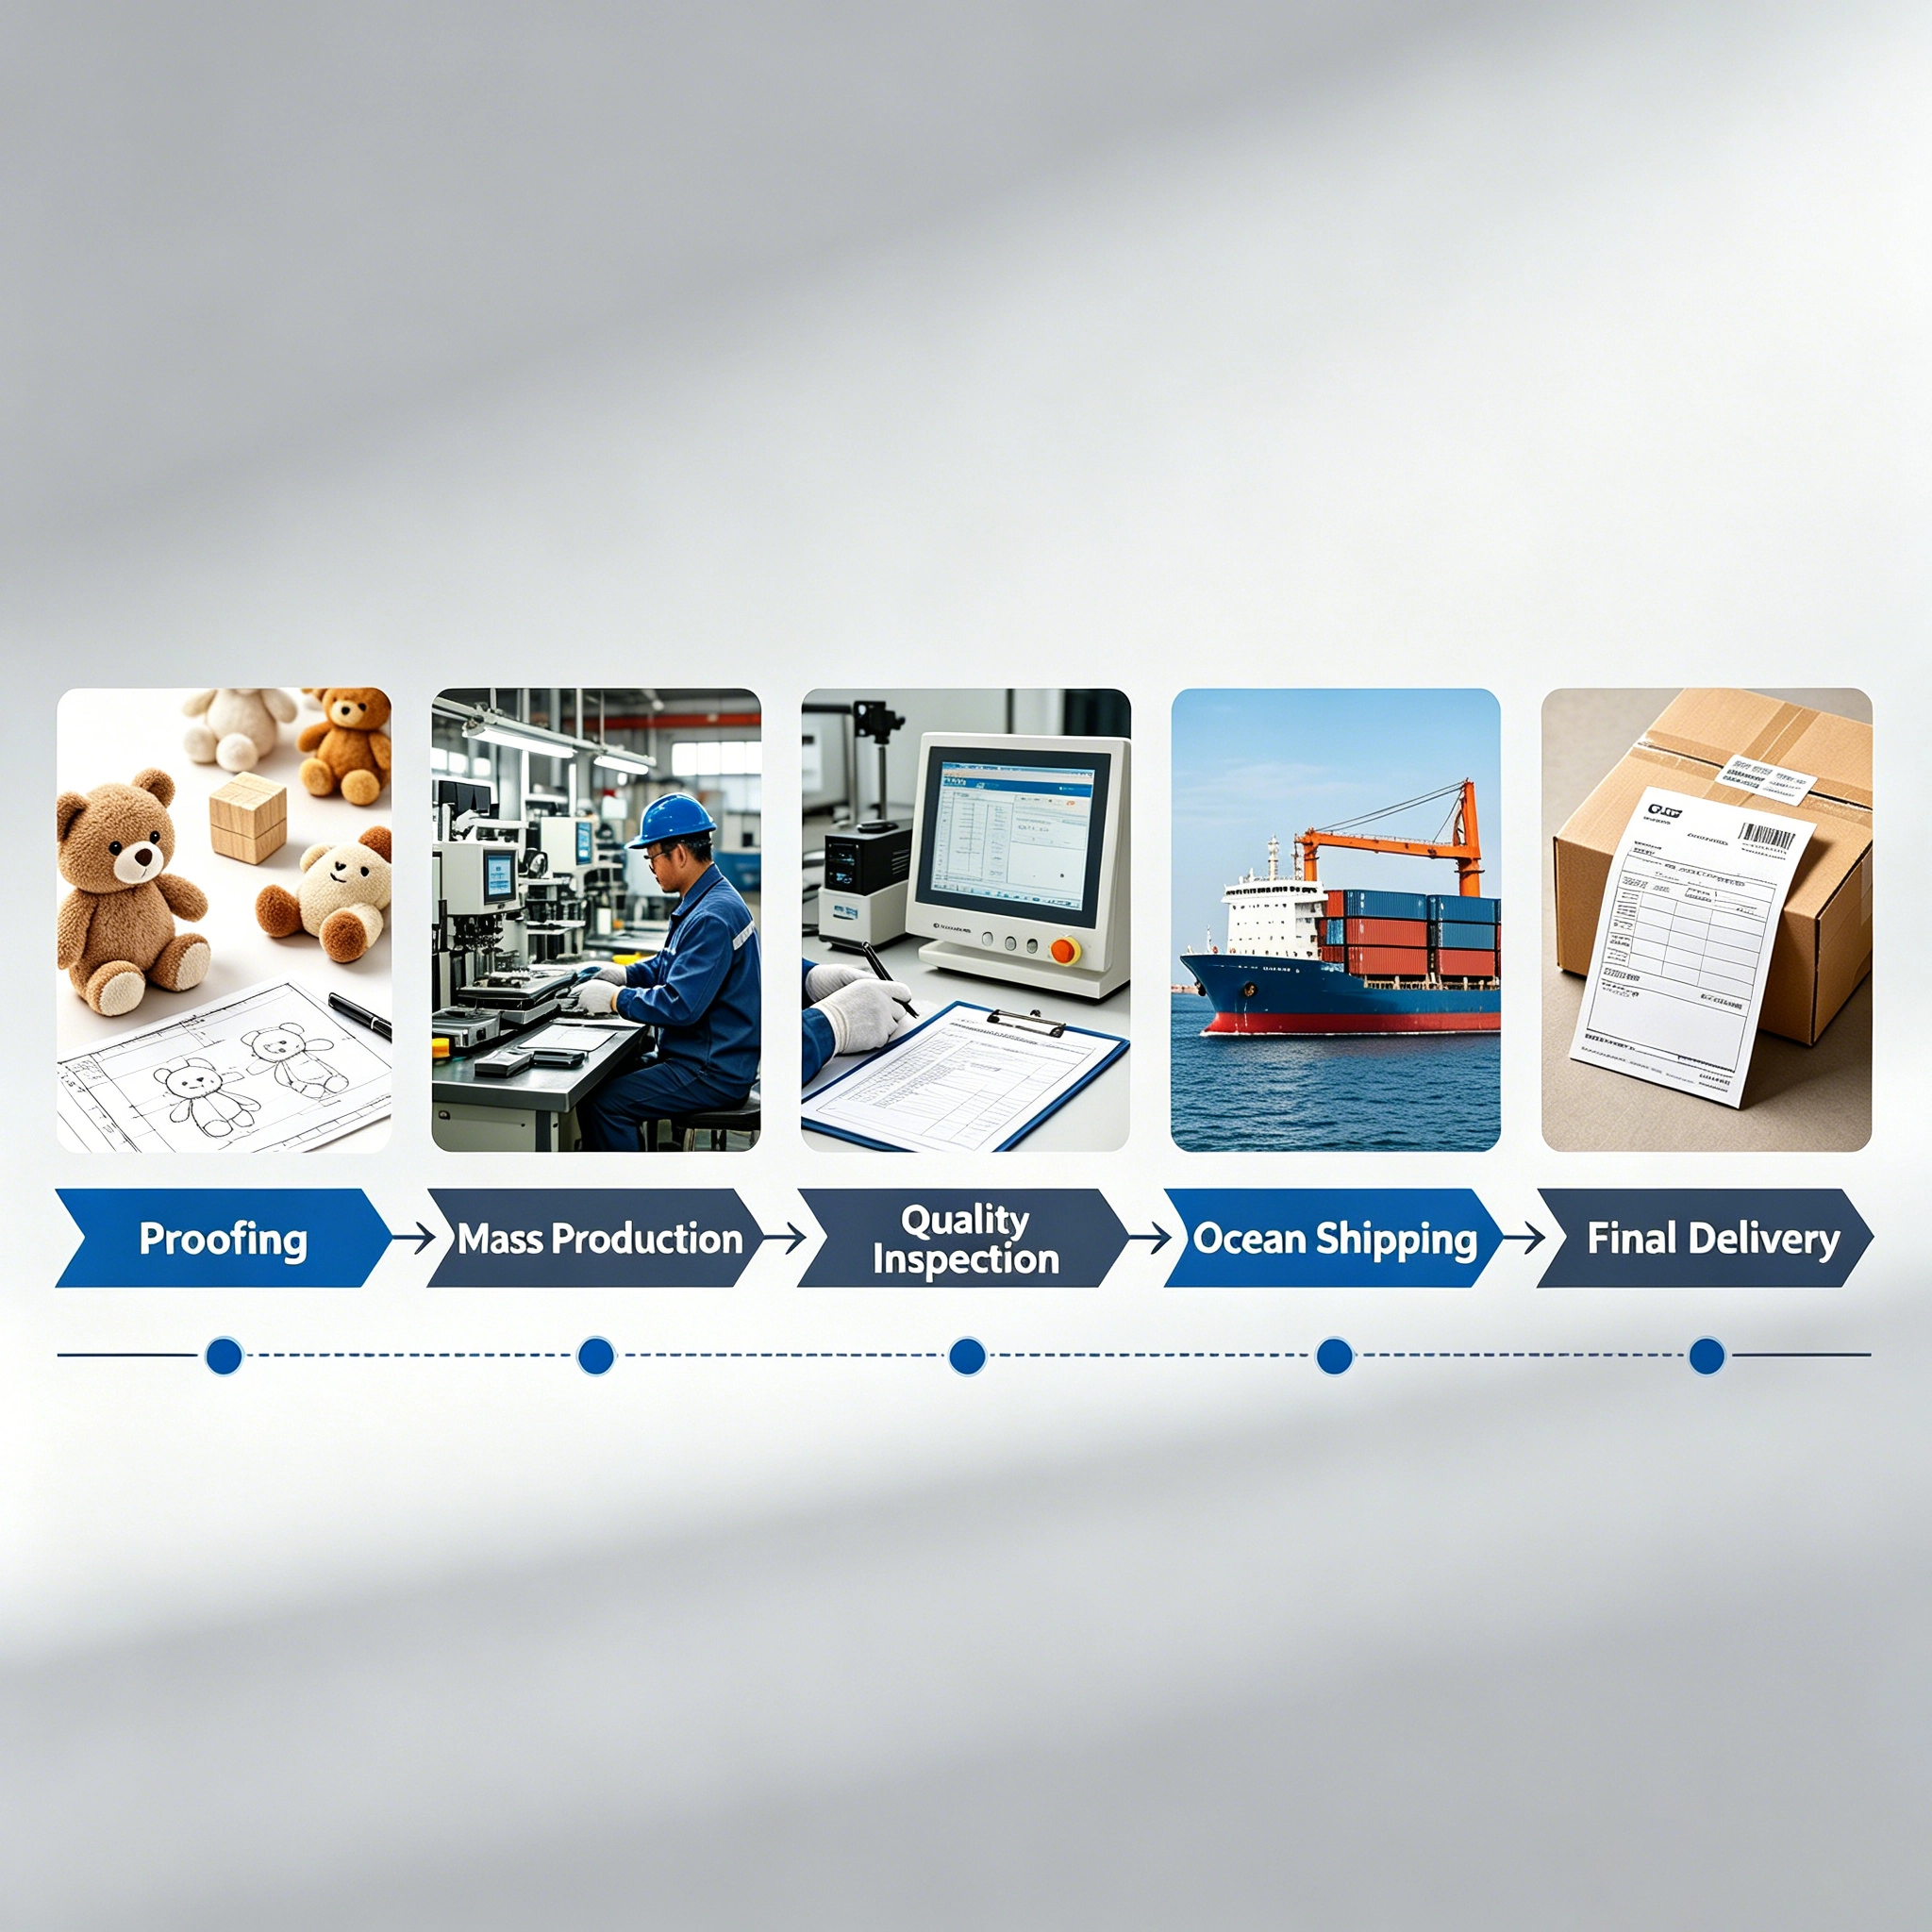
A typical custom plush toy workflow includes:
- artwork review
- plush pattern development
- material selection
- embroidery setup
- prototype sampling
- revisions
- production approval
Many buyers underestimate how much interpretation happens during sampling. Even strong artwork usually needs structural adjustments before production begins.
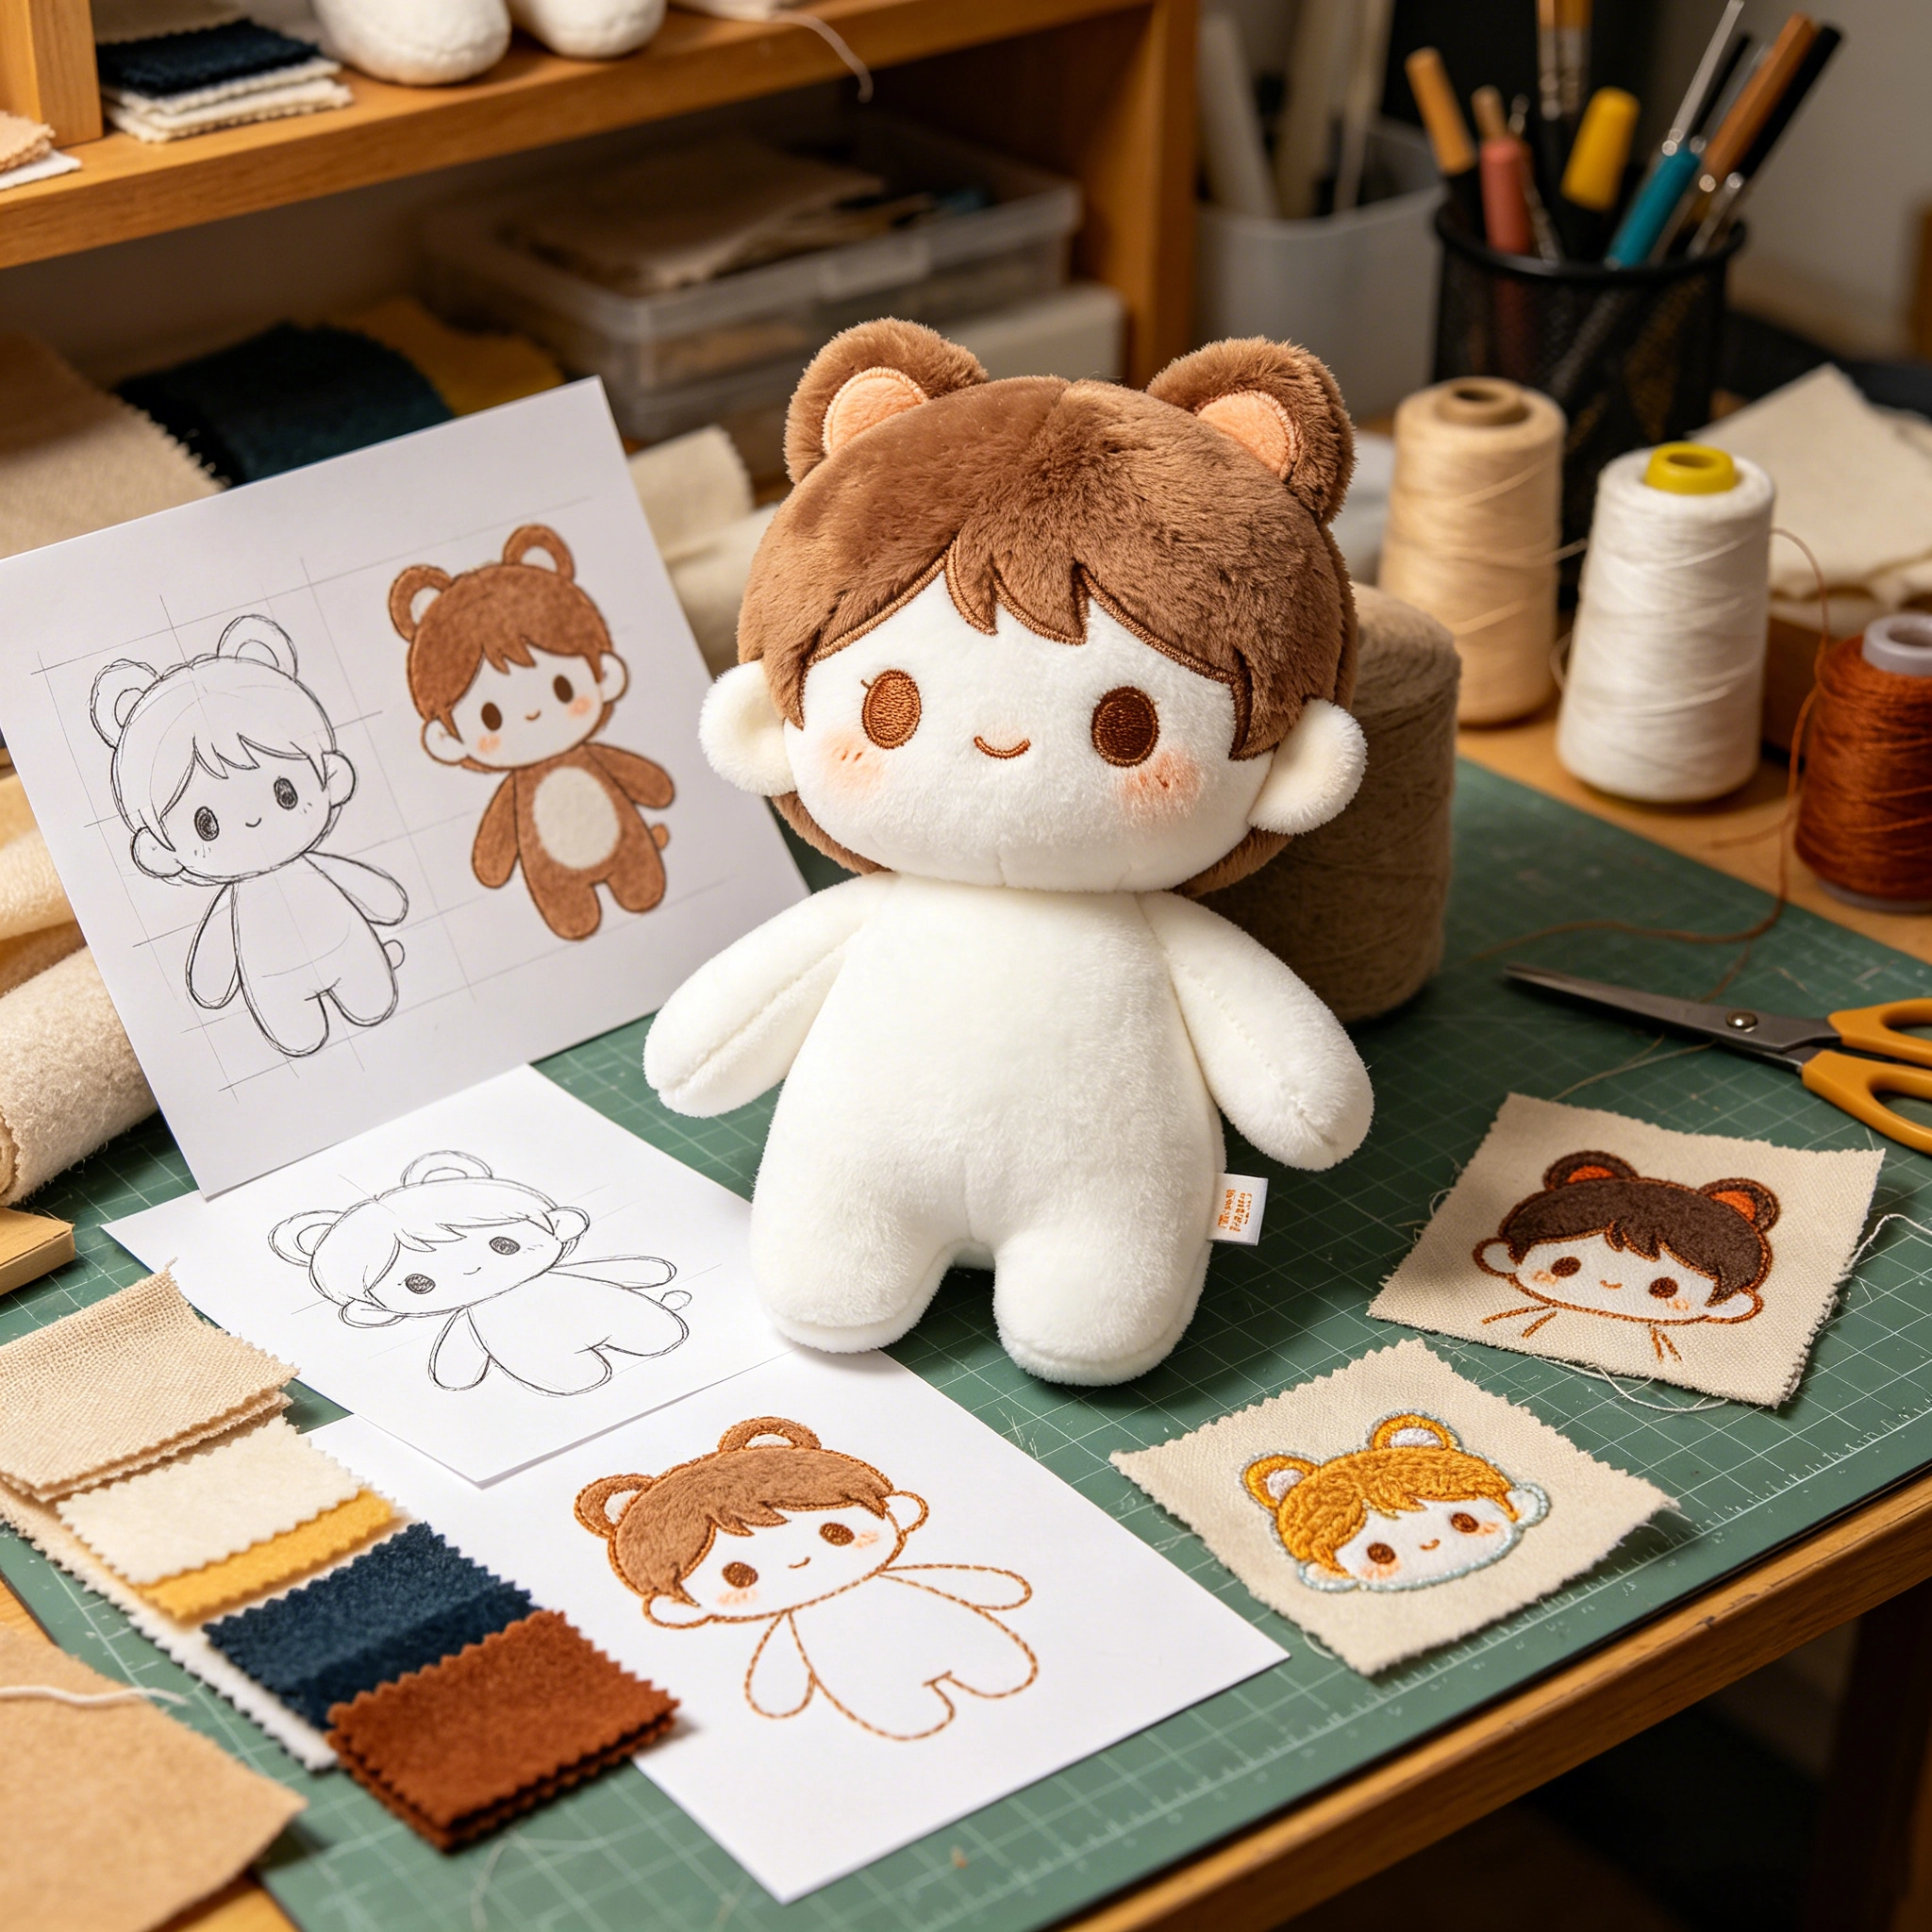
What Actually Happens When Artwork Becomes a Plush Toy
A plush toy designer first studies:
- body proportions
- facial positioning
- sewing complexity
- fabric compatibility
- stuffing balance
- embroidery feasibility
The artwork then gets converted into sewing patterns. This stage is called plush pattern development.
Unlike flat products, plush toys change shape after filling is added. A circle drawn in artwork may become oval after stuffing pressure. Thin limbs may become unstable. Small details may disappear completely after sewing.
In our sampling experience, designs with very sharp angles or excessive tiny accessories usually require simplification during prototyping.
That is why the first sample often looks slightly different from the original illustration.
Step 1 — Prepare the Right Artwork Files
Good artwork reduces revision cycles.
However, “good artwork” does not necessarily mean highly detailed artwork. Clear structure matters more than visual complexity.
2D artwork vs production-ready artwork
Many buyers send:
- screenshots
- low-resolution PNG files
- hand sketches
- AI-generated images
These can work for early discussions, but they are rarely enough for accurate plush sampling.
Production-ready references usually include:
- front view
- side view
- back view
- close-up facial details
- color references
- size expectations
If multiple expressions or accessories exist, they should be separated clearly.
One common issue we often see is inconsistent character proportions across different drawings. This creates delays because the sample team must guess which version is correct.
Files that help the sampling process move faster
Helpful file formats include:
- AI
- PSD
- high-resolution PNG
- layered artwork files
A size reference also helps significantly.
For example:
- “12-inch sitting plush”
- “20 cm mascot plush”
- “palm-size keychain plush”
Without sizing guidance, embroidery scale and pattern proportions often need additional revisions later.
Step 2 — Plush Pattern Development Starts Before Sewing
Plush pattern development is the technical stage where artwork becomes sewing templates.
This stage determines:
- body shape
- seam placement
- stuffing volume
- structural balance
Why flat artwork does not directly become a plush
A drawing may look visually balanced in 2D but fail structurally in plush form.
For example:
- very thin necks may collapse
- oversized heads may not balance properly
- tiny embroidered eyes may disappear into fabric texture
Buyers often assume a plush works like vinyl toys or figurines. However, plush fabric stretches and stuffing changes proportions.
This is why experienced sample makers adjust shapes before sewing starts.
How factories simplify difficult shapes
Some details simply do not scale well into fabric production.
Common simplifications include:
- reducing tiny color blocks
- enlarging embroidery areas
- thickening thin limbs
- combining small accessories
At Wehao Toys, we usually recommend simplifying details that are smaller than embroidery stitch tolerance. Otherwise, revision loops become much longer.
Complex embroidery frequently causes delays because thread density affects face accuracy.
Step 3 — Choosing Fabrics, Embroidery, and Structure Details
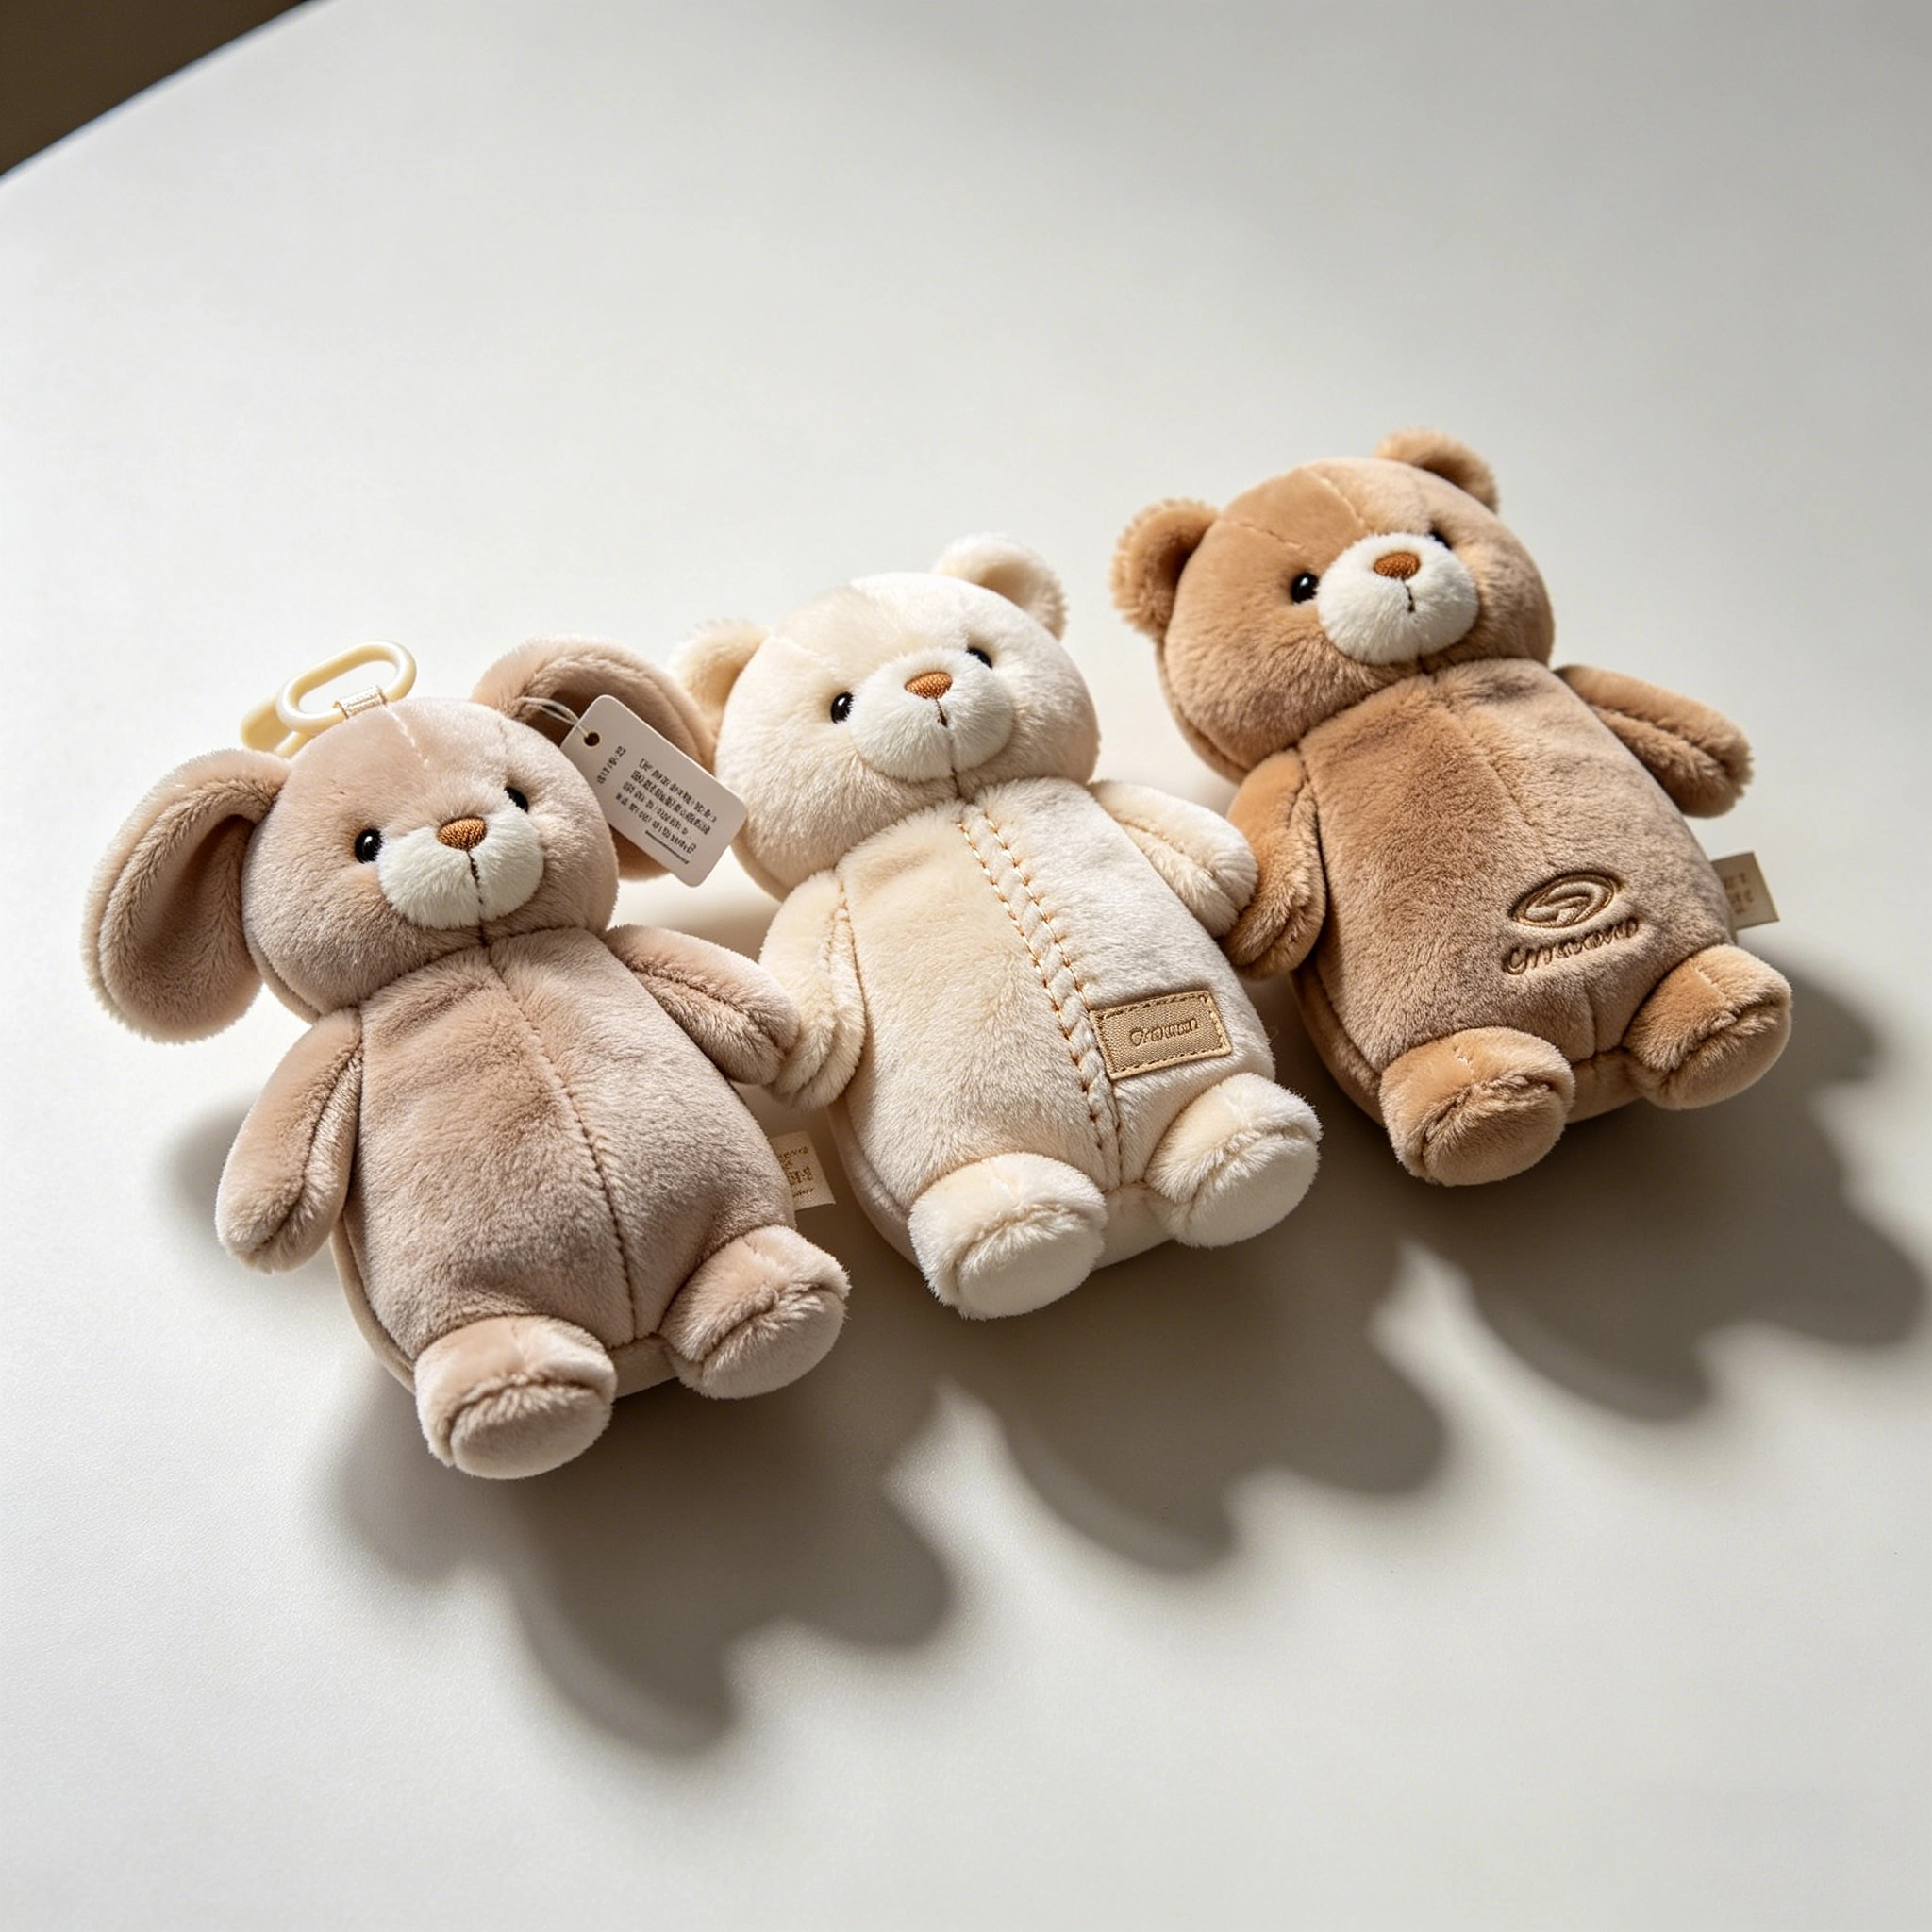
Material selection strongly affects the final appearance.
The same artwork may look:
- cute in short plush
- premium in rabbit plush
- cartoon-like in velboa
- soft and rounded in minky fabric
Embroidery limitations buyers often overlook
Embroidery cannot reproduce every digital illustration detail.
Very thin lines may break during stitching. Small gradients usually cannot be replicated accurately.
In many projects, buyers expect printed-level detail from embroidery. This often creates revision cycles.
We usually recommend:
- larger eye shapes
- cleaner color separation
- simplified mouth lines
These adjustments improve consistency during mass production.
Why fabric texture changes character appearance
Fabric pile height changes how facial details appear.
Longer plush fabric softens outlines. Short plush creates sharper visibility.
This becomes especially important for:
- anime plush
- mascot plush
- expressive facial designs
Sometimes the same embroidery file looks completely different after changing fabric types.
Step 4 — The First Plush Prototype Is Usually Not Final
Most plush toy samples require revisions.
This is normal.
The first prototype mainly tests:
- structure
- proportions
- embroidery placement
- sewing balance
- fabric compatibility
Common reasons samples need revisions
Typical revision issues include:
- face alignment problems
- uneven stuffing
- unstable sitting posture
- embroidery distortion
- incorrect limb proportions
- color mismatches
In our experience, face accuracy causes the highest number of revisions.
Even small embroidery shifts can dramatically change character expression.
How many revisions are normal
Simple plush projects may require:
- 1–2 revisions
More detailed character plush usually need:
- 2–4 revision rounds
Highly detailed anime or mascot plush sometimes require even more.
Projects are often delayed when buyers change artwork midway through sampling. Even small design updates may require pattern redevelopment.
Step 5 — Sample Approval Before Mass Production
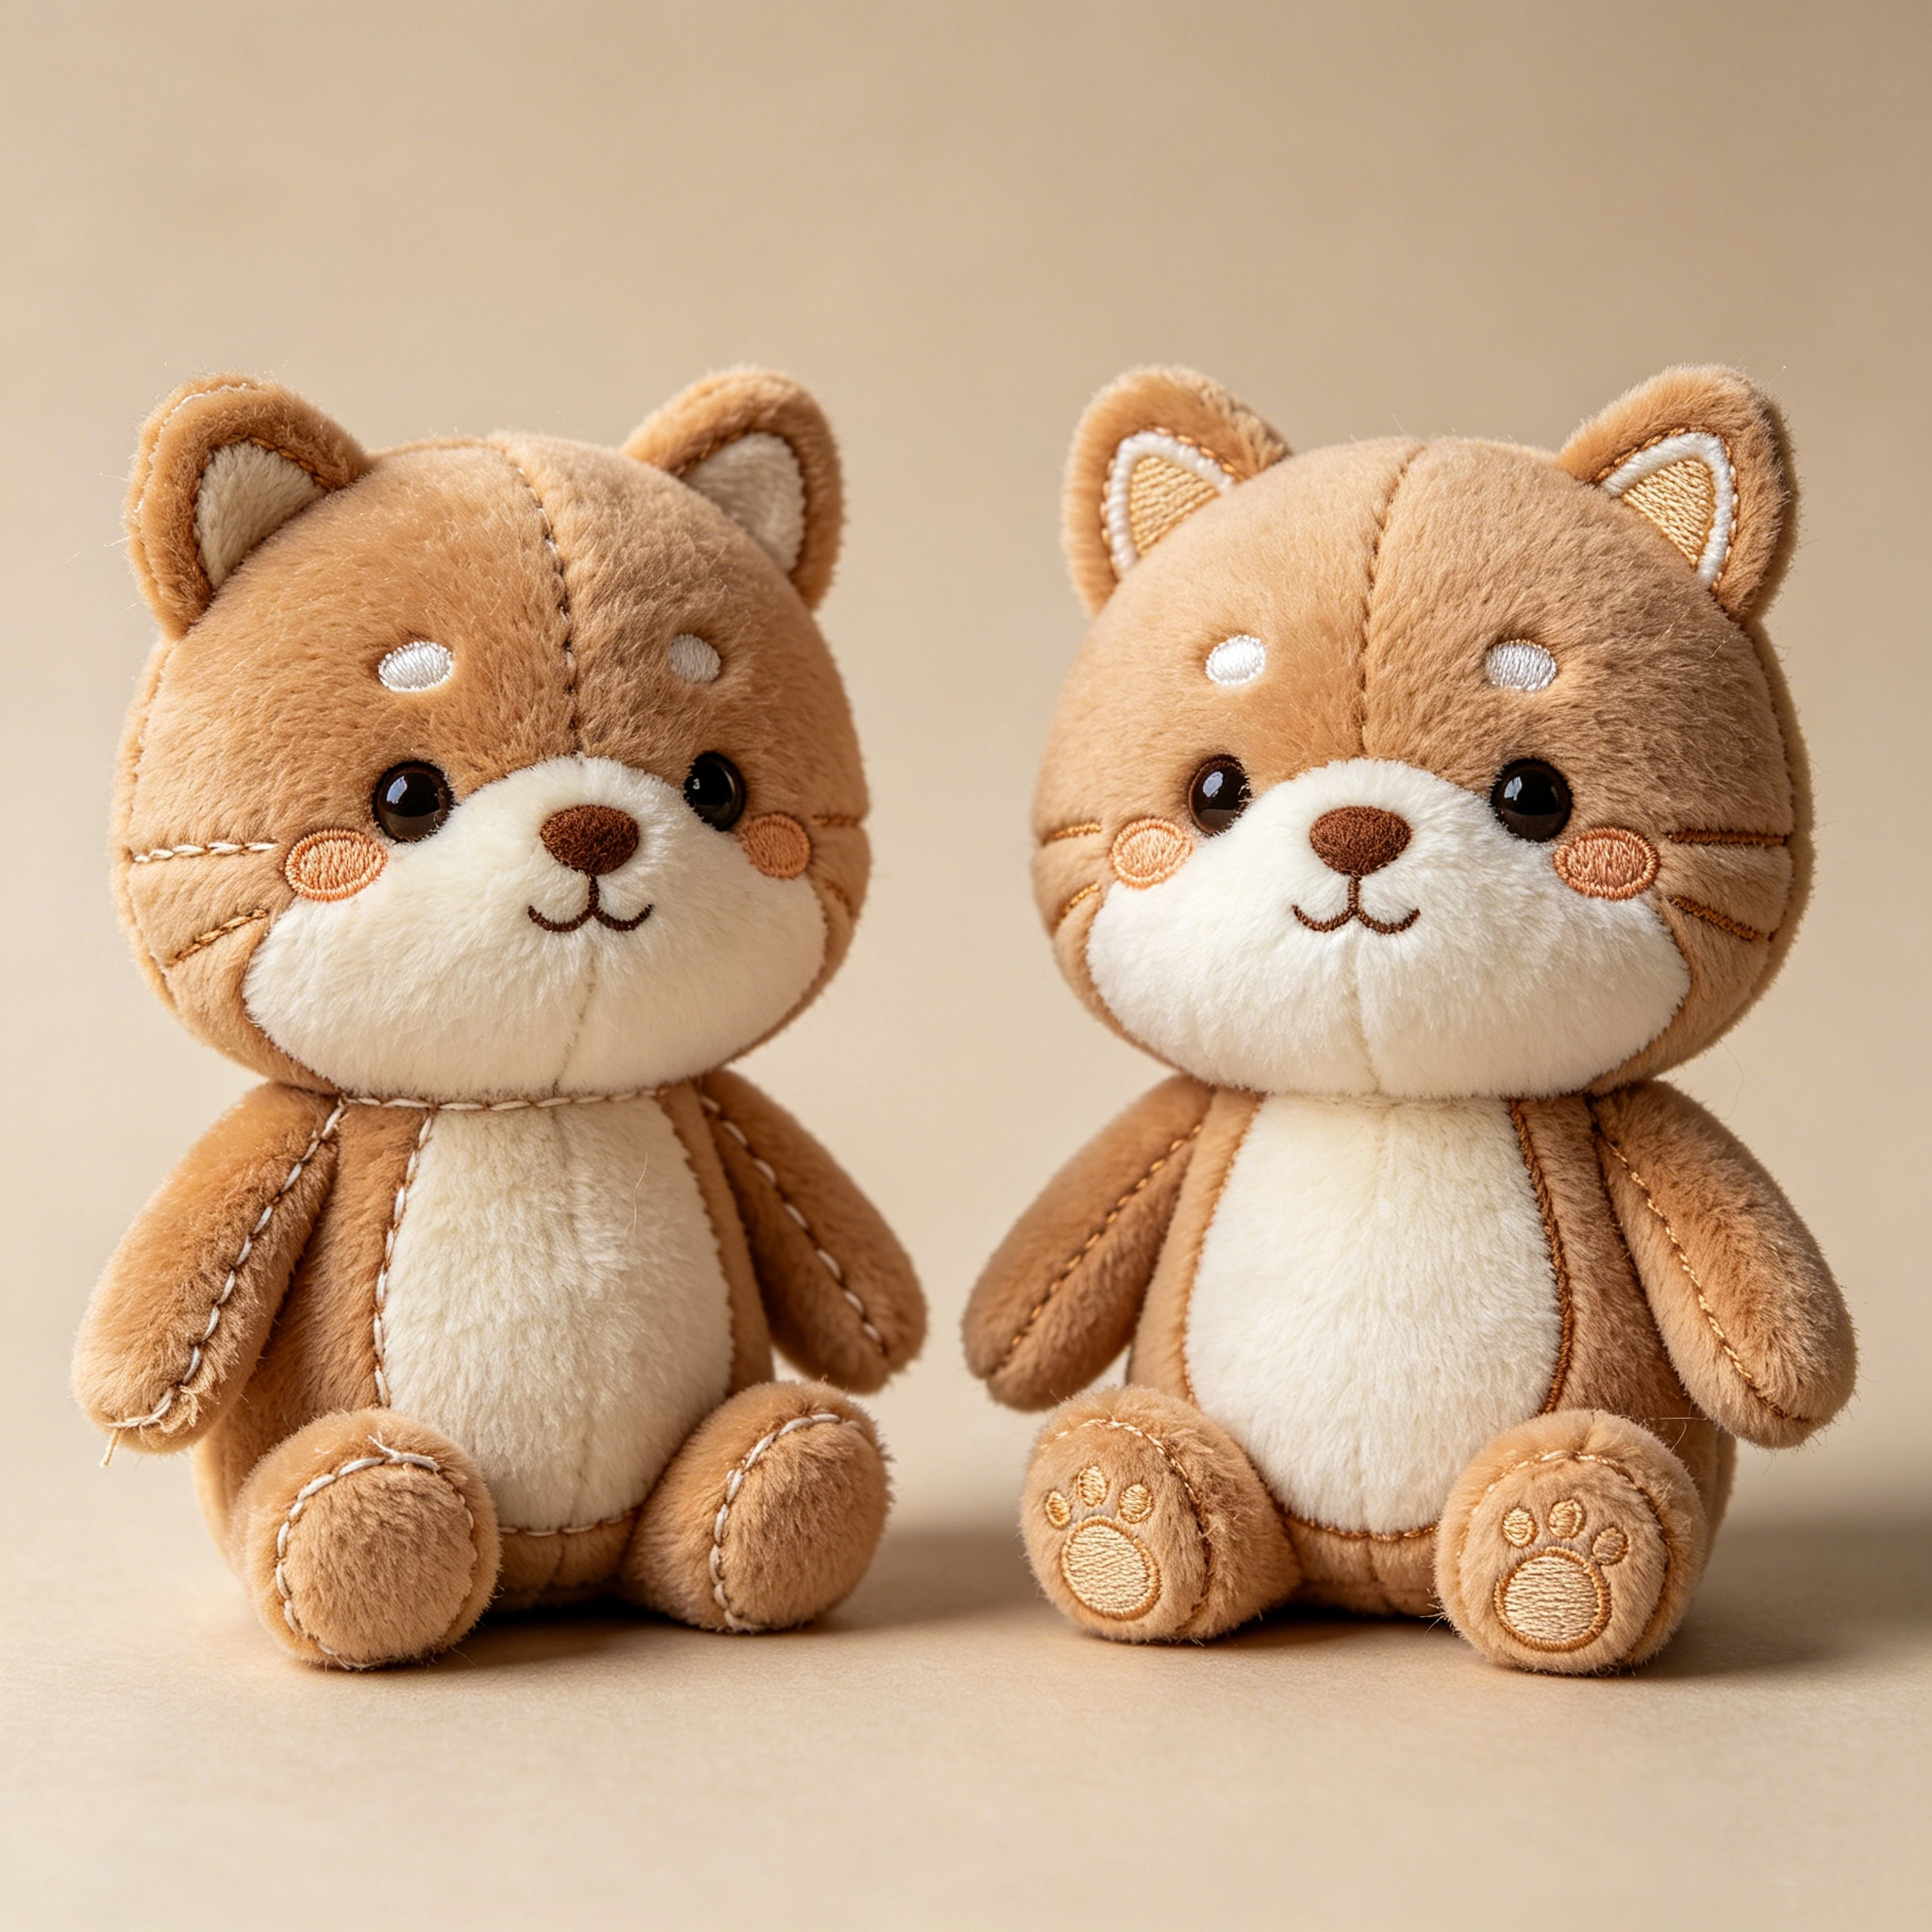
A good-looking sample is not automatically production-ready.
Before approving production, buyers should confirm:
- sewing consistency
- embroidery stability
- fabric availability
- labeling
- packaging
- accessory attachment safety
Size consistency
Very small plush toys are harder to keep consistent.
Mini plush projects often experience:
- facial variation
- stuffing inconsistency
- embroidery compression
This is especially common below 10 cm sizes.
Color matching
Fabric colors rarely match digital screens perfectly.
Most plush factories rely on:
- physical fabric swatches
- Pantone references
- embroidery thread charts
Buyers who skip color approval often face unexpected production differences later.
Packaging confirmation
Packaging should be finalized before production starts.
Changes made after production begins may delay:
- barcode preparation
- polybag sizing
- carton layout
- shipping schedules
How Long Does Plush Toy Prototyping Usually Take?
Typical plush toy prototyping timelines:
| Project Type | Typical Sampling Time |
|---|---|
| Simple plush shape | 7–14 days |
| Medium complexity character plush | 2–4 weeks |
| Complex mascot plush | 4–6 weeks |
| Multi-character collections | 6+ weeks |
Delays usually come from:
- unclear artwork
- revision loops
- embroidery changes
- fabric sourcing
- accessory adjustments
Rush sampling is possible, but it often increases costs and revision risks.
Common Mistakes That Slow Down Plush Sampling
The most common delays include:
- changing artwork after sampling starts
- unclear size expectations
- too many tiny details
- unrealistic embroidery expectations
- approving samples from photos only
- missing packaging decisions
One important misconception is that lower MOQ automatically means faster development.
In reality, low-volume custom plush projects sometimes move slower because material sourcing becomes less efficient.
What Makes Some Plush Designs Difficult to Produce?
Certain design styles naturally create more sampling challenges.
These include:
- extremely thin shapes
- gradient-heavy artwork
- oversized heads
- asymmetrical structures
- layered accessories
- highly detailed anime expressions
Some concepts work beautifully in digital art but become unstable in fabric construction.
That does not mean the design is impossible. However, additional revisions and engineering adjustments are usually required.
Experienced plush developers focus on balancing:
- appearance
- manufacturability
- production consistency
- cost control
Final Thoughts
Making a custom plush toy from artwork is a development process, not a direct conversion.
The strongest plush projects usually come from clear communication between the buyer, designer, and sampling team.
In most plush toy projects, early decisions about:
- structure
- embroidery
- fabric
- sizing
- simplification
have a major impact on:
- revision speed
- production consistency
- final product quality
Buyers who understand the plush toy sample process early usually avoid the most expensive delays later.
FAQ
How do I turn my drawing into a plush toy?
You typically start by sending artwork references, character views, size requirements, and color references to a plush supplier. The supplier then creates sewing patterns, embroidery files, and a plush prototype before mass production begins.
What files are needed for plush toy sampling?
Helpful files include:
- AI files
- PSD files
- high-resolution PNG images
- front and side views
- color references
- sizing information
Layered artwork files usually reduce revision time.
How many revisions are needed for plush samples?
Most plush projects require 1–4 revisions depending on complexity. Facial embroidery and body proportions are the most common revision areas.
How long does plush toy prototyping take?
Simple plush samples may take 1–2 weeks. Complex mascot or anime plush projects often require 4–6 weeks including revisions.
Why does the plush sample look different from the artwork?
Plush toys are soft three-dimensional products. Fabric stretch, stuffing pressure, sewing limitations, and embroidery tolerance all affect the final appearance.
Can every illustration become a plush toy?
Not perfectly. Some artwork details must be simplified for sewing, stuffing, or embroidery feasibility. Experienced sample teams usually adjust designs while preserving the overall character identity.