1. Why Vague Prototype Comments Delay Custom Plush Sample Revisions
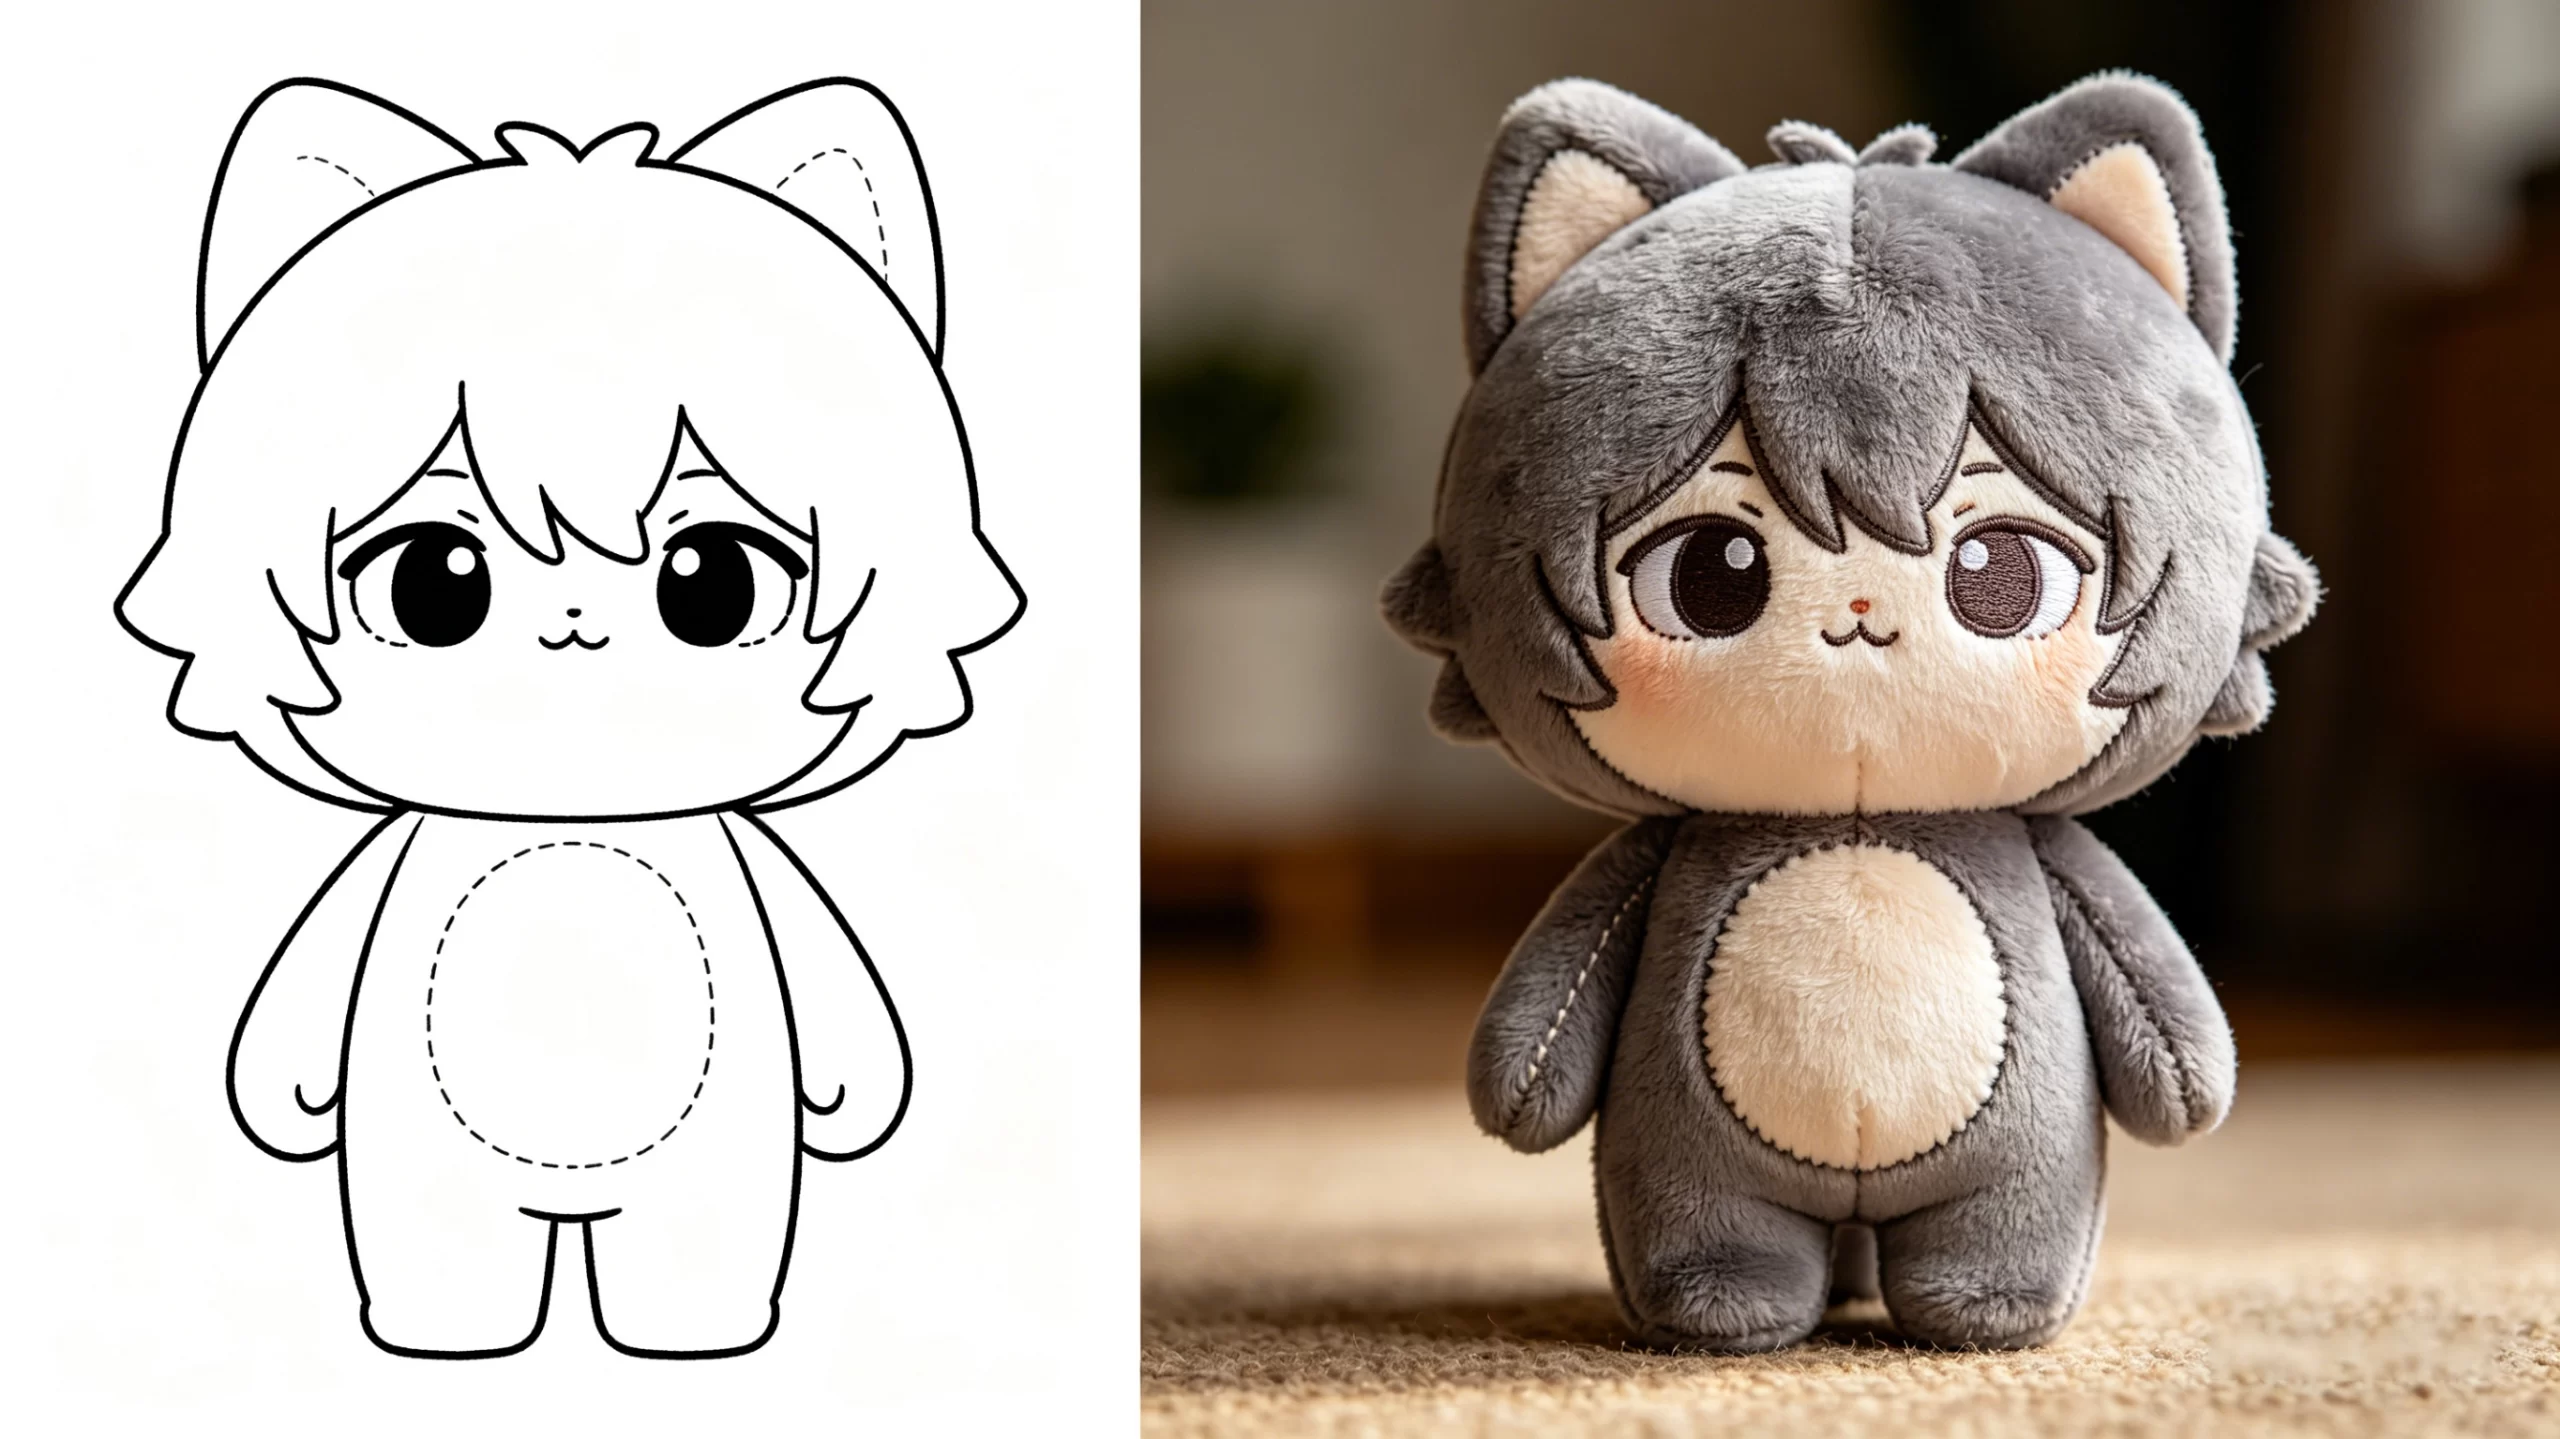
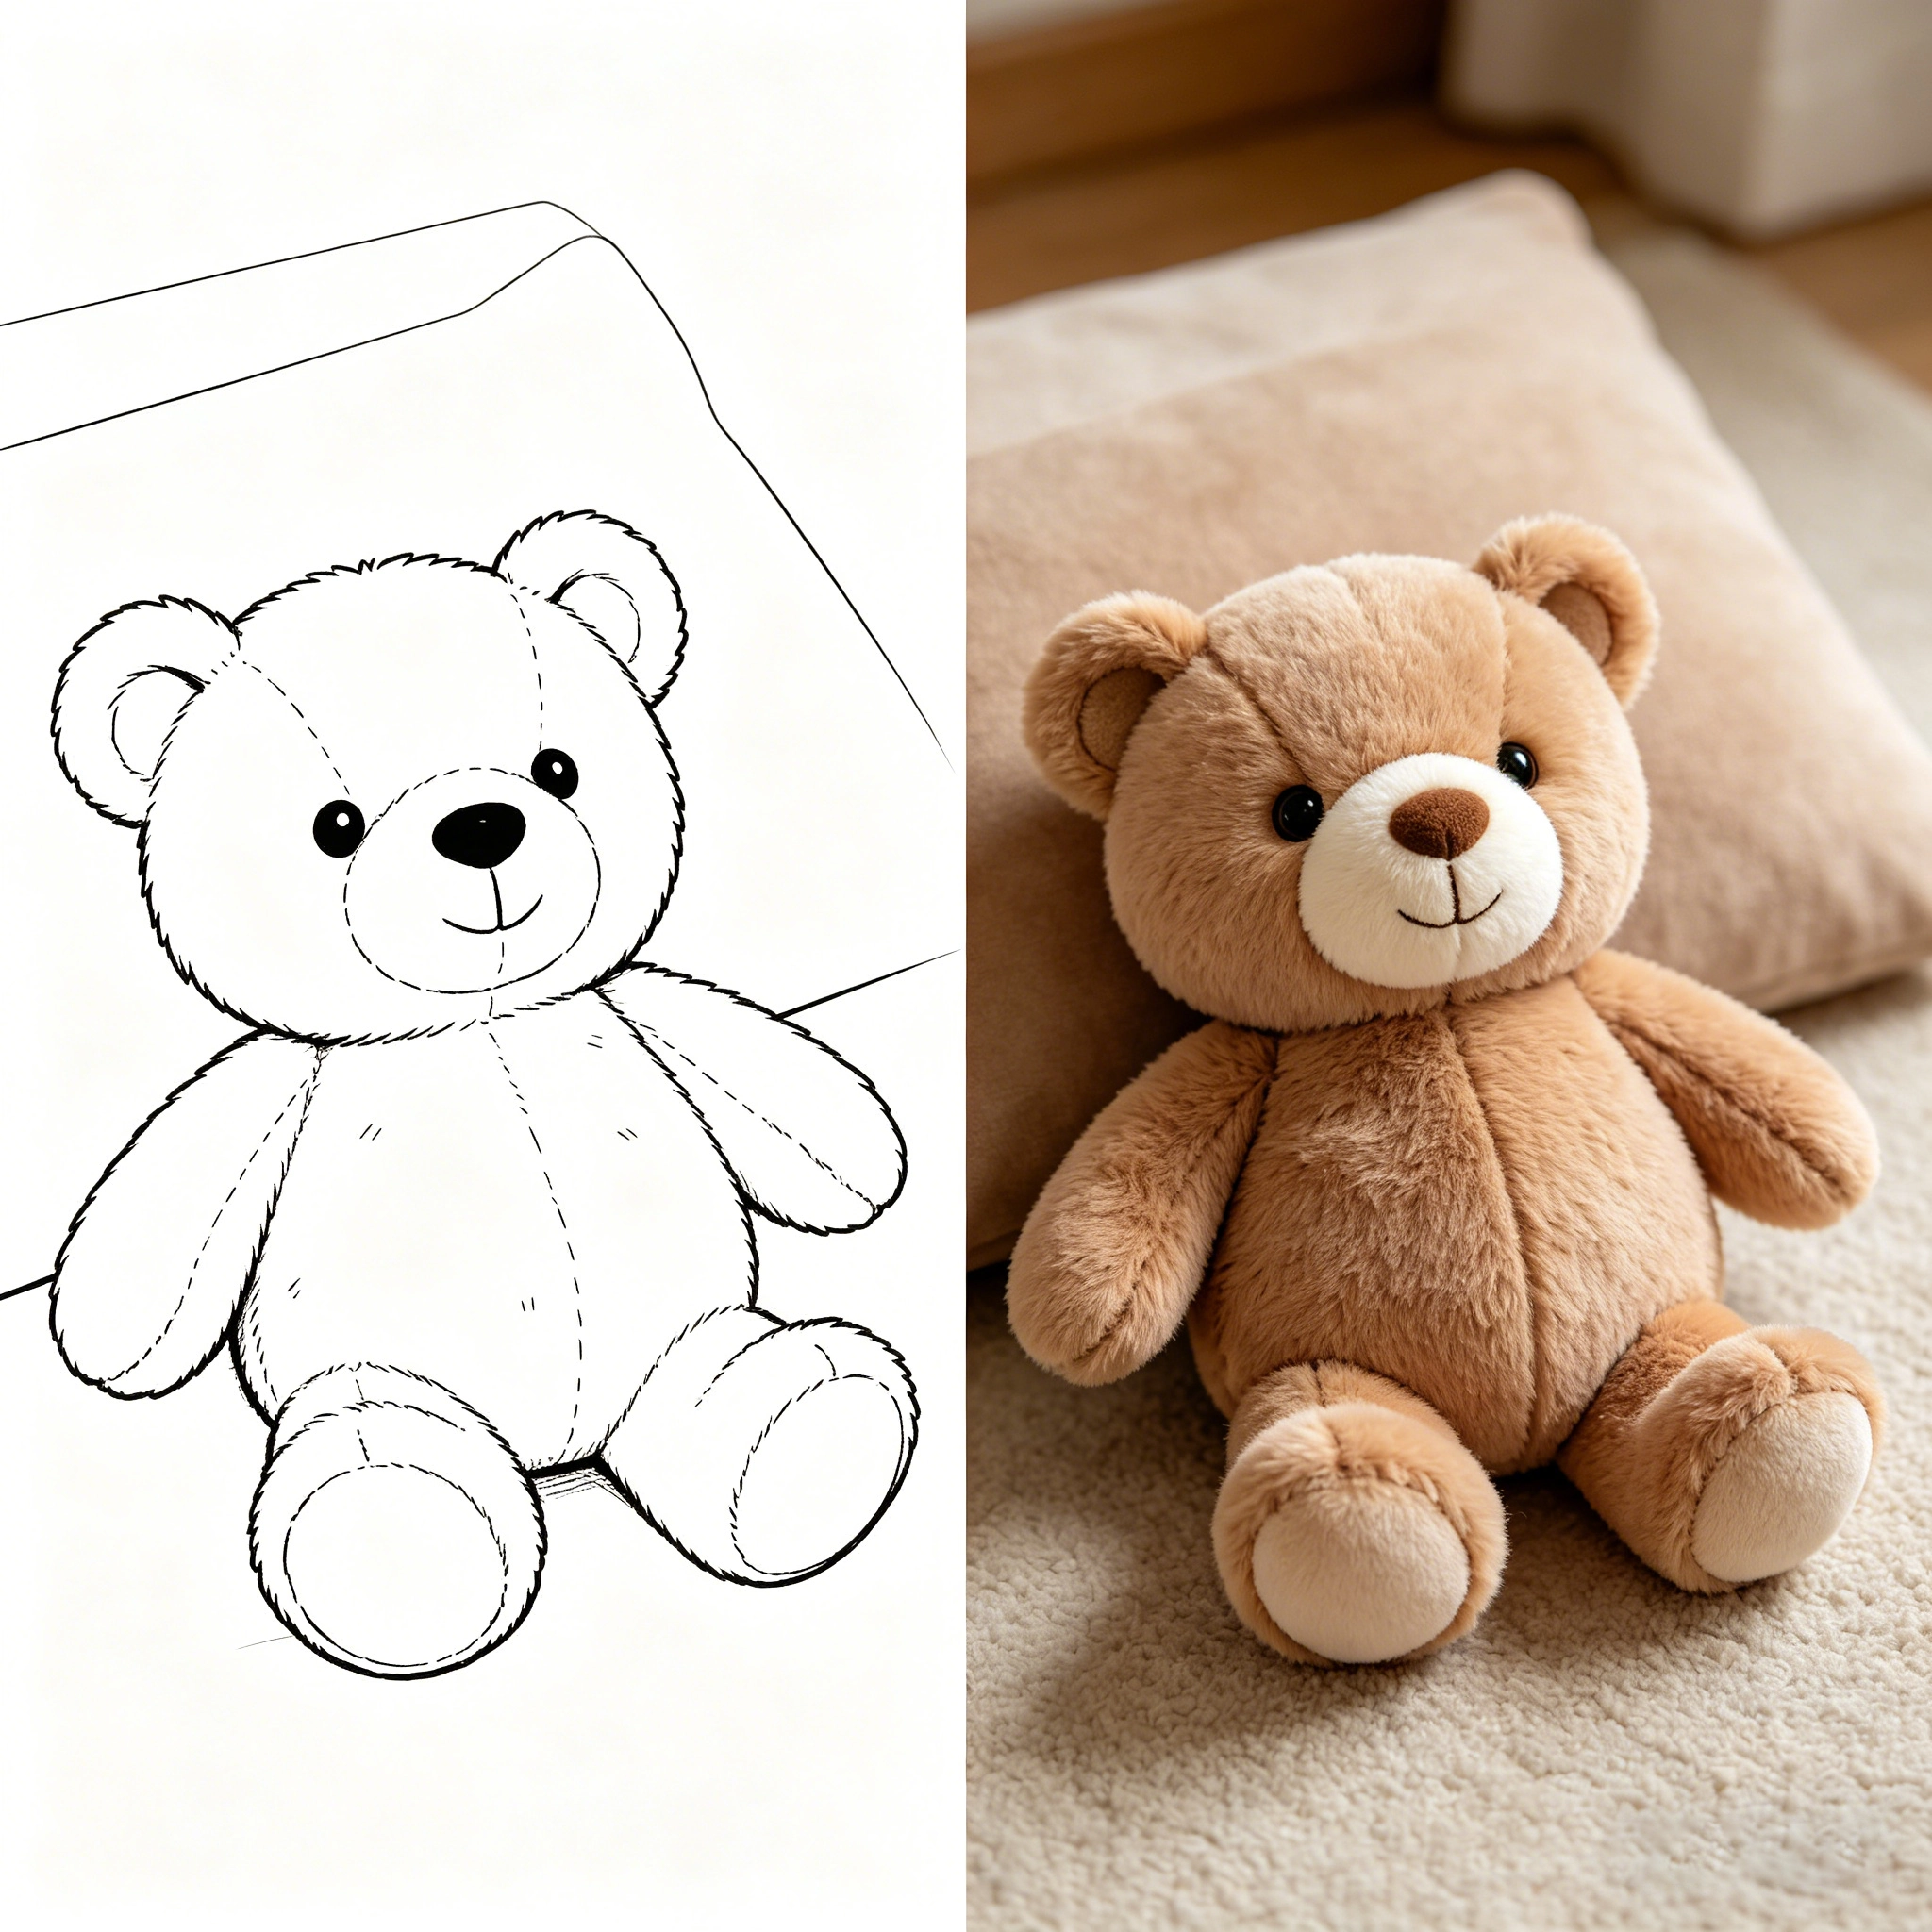
Unmuting a 2D character illustration into a three-dimensional stuffed toy rarely happens in a single try. The first physical prototype (V1 sample) is a working structural draft designed to test how flat paper gussets, fabric pile direction, and polyester fiberfill interact under tension. However, many brand owners turn a routine 7-day revision into a frustrating month-long loop by sending subjective feedback such as ‘make the face look cuter’ or ‘the body feels a bit off.’
In an OEM sample room, pattern makers and embroidery digitizers do not work with adjectives—they work with millimeters, seam allowances, stitch densities, and gram weights. Following a structured plush toy sample revision checklist bridges the communication gap between creative designers and technical pattern engineers, ensuring that every modification is executed accurately in the very next revision round.
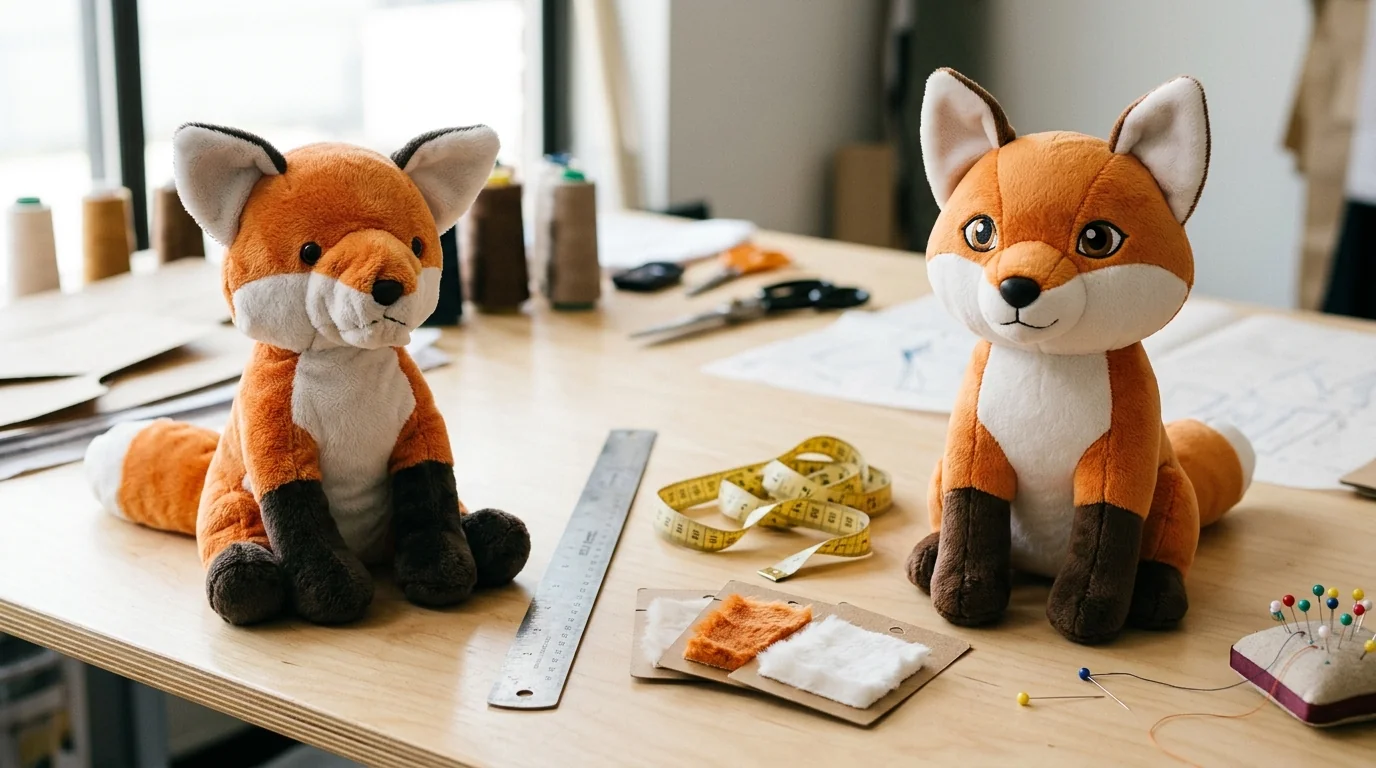
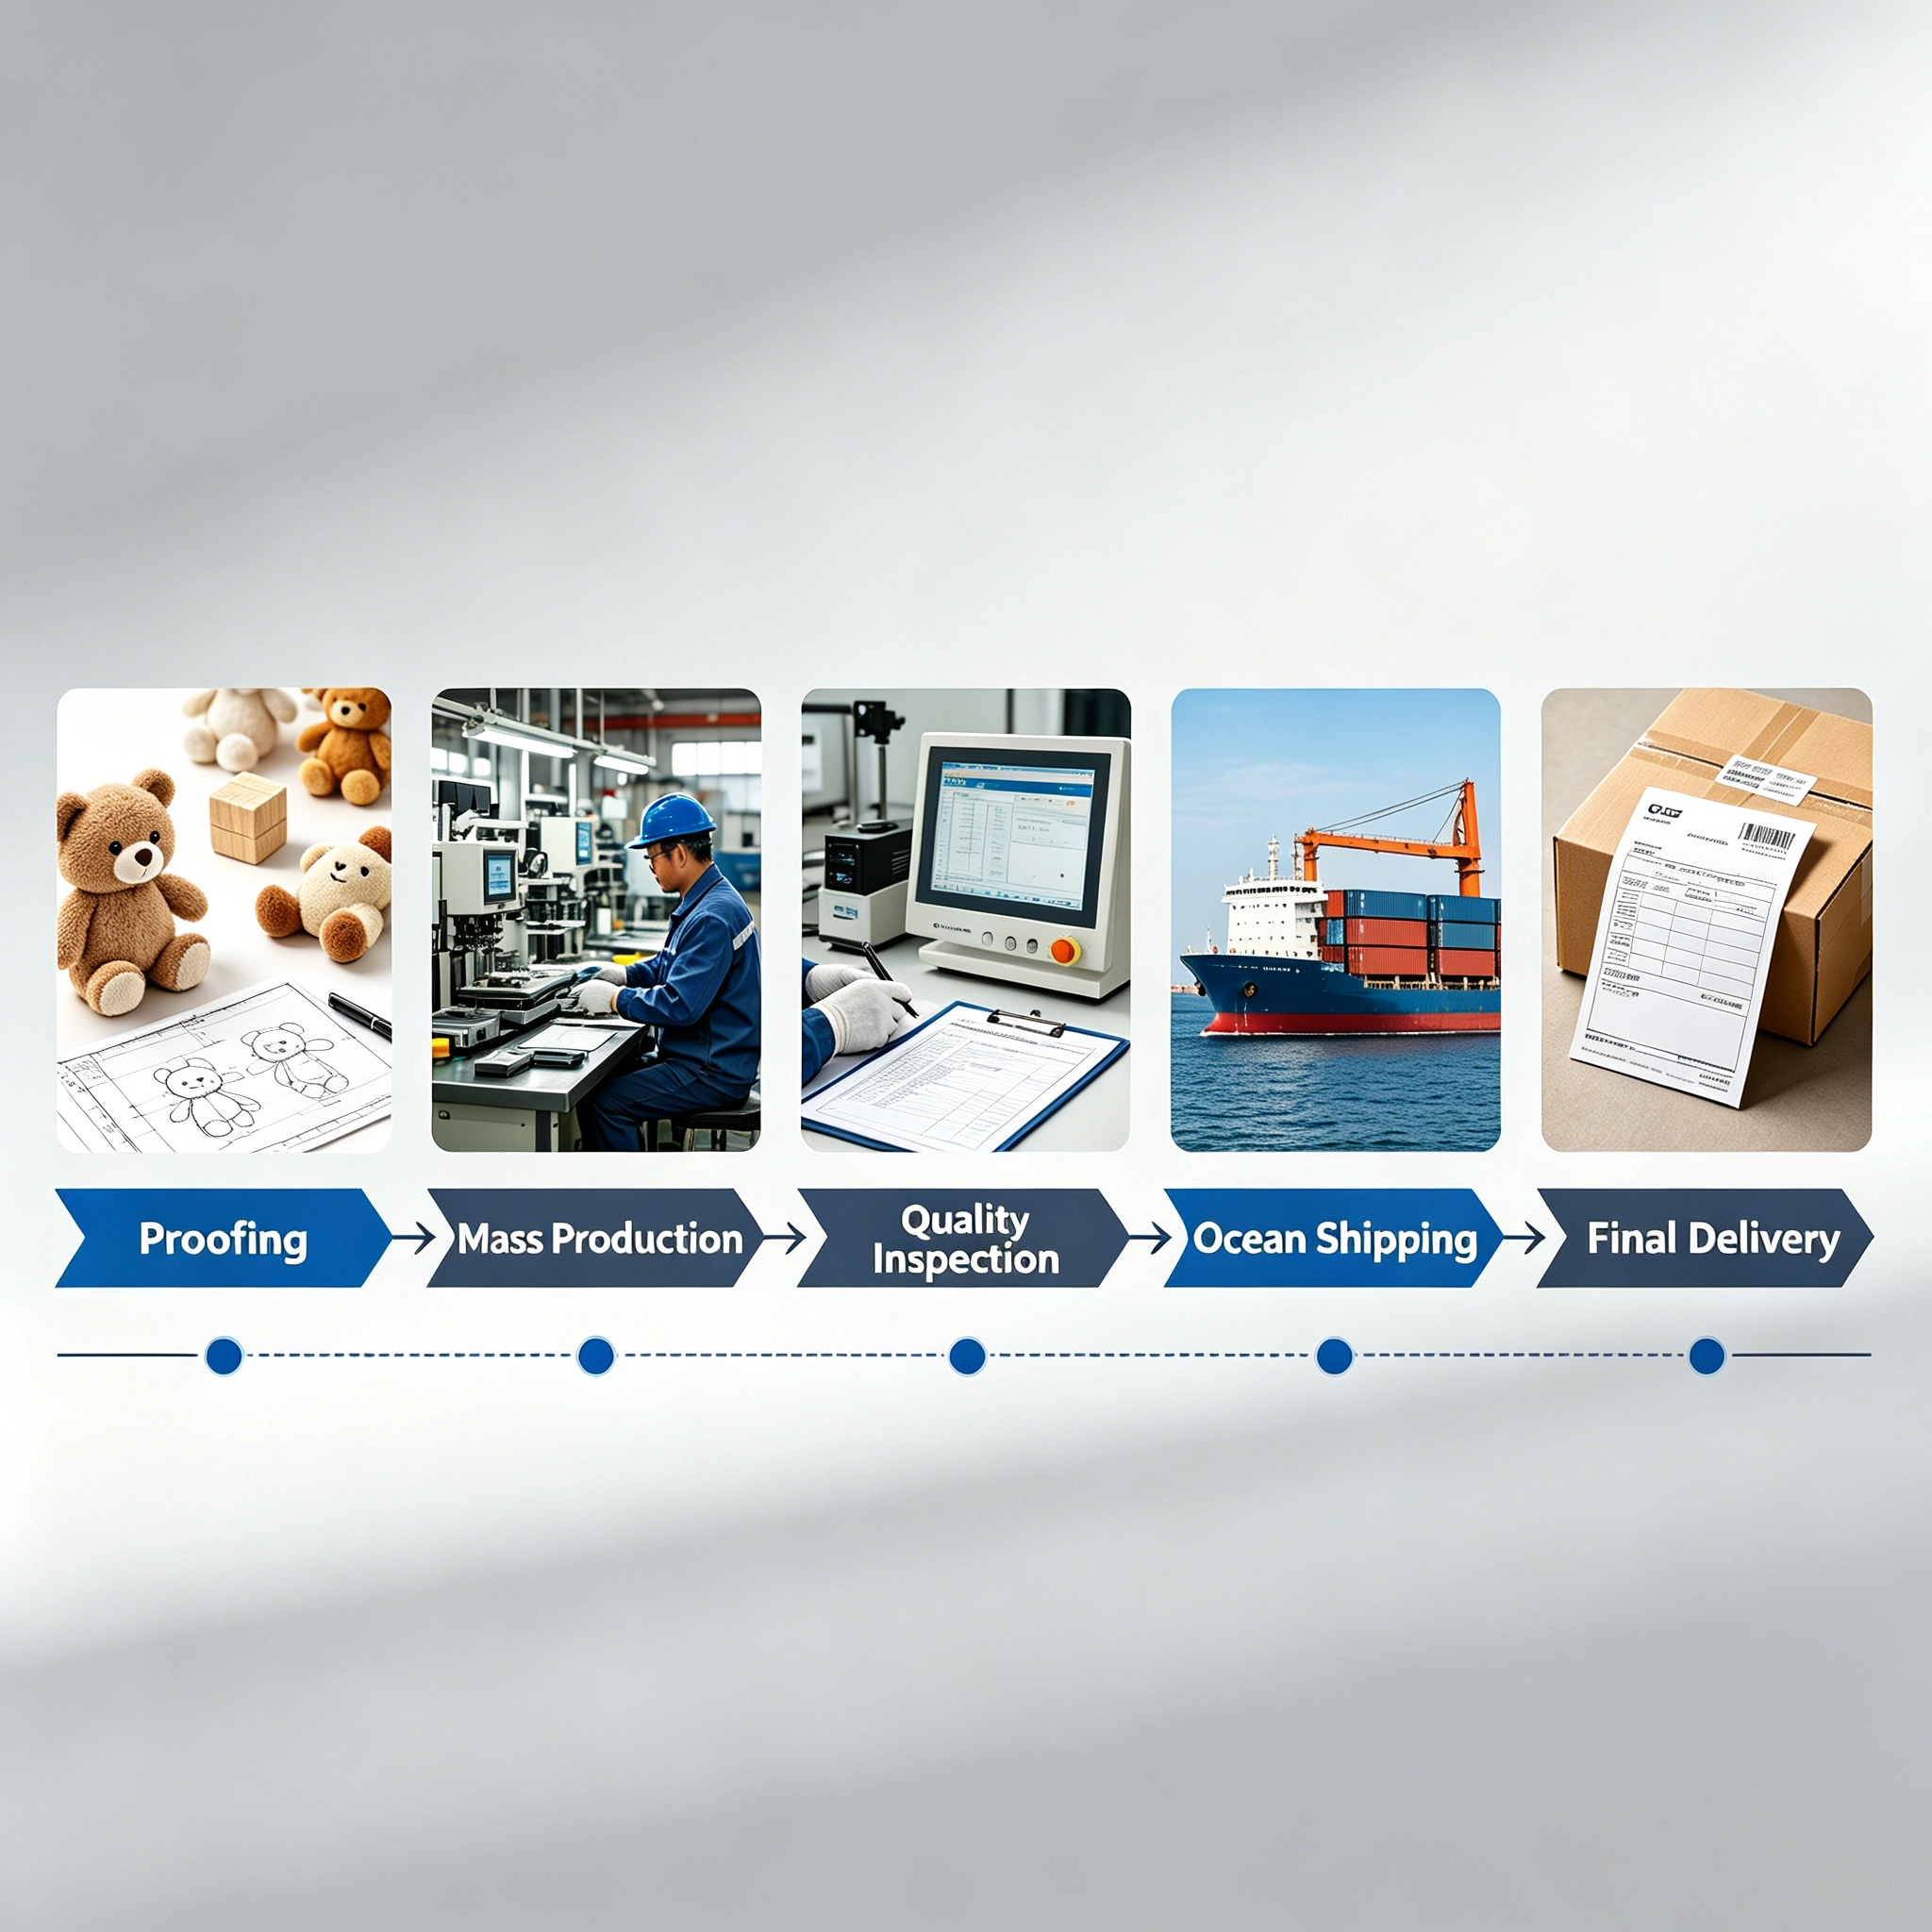
When buyers organize their plush prototype feedback systematically during custom plush development and pattern translation, most custom characters achieve full pre-production approval within just one to two revision cycles, protecting both launch schedules and sampling budgets.
2. What Should a Plush Toy Sample Revision Checklist Include?
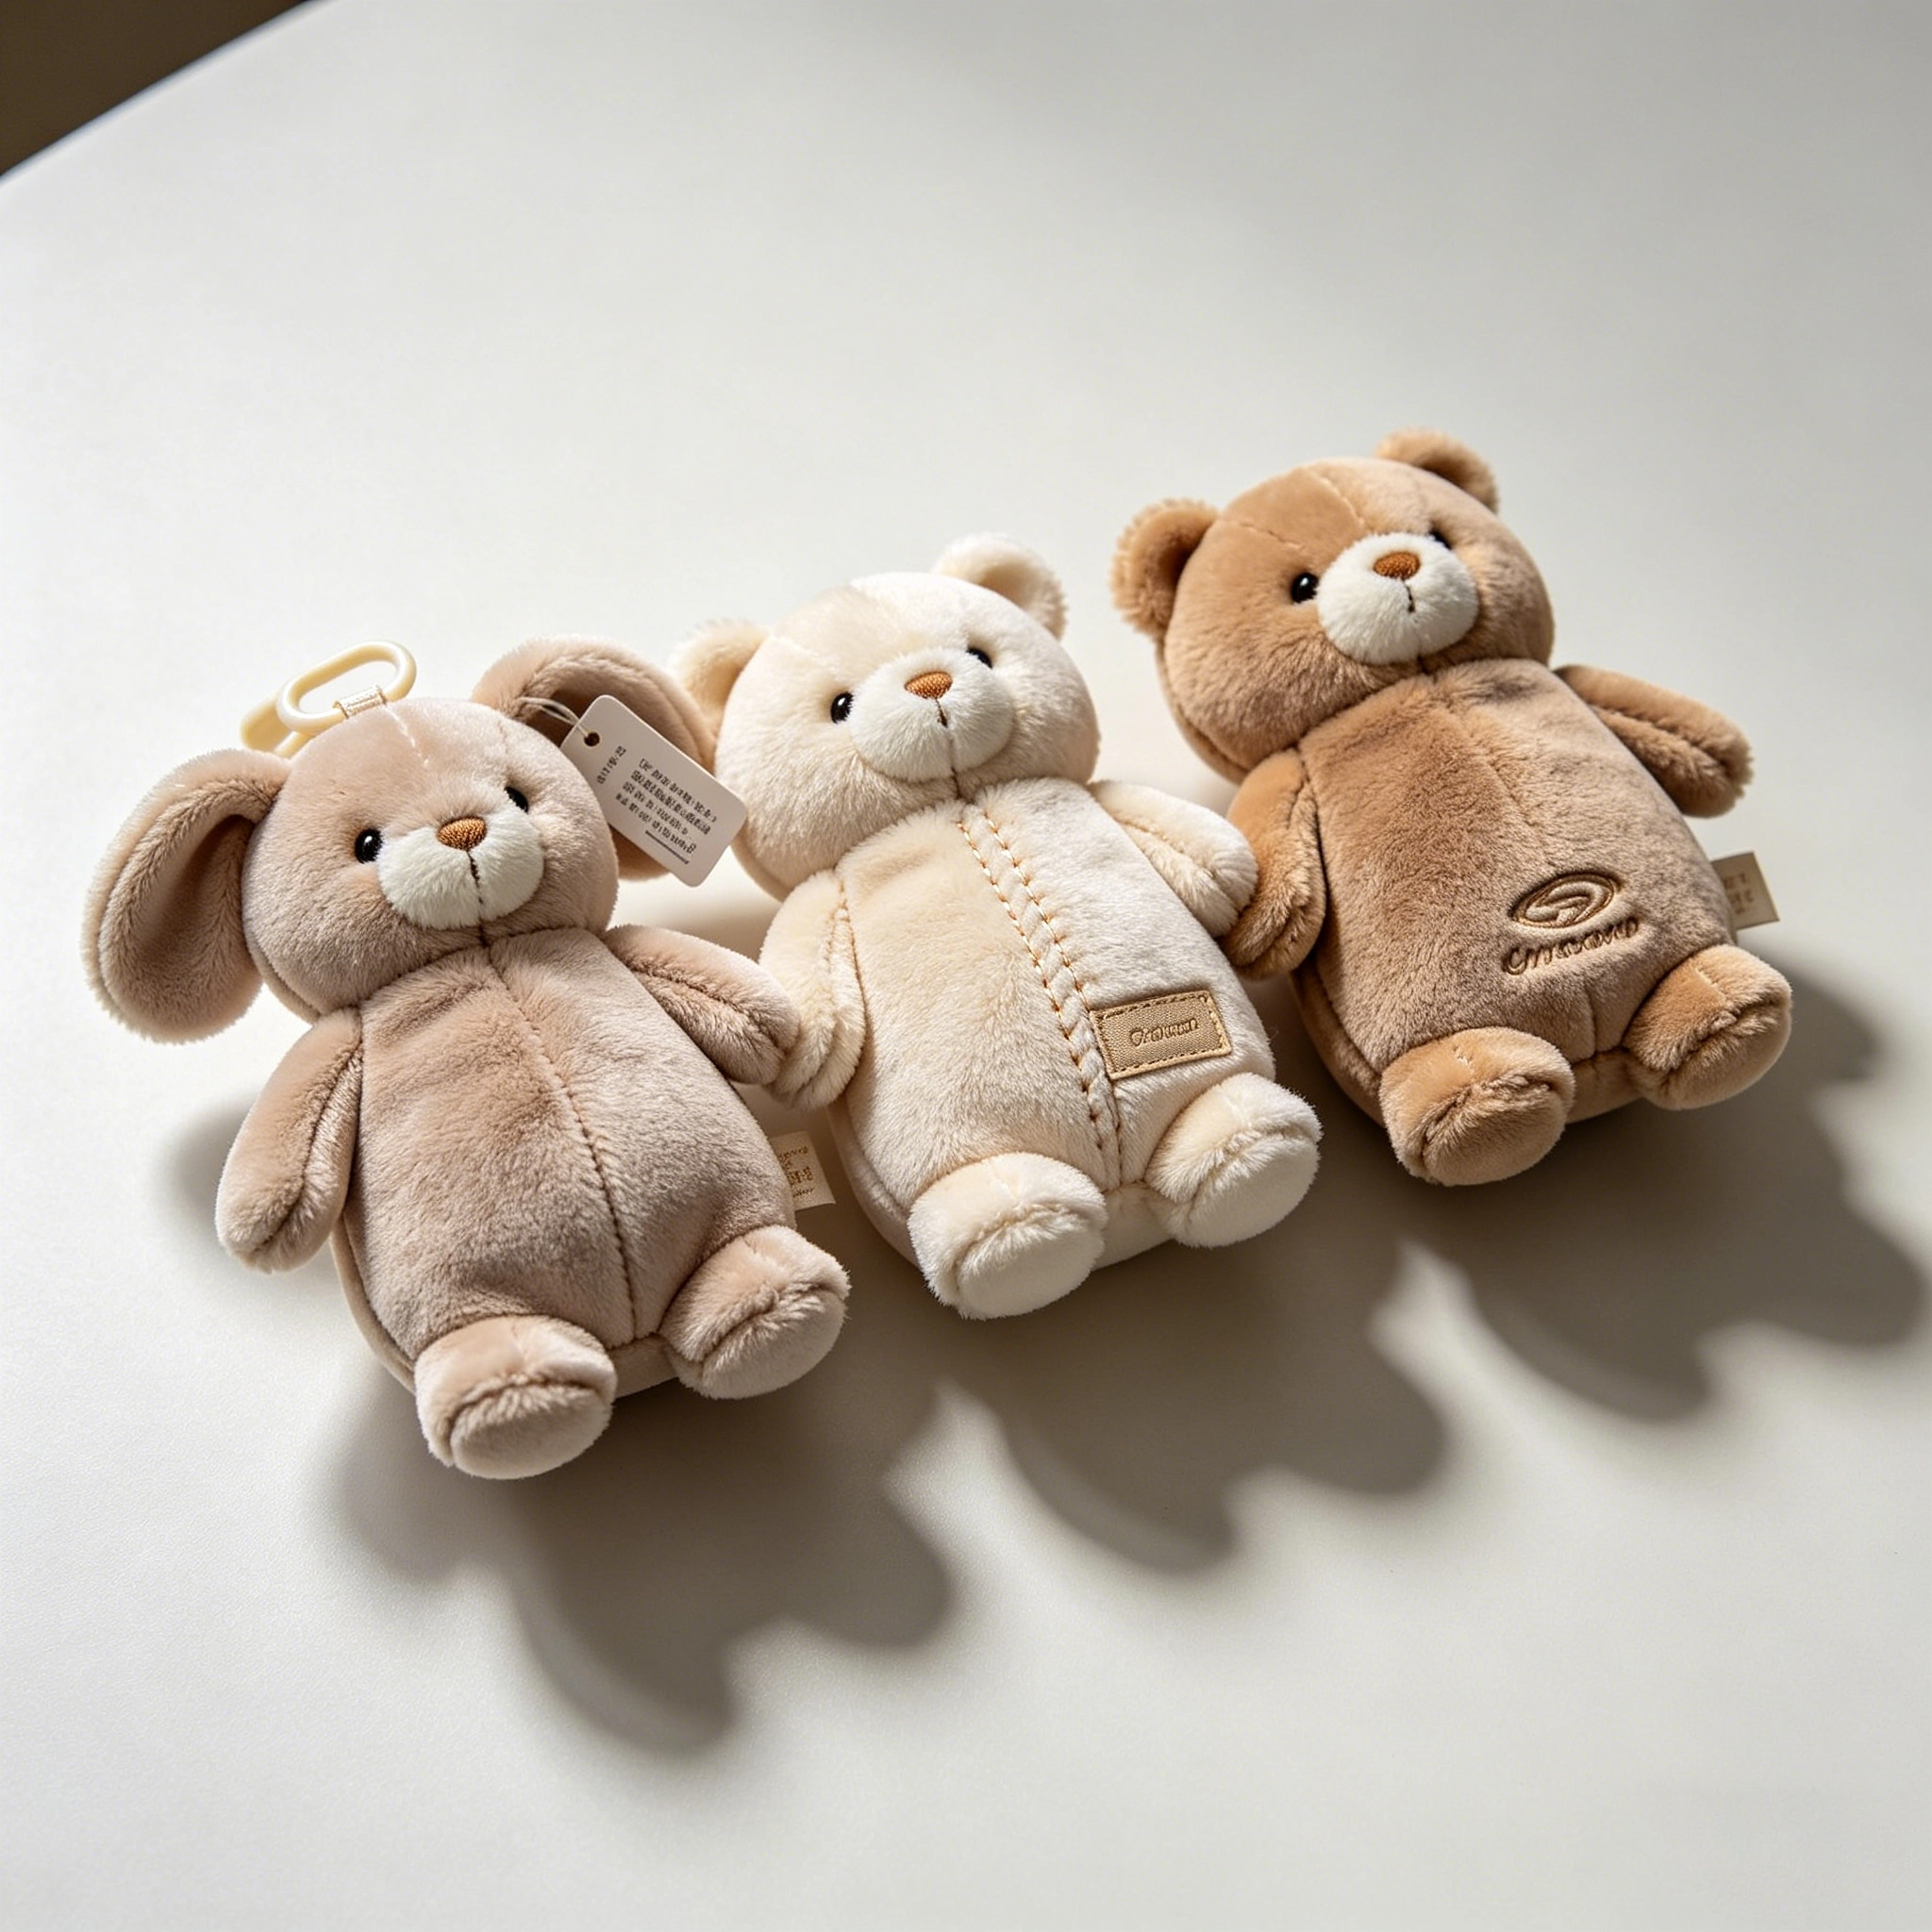
Before writing a single correction note, inspect the physical prototype (or high-resolution studio turnaround photos) in a logical sequence from overall silhouette down to fine surface details. For product teams asking what should a plush toy sample revision checklist include, every review should audit five core engineering dimensions:
- Overall Proportions & Seated/Standing Posture: Verify total height, head-to-body width ratio, neck stability, and whether the toy sits upright on a flat surface without tipping forward or backward.
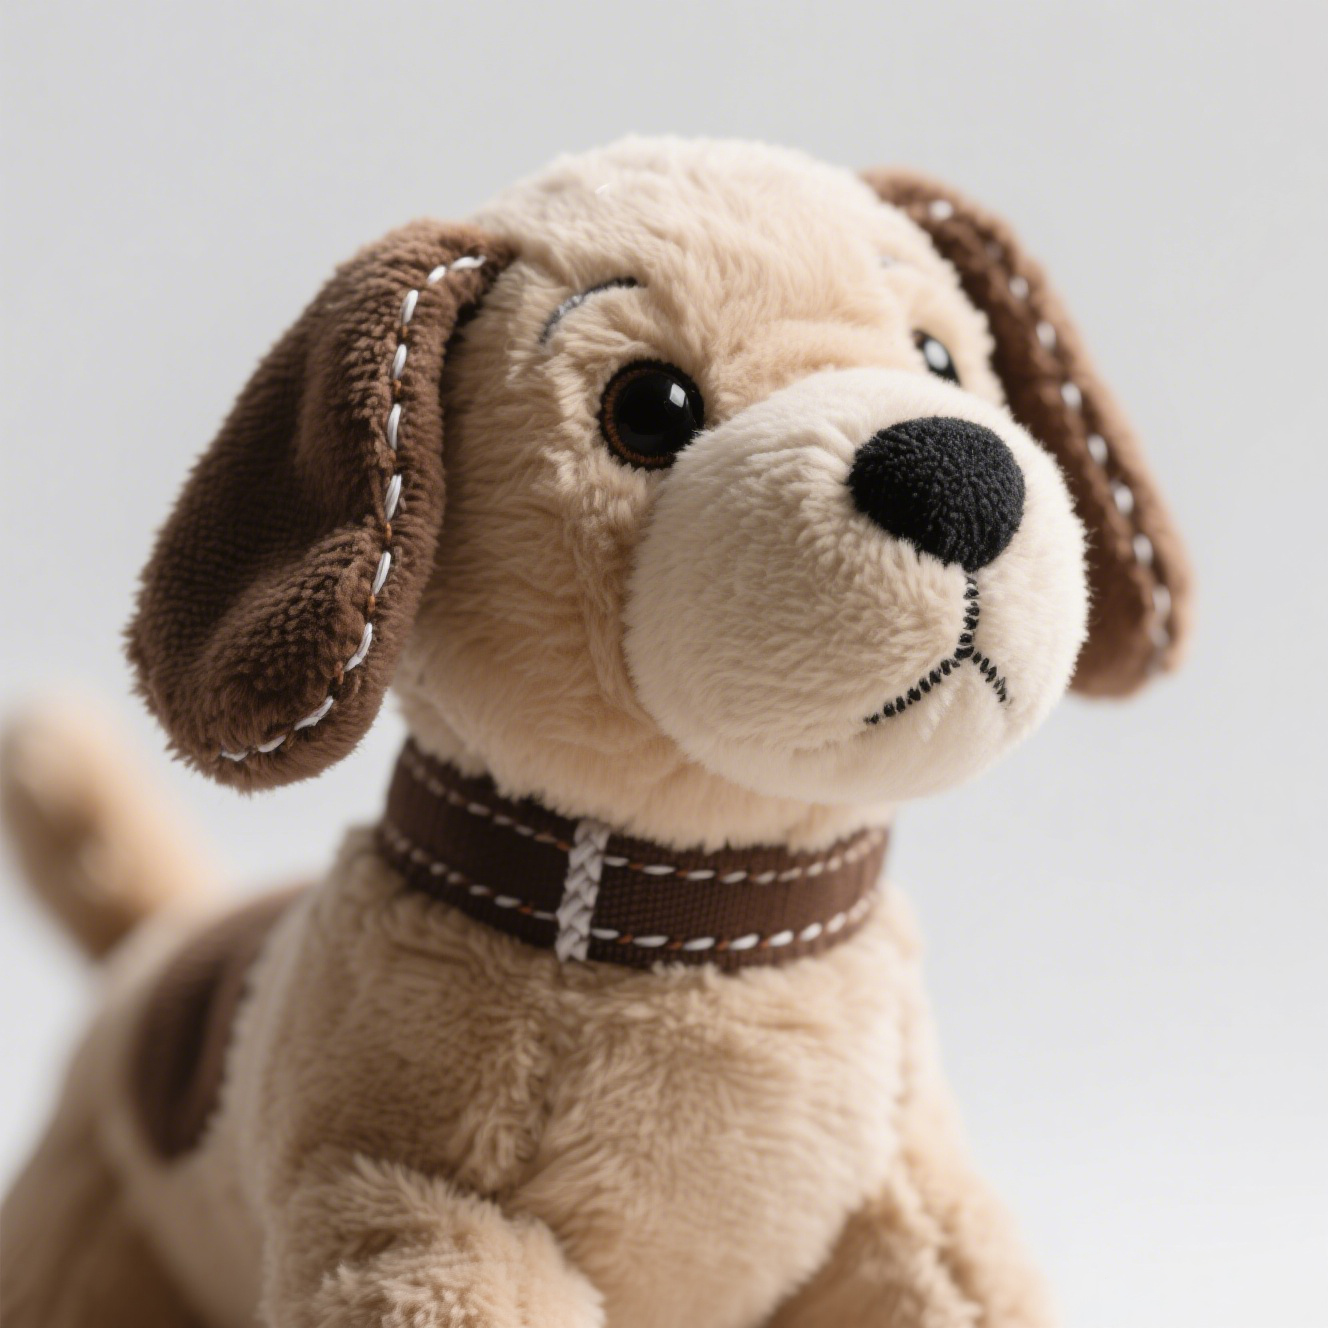
- 3D Gusset Geometry & Limb Symmetry: Check head cheek curves, snout projection depth, ear angle and spacing, and symmetrical alignment of arms, legs, and tail attachments.
- Facial Embroidery & Expression Placement: Measure eye height, inter-ocular distance (millimeters between left and right eyes), nose alignment, mouth line thickness, and thread Pantone shades.
- Shell Fabric Pile Direction, Color & Hand-Feel: Confirm that fabric nap (pile direction) brushes smoothly downward from head to toe, verify Pantone dye accuracy under natural daylight, and check fabric backing stretch.
- Stuffing Firmness, Net Weight & Accessories: Evaluate whether the head, belly, and limbs are stuffed to the target softness, confirm plastic pellet pouch balance in the base, and inspect clothing or woven label placement.
Evaluating these five areas together is vital because plush geometry is interconnected: widening a character’s cheek gusset by 10 mm automatically alters how far apart the embroidered eyes appear once the head is stuffed with cotton. Experienced custom animal plush toys manufacturers review all structural and facial changes holistically before recutting the master paper pattern.
3. How Should Buyers Write Feedback on a Custom Plush Sample?
The golden rule for writing actionable factory sample correction notes is to replace subjective feelings with **measurable geometric instructions**. Every revision item should state three things: (1) the exact body part, (2) the current issue, and (3) the exact numerical or directional change required.
| Design Area | Vague Feedback (Avoid) | Actionable Engineering Feedback (Recommended) | Pattern Room Action |
|---|---|---|---|
| Head & Cheeks | “Make the head look rounder and chubbier.” | “Increase lower cheek gusset width by +8 mm on each side and add +15g fiberfill to head.” | Widens side head dart pattern; increases stuffing weight |
| Eye Placement | “The face looks a bit cross-eyed and too high.” | “Move both eyes down by 6 mm toward snout seam and increase distance between eyes by +5 mm.” | Updates laser placement jig on embroidery hoop |
| Ear Posture | “The ears are flopping over too much.” | “Shorten ear height by 5 mm and add 1 layer of 2mm tricot foam interlining inside both ears.” | Adjusts ear die-cut and adds internal support lining |
| Stuffing Softness | “The body feels too stiff to hug.” | “Reduce torso stuffing weight by 20% and switch from 15D fiberfill to 1.2D down-alternative cotton.” | Lowers gram fill target; swaps BOM fiber grade |
| Embroidery Detail | “The mouth line is too thin to see.” | “Thicken mouth satin stitch width from 1.5 mm to 2.5 mm and trim surrounding pile before stitching.” | Modifies DST embroidery file density and underlay |
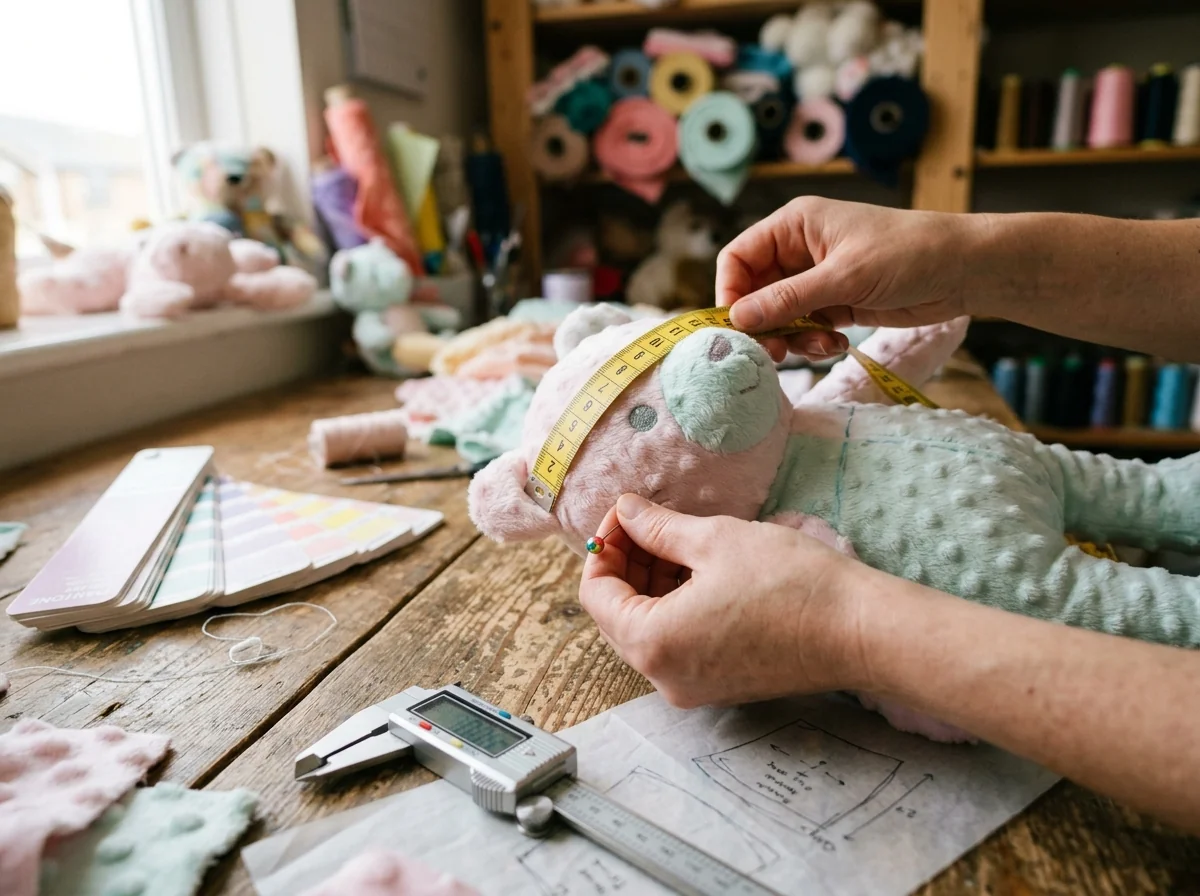
Consolidate all factory sample correction notes into a single numbered document for each revision round rather than sending scattered chat messages across three different days. Once the pattern maker cuts the revised V2 fabric panels, mid-round changes will require starting a separate V3 sample.
4. How Can Annotated Photos Reduce Confusion During Plush Revisions?
Because plush toys are soft, three-dimensional objects, written descriptions alone can still be misinterpreted across language barriers. When buyers ask how can annotated photos reduce confusion during plush revisions, visual redlining is the single fastest way to align your creative vision with the factory sample room:
- Shoot Straight-On Turnaround Angles: Photograph the sample at eye level from the exact Front, Left Profile, Right Profile, Back, and Top-Down angles against a plain neutral background—avoid wide-angle phone lenses held too close, which distort head proportions.
- Use Color-Coded Redline Overlays: Draw Red lines to indicate existing seams or features that need to move, and Green or Blue lines to show the desired new contour, arrow direction, and millimeter callout (e.g., ‘Move ear base back 10 mm along head seam’).
- Pin or Tape Physical Mockups on the Sample: If you have the physical V1 sample in hand, cut small paper cutouts of the resized eyes or pin the ears into the exact position you want, then photograph the pinned toy next to a metric ruler.
In addition, maintain strict plush development version control by labeling every photo and feedback sheet with the SKU code, version number (e.g., `SKU-104-V1-Feedback`), and date. When revisions involve replacing plastic eyes with embroidery or changing small accessories, verify that the updated components still satisfy plush toy safety standards and compliance under U.S. CPSC and ASTM F963 toy safety rules as well as European EN 71 harmonised toy safety standards.
5. Frequently Asked Questions (FAQ)
Q: How many sample revision rounds are typically needed for a custom plush toy?
A: Most custom plush designs require 1 to 2 revision rounds (V1 initial draft followed by V2 refinement) to lock in final proportions and embroidery details. Complex licensed characters or convertible plush items may occasionally require a V3 sample before bulk sign-off.
Q: Should we approve sample revisions from factory photos or wait for the physical sample to ship?
A: For V1 structural and proportion adjustments, reviewing high-resolution factory turnaround photos and videos saves 5 to 7 days of international courier transit time. Once the V2 or final pre-production sample looks right on camera, always have the physical sample shipped to verify hand-feel and stuffing firmness in person.
Q: Why did changing the fabric type on V2 make the plush look smaller or larger than V1?
A: Different fabrics have vastly different mechanical stretch. Switching from non-stretch woven-back crystal velboa to 4-way stretch spandex minky on the exact same paper pattern will cause the toy to expand by 10% to 15% when stuffed, requiring the pattern maker to adjust seam allowances accordingly.
Q: Do factories charge extra for custom plush sample revisions?
A: Standard OEM sampling fees typically include the initial V1 prototype plus 1 to 2 minor pattern and embroidery adjustments based on your original artwork. However, if you completely change the character pose, dimensions, or artwork mid-sampling, an additional pattern-making fee will apply.
Q: How can we prevent long-pile fur from covering up embroidered eyes and mouths?
A: Specify in your revision notes that the factory should either apply a water-soluble topping film / fabric appliqué patch beneath the eye embroidery or have trimming technicians shear the fur pile neatly around the facial features.
6. Streamline Your Custom Plush Sampling With Wehao Toys
Ready to Turn Your Character Concept Into an Accurate Physical Prototype? Clear technical communication and experienced pattern engineering eliminate costly sampling delays. Wehao Toys provides structured studio turnaround photography, millimeter-precise pattern adjustments, and responsive bilingual project management from V1 draft to final bulk approval. Contact Wehao Toys for a Custom Plush Toy Project today to share your tech pack or sample revision notes with our development team.